WooCommerce: Sale End Date Countdown Timer

Are you tired of the same old “Sale!” badge on your WooCommerce products? Want to create a more engaging and dynamic shopping experience for your customers?

In this blog post, we’ll guide you through a simple PHP/JS customization that replaces the static “Sale!” badge on the WooCommerce Single Product page with a captivating countdown timer. This will not only add excitement to your product page but also encourage customers to make a purchase before the sale ends.

Get ready to elevate your WooCommerce store and boost your sales with this effective customization. Enjoy!

Continue reading WooCommerce: Sale End Date Countdown Timer

WooCommerce: Fit All Settings In One Page

In the world of WooCommerce, customization is crucial for creating a unique online store. However, juggling numerous WooCommerce settings across multiple pages can be tedious.

Imagine a solution that simplifies this process by consolidating all your WooCommerce options into a single, easy-to-use interface.

This tutorial will give you a possible approach and try to fit all WooCommerce Settings into a single screen (so, on the same page, you can edit the general, products, shipping, payments, advanced, etc. options).

Enjoy!

Continue reading WooCommerce: Fit All Settings In One Page

WooCommerce: Custom “Empty Cart” Button

A dedicated “Empty Cart” button can significantly streamline the customer journey on your WooCommerce website.

Yes, you can manually change the product quantities to 0 on the cart page, or click on the “remove item” icon for each product… but having a button that can do all that could be a time saver, especially for B2B WooCommerce customers.

This post will guide you through creating a custom empty cart button. We’ll cover a code-based solution that uses jQuery to listen to button clicks and Ajax to trigger the empty cart function.

Enjoy!

Continue reading WooCommerce: Custom “Empty Cart” Button

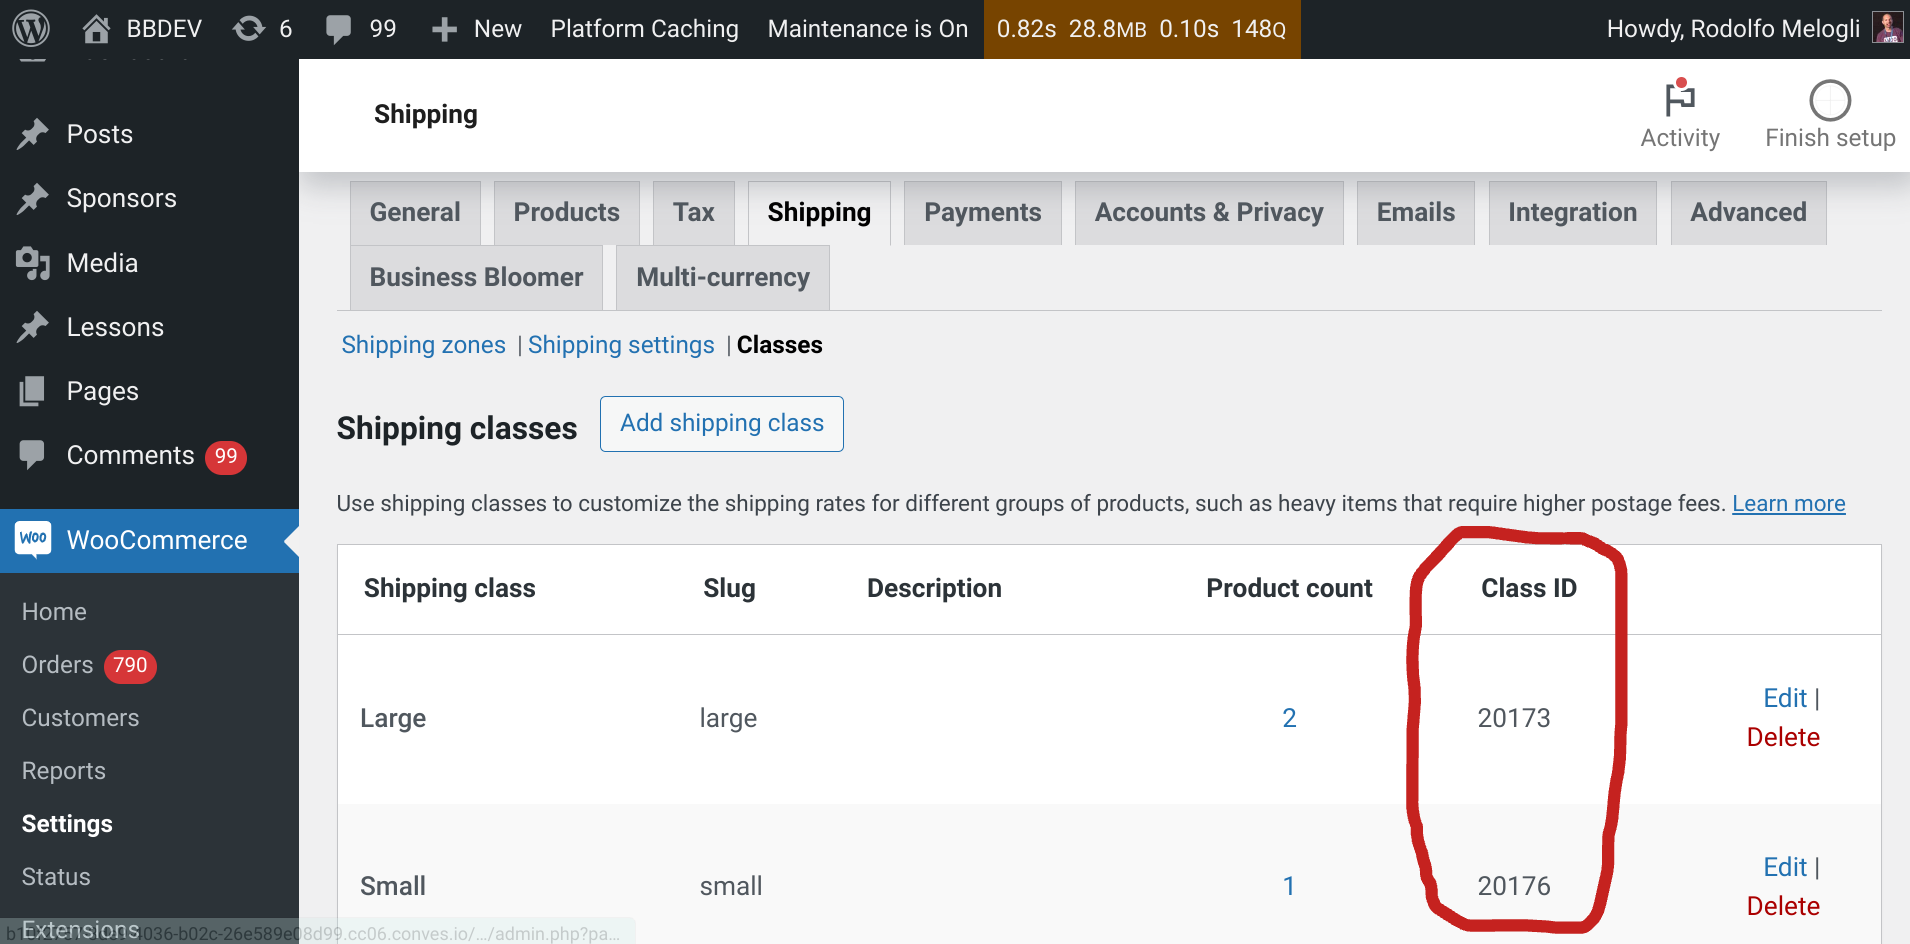
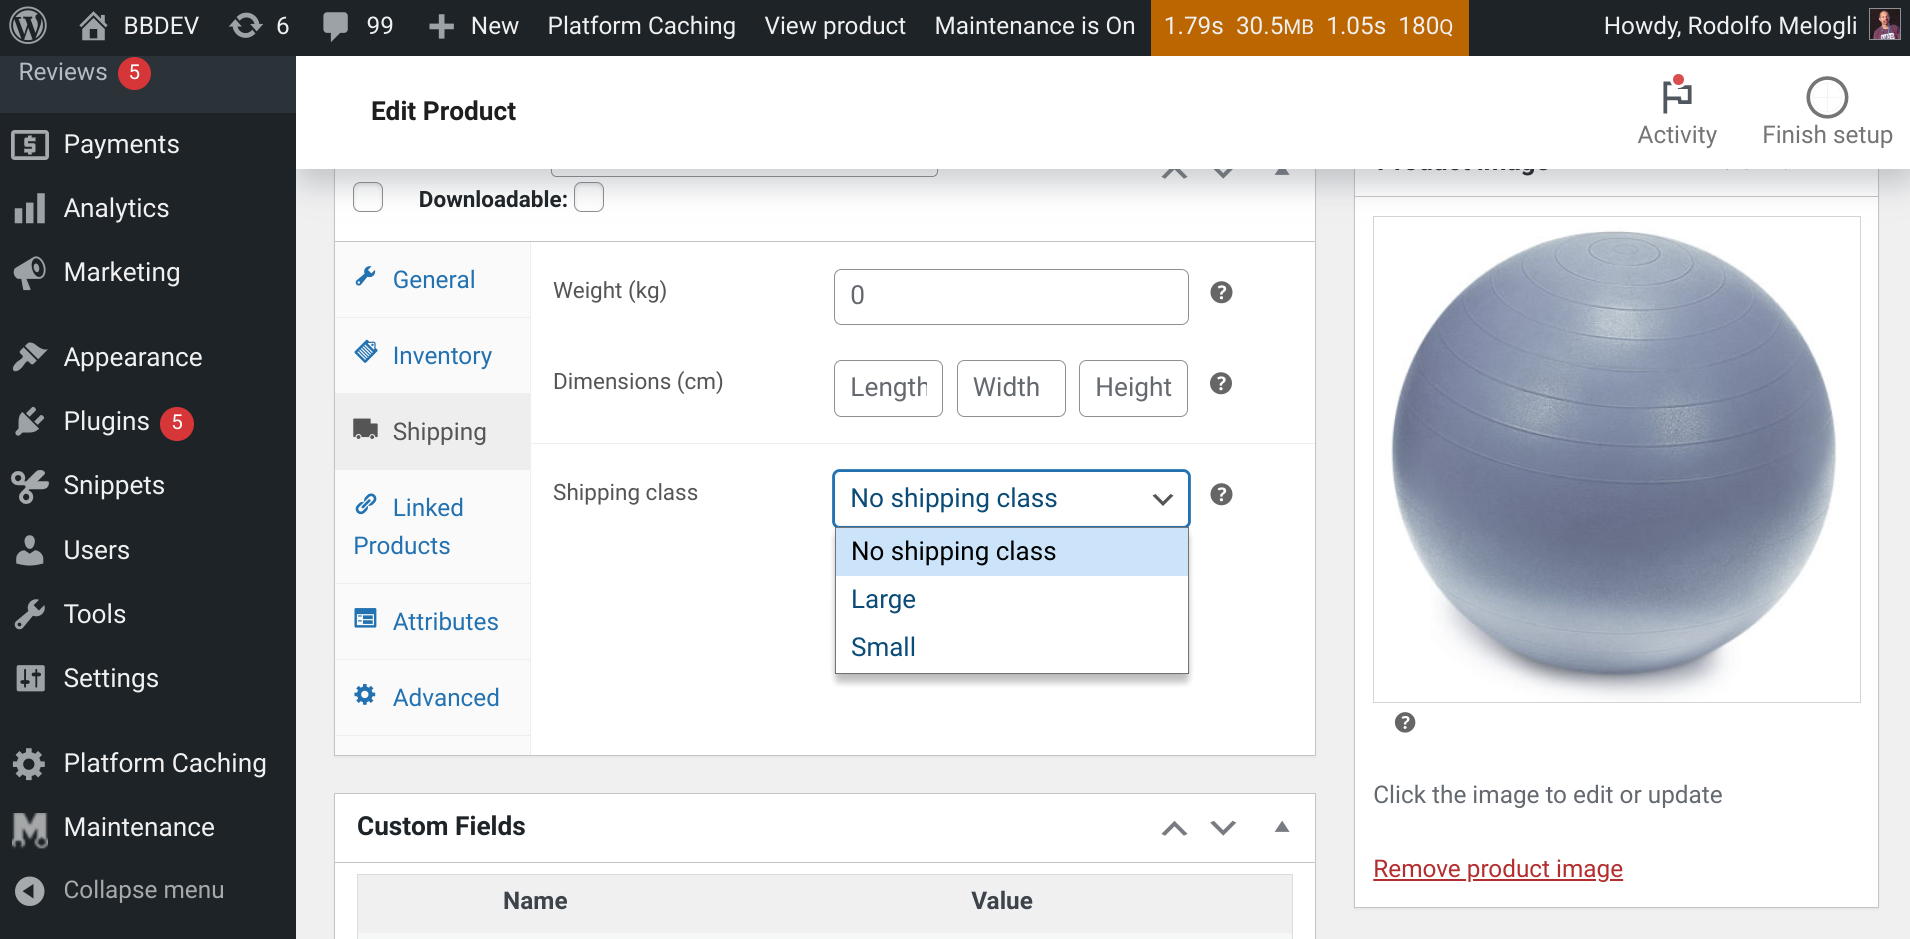
WooCommerce: Add Checkout Fee Based On Shipping Class

Whether you’re dealing with bulky items, fragile goods, or specific shipping items, you can leverage WooCommerce’s flexibility and implement a fee structure that accurately reflects shipping complexities, improves profit margins, and enhances overall order management.

This tutorial gives you a practical solution – dynamically adding checkout fees based on whether a given shipping class is in the cart.

Enjoy!

Continue reading WooCommerce: Add Checkout Fee Based On Shipping Class

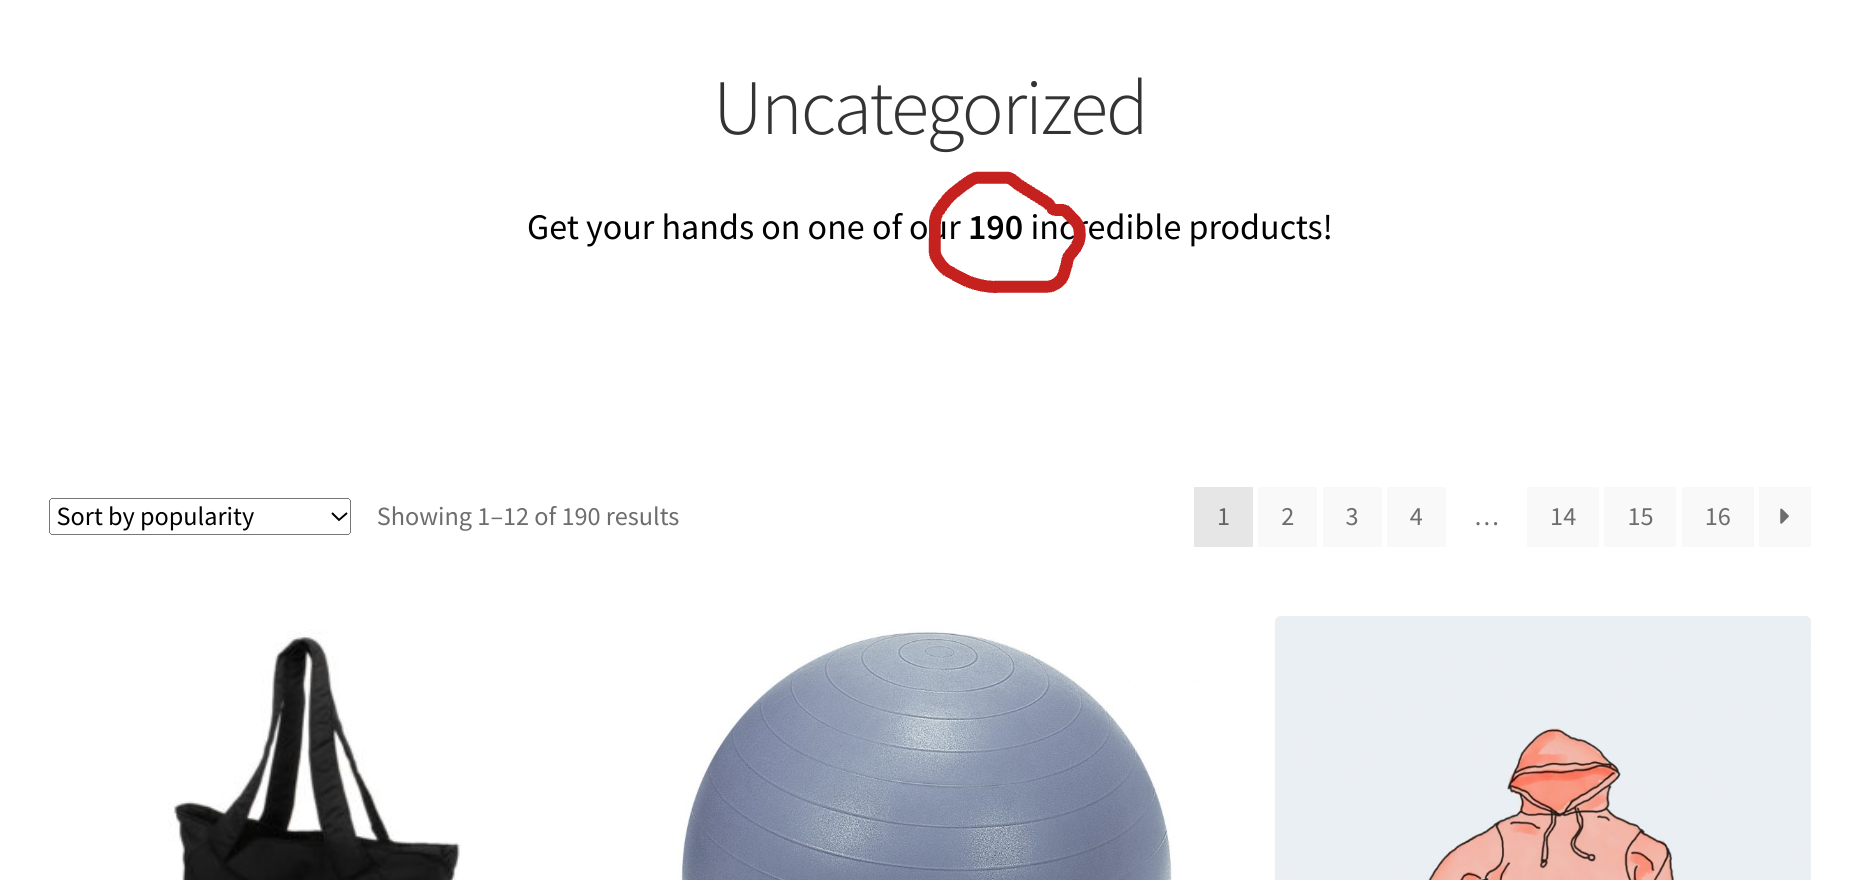
WooCommerce: Hide Free Products [Code Snippet]

Are free products cluttering your WooCommerce store? Or are they so many, that you have no intention of manually setting them to “catalog visibility: hidden” one by one and need a proper shortcut?

Well, this guide will walk you through effective methods to conceal them, enhancing your store’s overall aesthetic and user experience.

Discover how to strategically hide $0 products from the shop / category / archive pages using WooCommerce custom code or dedicated plugins – enjoy!

Continue reading WooCommerce: Hide Free Products [Code Snippet]

WooCommerce: Edit Custom Field @ Order Admin

Adding a custom field to your WooCommerce checkout is a breeze. It’s a fantastic way to collect extra information from your customers. It could be a custom Billing field, a Shipping field, or a completely unrelated custom field.

But while you can easily view the custom field data in the backend, editing it directly from the order admin is a frustratingly locked feature. This presents a significant challenge for businesses needing to modify order details post-purchase.

Luckily, a bit of custom code can fix this, giving you the flexibility and control you need to manage your orders effectively.

Let’s dive in and explore how to overcome this hurdle. Enjoy!

Continue reading WooCommerce: Edit Custom Field @ Order Admin

WooCommerce: Get Customer ID From An Email Address

Customizing your WooCommerce store via PHP can involve a variety of tasks, from personalizing orders to managing customer interactions. Often, you might need to find a specific customer’s information, but all you have is their email address.

For example, on this same website, I have custom contact forms that give me a name and an email address upon submit. What if I need to check if the email address is an existing WooCommerce customer who has placed some orders?

Well, the PHP below will give you a quick way to “calculate” the customer ID if you only have an email address. It’s then easy to use the result in a custom calculation or core function, such as wc_get_orders().

Enjoy!

Continue reading WooCommerce: Get Customer ID From An Email Address

WooCommerce: Notify Admin For Product Reviews But Not For WordPress Comments

WooCommerce product reviews are, actually, WordPress comments.

When you install WordPress, comment notifications for admins are turned on. You can choose to receive emails for all new comments, or only for comments that require moderation (haven’t been approved yet).

The problem is that if your site gets a lot of spam comments, you might be bombarded with emails. Even with legitimate comments, constant notifications can be overwhelming.

So what if we disable WordPress comment notifications all together, while we keep them enabled for WooCommerce product reviews only?

This is what we’ll code today – enjoy!

Continue reading WooCommerce: Notify Admin For Product Reviews But Not For WordPress Comments

WooCommerce Visual Hook Guide: Cart Page (Block Version)

I’ve put together a visual hook guide for the WooCommerce Cart Block (you can find the legacy shortcode version here).

Please note – as of the date above, you can’t really customize the Cart Block via PHP (unless you use the workaround below).

If you need to personalize the Cart page, move elements around, hide default elements, add custom content, you can play on the Edit Page and do the usual manual work with blocks: you can move them (e.g. you can move the coupon form to the bottom), remove them (e.g. you can remove the cross-sells block), place blocks in between default blocks (e.g. you can add some text above and below the “Place Order” button), etc.

But if you wish to do that via code (custom plugin, snippet, child theme), then you must revert to the shortcode version – unless, once again, you get to understand my workaround as per the below visual hook guide.

So, at least for now and until WooCommerce decides to release actions and filters for us developers, let’s see how to find WooCommerce Cart Block hooks quickly and easily by seeing their actual location.

Once you’ve picked your hook, all you need to do in your custom code is “add_action(‘hook_name’,’custom_function’);” and you can place your personalized content in that exact position within the WooCommerce Cart Block.

Enjoy!

Continue reading WooCommerce Visual Hook Guide: Cart Page (Block Version)

WooCommerce: Set Product Upsells Programmatically

Looking to boost your WooCommerce store’s average order value?

Upsells are a powerful tool, but manually entering them via the Edit Product page can be tedious.

This tutorial dives into the world of programmatic WooCommerce product upsells, empowering you to leverage code for a dynamic and data-driven upsell strategy.

In under 5 lines of PHP, we’ll guide you through the process of setting up upsells using code, unlocking greater control and personalization for a seamless customer experience that maximizes your sales potential. Enjoy!

Continue reading WooCommerce: Set Product Upsells Programmatically

WooCommerce: Remove Second Item When Item Removed From Cart

This approach might be relevant for specific promotional offers (e.g. BOGO) or custom coded product bundles. In this case, you may want to remove a second item from the cart – programmatically – once a product is removed.

Of course, a relationship is needed between the two cart items via custom cart item meta data (for example, the “bundled” item will need to specify the ID of the “base” product in the cart within some custom cart item meta, so that we can “listen” to its removal).

Alternatively, you can check if a pair of product IDs are in the cart, and if one of them is removed, we’ll automatically remove the other – this is the case study we’ll go through today as it’s much easier.

Enjoy!

Continue reading WooCommerce: Remove Second Item When Item Removed From Cart

WooCommerce: Deposit Payment @ Order Pay Page

In WooCommerce, the order pay page is a specific webpage a customer lands on to complete payment for an order. It’s typically used for manual orders.

When a store admin creates an order in the WooCommerce backend, the system generates a unique URL for the order pay page. This link can then be shared with the customer via email or other means, allowing them to submit payment.

The question is – what if we want the customer to pay a deposit / first installment / partial payment on the Order Pay page (say the order total is $999, and you want them to pay $111 only)?

Well, we could use a URL parameter – if that’s present and the value is lower than the order total, we can “filter” the order total and let the customer pay whatever amount. Let’s see how it’s done!

Continue reading WooCommerce: Deposit Payment @ Order Pay Page

WooCommerce: Add Content To “New Account” Welcome Email

First impressions matter, especially in ecommerce. When a customer creates an account on your WooCommerce store, the “Your {site_title} account has been created!” welcome email is your golden opportunity to solidify a positive connection.

However, the standard WooCommerce email might fall short:

Hi Rodolfo,

Thanks for creating an account on {site_title}. Your username is ____. You can access your account area to view orders, change your password, and more at: ___

Click here to set your new password.

This tutorial teaches you how to display additional content in the “welcome” email. You can then personalize greetings, showcase your brand story, and strategically introduce features like exclusive offers or product recommendations. By tailoring these emails, you’ll not only provide valuable information but also nurture customer loyalty and encourage them to explore your offerings further.

Enjoy!

Continue reading WooCommerce: Add Content To “New Account” Welcome Email

WooCommerce: Simple Add To Cart Click Counter

Ever wondered how many visitors actually click “Add to Cart” on your WooCommerce store?

This seemingly simple action holds valuable insights into your product appeal and conversion funnel. By implementing an Add to Cart click counter, you gain a crucial piece of the puzzle, allowing you to calculate your conversion rate more accurately. You already have the number of product sales available, so with this additional piece of data you can assess how effective your product pages are.

In this tutorial, we’ll implement a simple click tracking functionality for a WooCommerce button, guiding you through the setup process and exploring the valuable insights it unlocks. Enjoy!

Continue reading WooCommerce: Simple Add To Cart Click Counter

WooCommerce: Add Content To The “Order Pay” Page

The WooCommerce “Order Pay” page is a hidden gem within the checkout process. It’s not typically encountered during a standard customer purchase journey – it comes into play when a store admin creates a manual order in the WooCommerce backend and sets it to “Pending” order status, often for scenarios like phone orders or custom quotes. WooCommerce generates a unique URL that can be shared with the customer for secure online payment.

TLDR: the “Order Pay” page serves a specific purpose – allowing customers to complete payment for manually created orders.

If you’ve seen the “Order Pay” page before, you know it only contains the order items table, and the payment form. Nothing else. So, let’s add some HTML content above the table, like a heading, some text, a banner, or whatever you may need to help the customer submit their payment asap!

Continue reading WooCommerce: Add Content To The “Order Pay” Page

WooCommerce: Send Default Order Email For Custom Status Transition

WooCommerce offers flexibility with custom order statuses, but email notifications can be limited. By default, in fact, WooCommerce triggers the “completed”, “processing”, “on-hold” and all the other default emails when the order status changes from X to Y as defined in the plugin code.

But what if you want to trigger the “Order Completed” email if the order status transitions from your custom order status to the “completed” one? Or what if you want to trigger the “Order On-hold” email beyond its default triggers?

This post unlocks a powerful technique: triggering a default order email for a custom order transition. Let’s see how it’s done!

Continue reading WooCommerce: Send Default Order Email For Custom Status Transition

WooCommerce: Show Additional Button @ Mini Cart

Looking to enhance the functionality of your WooCommerce store’s mini cart widget?

Adding an additional button can provide a smoother user experience and increase conversion rates. Whether you want to offer quick access to the shop page, a deals page, or a shortcut to your contact form – customizing the mini cart with an extra button can be powerful.

In this tutorial, we’ll walk you through the steps to add an additional button to your WooCommerce mini cart. This easy-to-follow guide will help you boost user engagement and streamline your customers’ shopping journey.

Continue reading WooCommerce: Show Additional Button @ Mini Cart

WooCommerce: Get Products On Sale Via PHP

We’ve already seen how to programmatically assign the “Sale” category to WooCommerce products on sale. That snippet actually uses the “shortcut” function we’re talking about today, wc_get_product_ids_on_sale().

This is a super helpful way to get something without complex queries or foreach loops. So I’d like to study its codebase, see what it returns, and finally test it and print something via a shortcode.

Enjoy!

Continue reading WooCommerce: Get Products On Sale Via PHP

WooCommerce: Add Custom Tab @ Admin Settings

WooCommerce offers a comprehensive set of settings organized into several tabs within the WordPress admin dashboard: General, Products, Shipping, Taxes, Payments, Accounts & Privacy, Emails, Integration, Advanced.

These are the core WooCommerce settings tabs. Depending on your specific setup and any additional plugins you might be using, you might see additional custom tabs as well.

Which is exactly what we’re doing today – creating a custom tab!

By adding a dedicated section within the WooCommerce settings, you can organize your custom settings and keep everything neatly categorized and consistent. This not only improves your own workflow but also makes it easier for any future collaborators to manage your custom options.

This tutorial will guide you step-by-step through the process of creating a custom tab in your WooCommerce settings. We’ll cover everything from setting up the basic structure to implementing functionalities like saving your custom options.

Enjoy!

Continue reading WooCommerce: Add Custom Tab @ Admin Settings