WooCommerce: Disable Checkout Field Autocomplete

By default, WooCommerce adds the “autocomplete” attribute to almost all checkout fields. For example, “billing_phone” has “autocomplete=tel”, “billing_country” has “autocomplete=country” and so on.

When logged out or if the logged in user has never done a purchase before, the WooCommerce Checkout page fields are possibly autofilled by the browser based on saved data / addresses.

Today, we’ll take a look at how to disable this autofill behavior, so that the customer is forced to enter data inside an empty input, and maybe in this way you can apply your custom validation or pattern, such as a specific phone number format. Enjoy!

Continue reading WooCommerce: Disable Checkout Field Autocomplete

WooCommerce: Refresh Checkout Upon Any Input Field Change

You may be aware that the WooCommerce Checkout page “order review” section reloads/refreshes every time there is a change of address – in this way shipping, taxes and optional fees are properly recalculated and customers are returned with the correct total.

But in case you add custom checkout fields that may cause a difference in pricing, or you want to keep the checkout UX consistent, or you have some other kinds of logic, it may be useful to refresh the order review section after a change on any checkout field. Enjoy!

Continue reading WooCommerce: Refresh Checkout Upon Any Input Field Change

WooCommerce: Close Button @ WooCommerce Checkout Notices

WooCommerce frontend messages and error notifications display on the Single Product page, Cart page, Checkout page, My Account page and may show on page load or upon a specific user action.

The potential problem is that – same as the WordPress backend – WooCommerce messages can use a lot of vertical space, hence can push useful content further down the page, and possibly disturb the navigation – especially on the Checkout page.

A cool workaround may be to place a dismiss “x” button on the WooCommerce notices, so that customers can quickly close them and gain back some space.

We will use a mix of PHP, JS and CSS in the snippet below in order to achieve our final goal. Enjoy!

Continue reading WooCommerce: Close Button @ WooCommerce Checkout Notices

WooCommerce: Edit “Ship to a Different Address?” @ Checkout

The “Ship to a Different Address?” checkbox displays on the WooCommerce Checkout page and toggles the shipping form. That’s useful when Billing and Shipping addresses are different, so let’s say every B2C requires the double form.

However, the “Ship to a Different Address?” string may be confusing or may need further clarification, as not all customers are created equal. What about “I’d like to define a different shipping address” or “Ship to a different address than the Billing one“?

Either way, editing the string is super easy, so you can change it to whatever you like. Enjoy!

Continue reading WooCommerce: Edit “Ship to a Different Address?” @ Checkout

WooCommerce: Turn Checkout Into a Quote System

There are certainly ways and plugins to turn WooCommerce into a quote engine, but today I want to share a super simple workaround that could be helpful to many.

In a nutshell, we’ll use the same WooCommerce cart/checkout flow, rename a few strings and buttons, enable an offline payment gateway (so there is no actual payment), let the admin revise the order and send back the final invoice, and finally get the customer to pay for their order.

Enjoy!

Continue reading WooCommerce: Turn Checkout Into a Quote System

WooCommerce Subscriptions: Display Start-End Dates @ Cart & Checkout

Interestingly enough, when you add a subscription product to the cart, there is no renewal date information unless you scroll to the very bottom and are able to read the very small text below the “recurring total” (see screenshot).

It would be way more helpful if dates (and specifically the WooCommerce subscription start date and end date) showed right under the product name inside the Cart table and in the Checkout page order review, so that the customer knows exactly what they are purchasing before having to figure that out.

So, here’s how it’s done. Enjoy!

Continue reading WooCommerce Subscriptions: Display Start-End Dates @ Cart & Checkout

WooCommerce: Upload File @ Checkout Page

No matter what you try, but simply adding an HTML input type=”file” won’t work on the WooCommerce Checkout page. I believe this is a security measure and as such, we need to find a workaround.

The only possible solution is to upload the file BEFORE the checkout is submitted, so that upon “Place Order”, the file is already available in the Media section and can be attached to the order as a simple string (URL).

Such upload can happen via Ajax, so that the customer won’t notice anything on the Checkout page – they are actually uploading a file to your website without even noticing it (yes, you need to apply some security measures, of course).

Here’s how it’s done – enjoy!

Continue reading WooCommerce: Upload File @ Checkout Page

WooCommerce: Populate Checkout Fields From URL

On top of adding products to cart via URL and redirect to checkout, there is a way to also fill out the Checkout page input fields within the same link.

This could be super handy when you know the billing/shipping details of a registered or guest customer and want to speed up the order process.

It’s important to note that the URL will need to contain personal data e.g. email address, billing address, phone number, and so on; you need to make sure the URL is only shared with the specific customer (in an email, for example, as content is tailored to the subscriber; or only when the WooCommerce customer is logged in if you’re using the URL behind a website button).

Once that’s clear, let’s go ahead, and let’s see how my WooCommerce snippet works. Enjoy!

Continue reading WooCommerce: Populate Checkout Fields From URL

WooCommerce: Change Product Quantity @ Checkout Page

We covered a lot of WooCommerce Checkout customization in the past – it’s evident that the Checkout is the most important page of any WooCommerce website!

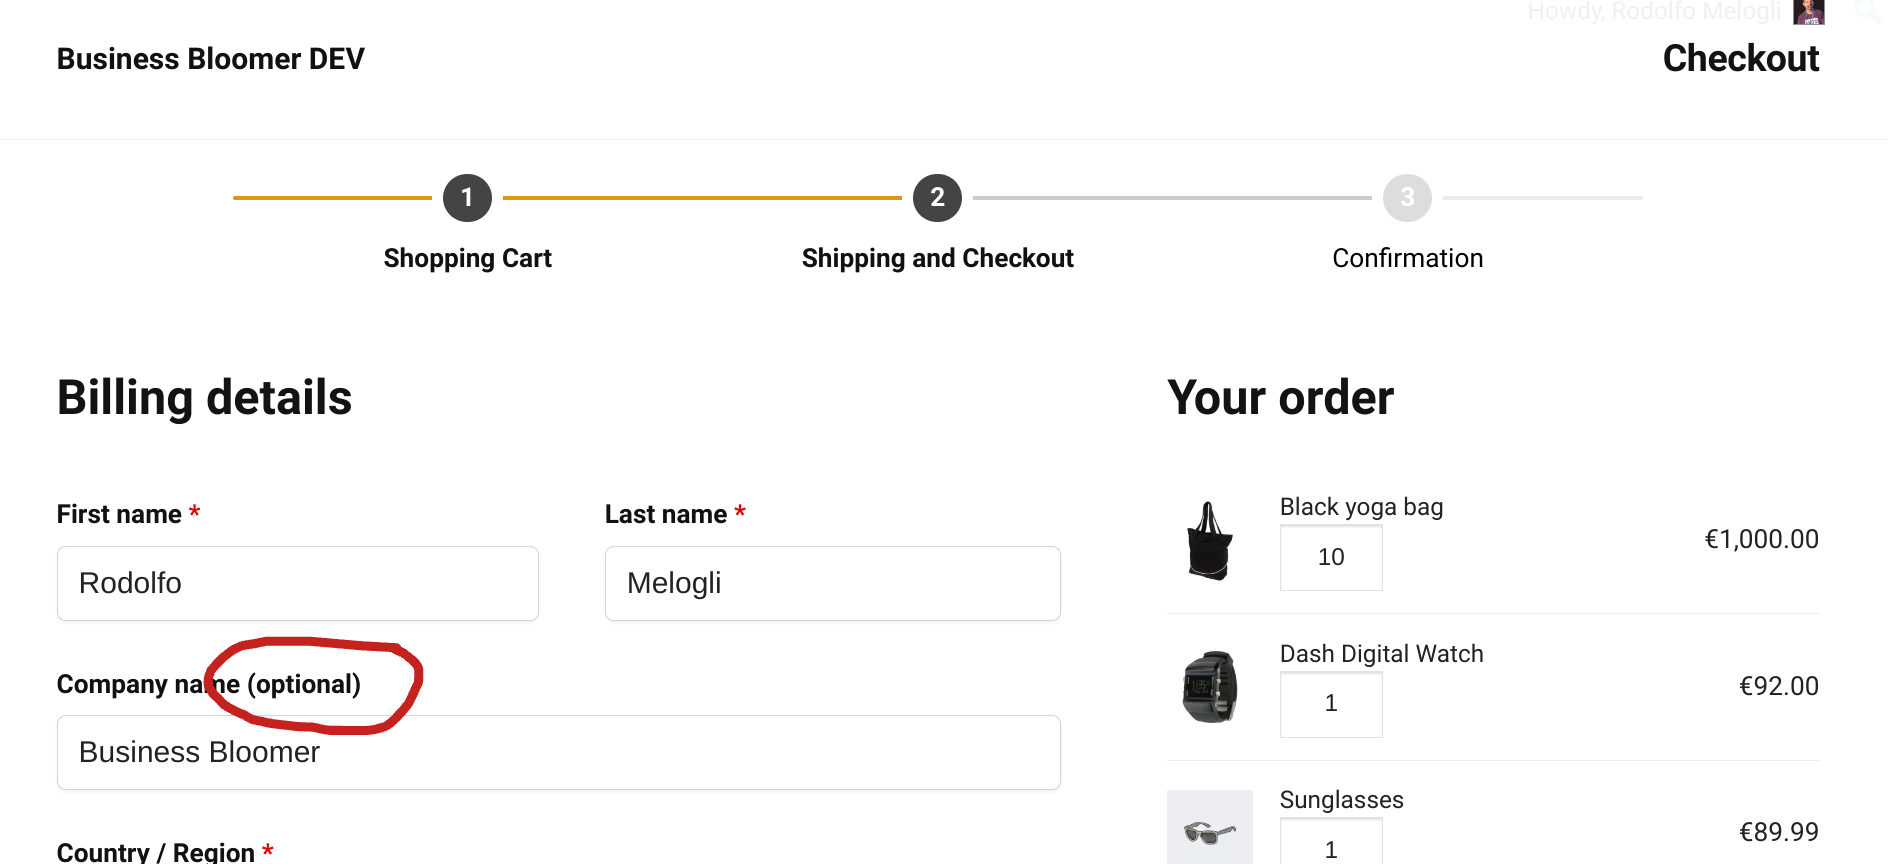
Today we’ll code a nice UX add-on: how do we show product quantity inputs beside each product in the Checkout order table? This is great if people need to adjust their quantities on the checkout before completing their order; also, it’s helpful when you have no Cart page and want to send people straight to Checkout and skip yet another click.

In this post, we’ll see how to add a quantity input beside each product on the Checkout page, and then we’ll code a “listener” to make sure we actually refresh the Checkout and update totals after a quantity change. Enjoy!

Continue reading WooCommerce: Change Product Quantity @ Checkout Page

WooCommerce: Retain Field Values @ Checkout Reload

Go to WooCommerce Checkout as a logged out user. Fill out billing name, surname, address, email and phone. Change your mind and go back to Cart. Return to Checkout. Billing name, surname, email and phone (basically everything but the address) are gone!

But hey, this annoying WooCommerce flaw is about to go away with a few lines of code. Either reload the Checkout page or go back to it later – your info will still be there (as long as you haven’t cleared your cache/cookies and the WooCommerce session hasn’t expired of course).

Enhoy!

Continue reading WooCommerce: Retain Field Values @ Checkout Reload

WooCommerce: How to Enable Distraction-free Checkout

It’s always a sign of success when customers show interest in your products, add them to their carts, and proceed to checkout. But what’s the point if they drop off and leave your site in the middle of the checkout process? Unfortunately, cart abandonment is common, and one of the major reasons behind incomplete purchases is a complicated and distractive checkout procedure. 

According to the Baymard Institute research, 26% of online shoppers abandon the carts because of too complicated or too long of a checkout process, significantly impacting the eCommerce sales and revenue – losing $18 billion annually, to be precise. 

Losing valuable customers and such a tremendous amount of revenue is no joke – and one of the best ways to prevent this situation is by redesigning the WooCommerce checkout.     

The idea is to remove as much clutter and distractions through the checkout procedure – so customers can focus on completing the checkout entirely and end up buying your products. 

But first, let’s understand the use of these plugins and how they help your WooCommerce store and eCommerce business. 

Continue reading WooCommerce: How to Enable Distraction-free Checkout

WooCommerce: Automatically Register Guest Checkouts

A disclaimer first: please make sure this is legal in your country and also that your checkout visitors are aware they will become registered customers without explicit consent (i.e. without ticking a “create an account on this site” checkbox).

So, yeah, there is a way to turn guest checkouts into registered customer ones. Also, there is a neat WooCommerce function to bulk add all past guest orders to a new customer (wc_update_new_customer_past_orders).

Of course, “Allow customers to place orders without an account” must be enabled in your WooCommerce settings, otherwise you’re not allowing guest checkouts and the snippet will be irrelevant.

So, here’s the fix. Enjoy!

Continue reading WooCommerce: Automatically Register Guest Checkouts

WooCommerce: Phone Input Mask @ Checkout

The WooCommerce checkout page has a default phone input field that gets validated upon checkout (for HTML geeks, it’s actually an input type = “tel”). Usually, if such phone number contains letters, it will fail and checkout will stop.

But that’s not the problem. Let’s suppose you only have US customers, or that you want to force customer to enter a certain format (e.g. “+” or “01” as prefix)… well, there is no way to achieve that out of the box within the WooCommerce settings.

However, anything is possible in regard to customization, so all we need are 3 small changes: force the billing phone input to stay within a “maxlength“, set the phone input placeholder so that users know what the format should be before typing in, and finally add some JavaScript to provide an input “mask”, so that the final output is exactly what we want (123-456-7890 in this case scenario, but it could be anything).

Enjoy!

Continue reading WooCommerce: Phone Input Mask @ Checkout

WooCommerce: Top Checkout Field Editor Plugins

If you haven’t thought about checkout page customization before, perhaps it’s time to start doing so. 

There’s no question that it’s a hot topic in the WooCommerce community since, admittedly, the default checkout page leaves a lot to be desired.

You don’t want to be behind the curve. Here at Business Bloomer, Rodolfo has put out 90+ different checkout page snippets that have been eagerly lapped up by the WooCommerce developer and merchant community. Seriously, these are some of our most widely read and engaged posts. 

But in addition to snippets, it’s worth checking out some checkout field editor plugins. Sometimes, instead of a specific tool with a narrow focus, you need a Swiss army knife. Think of snippets as the tools, and checkout field editors as the Swiss army knife.

Continue reading WooCommerce: Top Checkout Field Editor Plugins

WooCommerce: Show Product Images @ Checkout Page

Show WooCommerce Product Images @ Checkout

The Order Review section of the WooCommerce Checkout Page shows the product name, quantity and subtotal. No sign of the product image, which can be very useful to identify/differentiate between similar products or product variations.

This simple snippet will help you display just that: the featured image beside the product name inside the order review table. Easy peasy. Enjoy!

Continue reading WooCommerce: Show Product Images @ Checkout Page

WooCommerce: Move Labels Inside Checkout Fields

Although UX and accessibility experts won’t like this customization, it’s still important to know “what’s possible” with WooCommerce.

In regard to the checkout form (billing + shipping + notes), there is a useful “woocommerce_checkout_fields” hook (filter) that is widely used by developers like me to alter the behavior of input fields.

In today’s episode we will take a look, indeed, at how to remove the checkout field labels from their default position (above fields), and use them as placeholders instead, so that we save up some vertical space.

Enjoy!

Continue reading WooCommerce: Move Labels Inside Checkout Fields

WooCommerce: The Elusive Nature of 1-Click Checkout

Increasing sales and conversion rates is one of the major goals of every eCommerce store owner. However, it’s no secret that you can only achieve it by attaining a peak level of user and customer experience. 

While at the beginning of the dot com online shopping era, customers were elated with the mere fact that they could buy anything they desired from the comfort of their homes – no matter the payment method or how long the delivery takes. Customers today are very particular about their preferences and expectations – especially when it comes to checkout. 

Checkout is an essential factor in improving customer experience as it’s where your customers finalize their sales and pay for the products or services you offer. For example, Amazon – one of the biggest eCommerce giants, provides an optimal and one-click checkout experience to its customers. 

While many eCommerce companies still cling to the multi-step checkout process – one-click checkout delivers simplicity and speed in the customer checkout process. The key is to make checkouts smooth and quick – eliminating the hassle of entering card details repeatedly for your customers. Out of 69.80% of cart abandonment rate – 18% of customers abandon their carts because of a long and complicated checkout process. 

The solution? PeachPay, the one-stop-shop checkout & payment plugin for WooCommerce

An instant and less complicated checkout process significantly impacts conversion rates and boosts your sales. So, in this article, we’ll see how you can use and enable PeachPay – an excellent WooCommerce-funded checkout & payment plugin, to boost conversions and sales. 

But first, let’s quickly see how a one-click checkout solution will benefit your WooCommerce store. 

Continue reading WooCommerce: The Elusive Nature of 1-Click Checkout

WooCommerce: Move Email Field to Top @ Checkout

This tutorial is a spin-off of a previous article (WooCommerce: Move / Reorder Checkout Fields) as I feel there is a huge boost of requests for this task alone.

Moving the billing email field to the top of the WooCommerce checkout gives you many benefits: because it’s the first field customers need to fill out, you can capture their email address (upon marketing permission) and send them cart reminders, feedback requests and similar if they do not complete the checkout.

Also, having the email first can make you save time in case the user is already registered, and you could save them time while checking this against the list of customers, so a prompt can be displayed to load all their billing/shipping details for example.

Either way, it’s super easy to move the email field to the top. Enjoy!

Continue reading WooCommerce: Move Email Field to Top @ Checkout

WooCommerce: Checkout Test Automation 101

E2E Checkout Testing

Testing the WooCommerce checkout is extremely important for your ecommerce business.

Every time you install a new plugin or update WordPress you might run into issues: for example, the cart and payment pages could stop working until you fix the problem.

You don’t want to lose sales and undermine your website reputation, do you? So you must test all the WooCommerce processes on a regular basis, also called “end to end” (E2E) testing.

But how can you do that without wasting too time?

Spoiler alert: simply create an automated test, and let the robot test your WooCommerce website on a regular basis, so that you never have to worry about doing it manually.

Luckily for you, there are some great tools – such as the two you will soon read about – and WooCommerce professionals that can do it for you on a daily or whatever basis.

Here’s your quick introduction to setting up your checkout test automation.

Cheers to a checkout page that works 365 days a year.

Continue reading WooCommerce: Checkout Test Automation 101