WooCommerce: Add Checkout Fees Based on Custom Radio Button

This is a great WooCommerce snippet (or plugin, if you wish to call it like that) for those who want to provide conditional checkout fees. For example, you might need to display custom checkout radio buttons to pick premium packaging types, gift wrapping options, specific services or whatever can increase your AOV (Average Order Value).

Radio button selection must work with “Ajax” – which means as soon as the radio button is chosen, checkout must refresh in order to display the updated fees and totals.

Something similar (and also more complex, such as offering additional products) is achieved by the WooCommerce Checkout Add-Ons Plugin sold on the official WooCommerce.com marketplace. But in this case, we want to take a look at custom coding so you’ve got something to play with! Enjoy.

Continue reading WooCommerce: Add Checkout Fees Based on Custom Radio Button

WooCommerce: Hide Checkout Fields if Virtual Product @ Cart

If you sell downloadable/virtual products and need to simplify your WooCommerce checkout when such product type is in the Cart, you’ve come to the right place!

Here’s a simple snippet, as well as a handy mini-plugin, that checks if there are only “virtual” products in the Cart and hides all the billing fields and order notes (except name and email).

The mini-plugin also allows you to enable this for free virtual orders only, and to move the relevant billing fields under a toggle instead of removing them all together.

Enjoy!

Continue reading WooCommerce: Hide Checkout Fields if Virtual Product @ Cart

WooCommerce: Remove Mini-Cart Widget Dropdown

Less is more (sometimes). On this same website, I’m already forcing max 1 product in the Cart and automatically redirecting users to Checkout upon add to Cart. On top of that, I’ve disabled WooCommerce cart fragments for performance reasons.

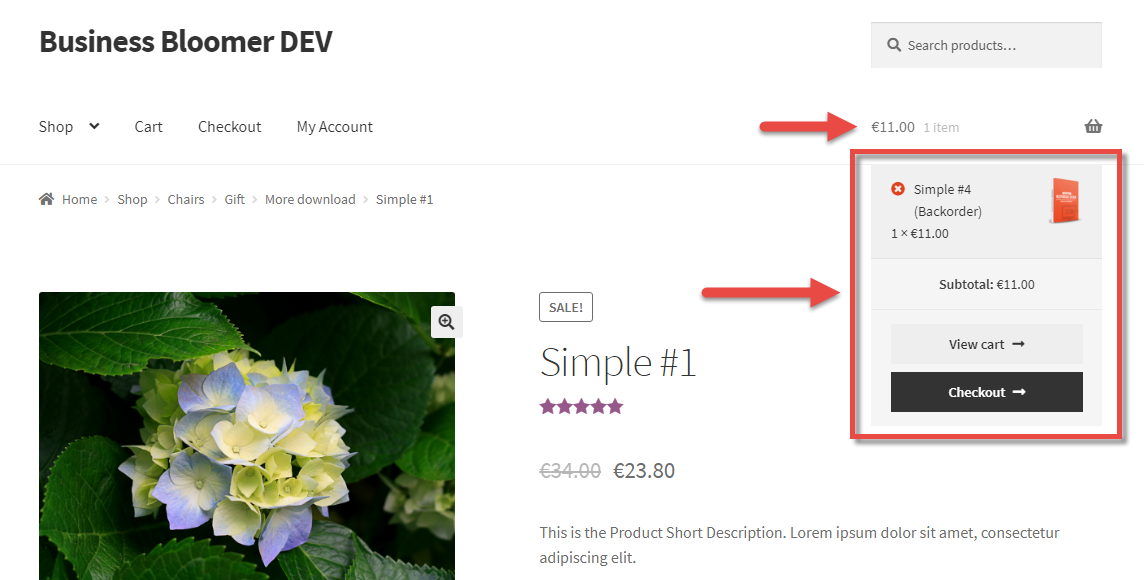
As a result, I definitely don’t need the whole “Mini-Cart Widget Dropdown Content”. To test, try to “hover” onto the shopping cart icon on the top right, and you’ll notice there is no cart dropdown.

Well, this is how it’s done – I love when a complex thing is fixed with one simple line of PHP!

Continue reading WooCommerce: Remove Mini-Cart Widget Dropdown

WooCommerce: Rename “Place Order” Button @ Checkout

The “Place Order” button is the call to action you want ALL customers to take, right? Well, changing its label to a more specific, custom message could mean a small increase in sales conversion.

Thankfully, you can try this with as low as 4 lines of PHP, even if you don’t know coding. Just copy and paste the snippet by following the instructions below and give your unique store a unique checkout message ๐Ÿ™‚

Continue reading WooCommerce: Rename “Place Order” Button @ Checkout

WooCommerce: Save “Terms & Conditions” Acceptance @ Checkout

When going legal… you need proof. Accepting the “Terms and Conditions” on the checkout is required in order to place an order – but how can you, WooCommerce store admin, “prove” that the Terms and Conditions were actually ticked by the customer?

One of the solutions might be to save such acceptance in the database and print the acceptance on the order admin (and maybe on the customer invoice as well). So, here’s a quick PHP snippet you can simply copy and paste in your child theme’s functions.php file in order to (1) save and (2) print the choice on the Single Order Admin page. Enjoy!

Continue reading WooCommerce: Save “Terms & Conditions” Acceptance @ Checkout

WooCommerce: Change Autofocus Field @ Checkout

If you decide to delete or reorder checkout fields, you probably also need to change the checkout field with “autofocus”. In plain English, this is the checkout field where the keyboard cursor goes automatically to on checkout page load (by default, this is the Billing First Name).

As usual, changing this default behavior is very easy, even if you’re not familiar with PHP. In the example below, I’m removing the autofocus from Billing First Name and assigning it to the Billing Email field instead.

Copy the snippet, test it on your development environment and only then push it to your live website. Enjoy! Continue reading WooCommerce: Change Autofocus Field @ Checkout

WooCommerce: Add Content Under “Place Order” Button @ Checkout

Adding content to the WooCommerce Checkout page is very easy.

All you need is to identify the position where you want to show your content (by using my WooCommerce Checkout Visual Hook Guide) and then create a short PHP function that prints on screen the content you need.

In this example, we will see how to add some content below the “Place Order” button on the WooCommerce Checkout page. This could be very helpful, for example, to print your GDPR-compliant Privacy Policy message and make sure the user is aware about the use of personal data. Continue reading WooCommerce: Add Content Under “Place Order” Button @ Checkout

WooCommerce: Display Order Delivery Date @ Checkout

Here’s how you can add a “calendar” field on the WooCommerce checkout page, let people decide the delivery date, and save this value in the order.

It took me ages to implement this for a client (it was much more complex, with available dates, different calendars based on different shipping zones, max weight per day, etc) so I thought of sharing the basic snippet with you! Enjoy ๐Ÿ™‚

Continue reading WooCommerce: Display Order Delivery Date @ Checkout

WooCommerce: Turn Checkout Field Into a Drop-down

Talking about UX optimization, the WooCommerce checkout is where you should focus most of your time. Shopping cart abandonment is a huge issue – think about hidden charges, lack of payment methods, checkout bugs and, also, too many checkout fields to fill out manually.

Today, we will see how to turn a checkout text field into a select dropdown. Why not let customers pick from a list instead of typing in? Enjoy!

Continue reading WooCommerce: Turn Checkout Field Into a Drop-down

WooCommerce: Send Checkout User Info to Email Recipient

When my blog readers become official Business Bloomer supporters, a few custom fields are conditionally displayed on the WooCommerce checkout (thanks to this snippet or this other snippet).

For example I show a custom user Twitter field. Thanks to the snippets, this is automatically saved into the WordPress User Profile page. But as I love to thank each Business Bloomer supporter on Twitter, I wanted to generate an additional email reminder (to myself, or to an assistant’s email address for example) with the Twitter username I should be thanking. You might need something like this if you need to send a new customer email address to a coworker. Or maybe a new address to a dropshipper…

So, how do you send a custom email with some user information, after such user completes the checkout and a new WooCommerce order is created? Continue reading WooCommerce: Send Checkout User Info to Email Recipient

WooCommerce: How to Enable Multi-Currency?

If you got here it’s because you’re looking to increase your sales conversion rate by enabling “Multi-Currency” in your WooCommerce website.

The concept behind the currency switcher is simple: if I’m based in Europe I’d love paying in Euros, while if I were based in US I wouldn’t fancy the same treatment and I’d prefer paying in US Dollars – and so on. The more currencies, the higher your conversion rate.

Unfortunately you can only pick one currency from the WooCommerce settings, so you’ll need a plugin for enabling Multi-Currency. And despite there are many WooCommerce currency switcher plugins out there, there is one that stands out from the crowd.

A good currency switcher plugin for WooCommerce has many requirements. First of all, great support and clean code – when dealing with online payments you have to be sure everything works perfectly and that online customers don’t abandon the checkout. Second, Multi-Currency should work together with geolocation: manually selecting currencies is ok and all, but displaying automatically the correct currency based on IP address is much better UX. Finally, you should have the option of deciding conversion rates yourself or using reliable automatic database checking for daily exchange rate checking.

Thankfully, you can achieve all that with a single plugin.

Continue reading WooCommerce: How to Enable Multi-Currency?

WooCommerce: Display Product Categories @ Cart & Checkout Pages

While working for a freelance client I had to “detect” the cart item categories in order to apply some PHP customization.

So I thought – why not share with you how to display product categories in the Cart and Checkout? This adds a nice touch to those two vital pages, and prints a list of product categories under each cart item.

Also, I’m glad to introduce you to the amazing world of “wc_get_product_category_list“, a very handy WooCommerce PHP function!

Continue reading WooCommerce: Display Product Categories @ Cart & Checkout Pages

WooCommerce: Per-Product Terms & Conditions @ Checkout

A freelance client sells two distinct products on the same website: a membership and an online course. Two different audiences, different formats and… different Terms & Conditions.

The goal was therefore to display the “Terms & Conditions” checkbox on the Checkout page based on the product in the cart. Once again, we’re going to use Conditional Logic. With that, the snippet is pretty easy to code!

Continue reading WooCommerce: Per-Product Terms & Conditions @ Checkout

WooCommerce: Add “Confirm Email Address” Field @ Checkout

A correct email address is worth a thousand dollars, some ecommerce expert would say ๐Ÿ™‚ So, you don’t want your WooCommerce checkout visitors to mess up with that, do you?

What about adding an “Email Verification” field? In this way, we can make sure they double check their entry – and also show an error message in case they don’t match!

Let’s see how I implemented this for a freelancing client of mine – I’m sure you will be grateful!

Continue reading WooCommerce: Add “Confirm Email Address” Field @ Checkout