
Increasing sales and conversion rates is one of the major goals of every eCommerce store owner. However, it’s no secret that you can only achieve it by attaining a peak level of user and customer experience.
While at the beginning of the dot com online shopping era, customers were elated with the mere fact that they could buy anything they desired from the comfort of their homes – no matter the payment method or how long the delivery takes. Customers today are very particular about their preferences and expectations – especially when it comes to checkout.
Checkout is an essential factor in improving customer experience as it’s where your customers finalize their sales and pay for the products or services you offer. For example, Amazon – one of the biggest eCommerce giants, provides an optimal and one-click checkout experience to its customers.
While many eCommerce companies still cling to the multi-step checkout process – one-click checkout delivers simplicity and speed in the customer checkout process. The key is to make checkouts smooth and quick – eliminating the hassle of entering card details repeatedly for your customers. Out of 69.80% of cart abandonment rate – 18% of customers abandon their carts because of a long and complicated checkout process.
The solution? PeachPay, the one-stop-shop checkout & payment plugin for WooCommerce.
An instant and less complicated checkout process significantly impacts conversion rates and boosts your sales. So, in this article, we’ll see how you can use and enable PeachPay – an excellent WooCommerce-funded checkout & payment plugin, to boost conversions and sales.
But first, let’s quickly see how a one-click checkout solution will benefit your WooCommerce store.
Benefits Of PeachPay One-click Checkout Solutions For WooCommerce
PeachPay is a WooCommerce checkout & payment plugin that simplifies checkout for your customers and aims to democratize (making it accessible to everyone) one-click checkout while integrating with all the most popular payment methods.
It lets you add a quick checkout button, Express Checkout on your cart, checkout and product pages, and mini/sidebar cart – making it easier for customers to process payments with a single click.
First-time customers simply need to fill out a streamlined form once – which is simpler than many other checkout forms. PeachPay, then remembers this user’s details – eliminating the need for them to enter the information the next time and instead checkout from the Express Checkout button with one click.
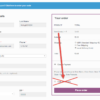
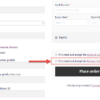
Upon clicking on the button – customers can review their cart and preferences before placing the order.
Here are the benefits of using PeachPay for your WooCommerce store:
- Converts visitors to paying customers – closing the gap between casual browsing and product purchasing with a painless checkout flow.
- Improves customer experiences – removing complications with multiple redirects and making it convenient for your customers to place orders.
- Reduces steps in the checkout process – leaving customers less time to abandon their carts or dwell on purchasing decisions. This helps drive impulse purchases – increasing your store sales by 35% and more.
- Saves customers time – letting them checkout with fewer clicks.
Besides these benefits – PeachPay is fully customizable, seamlessly caters to the diverse needs of WooCommerce store owners, and you can set it up in a few minutes.
Let’s see the steps to install and set up PeachPay on your WooCommerce store.
How To Enable One-Click Checkout With PeachPay?
PeachPay comes with an effortless setup and onboarding process. Follow these steps to leverage this convenient payment solution for your store.
1. Download And Install The PeachPay Plugin
In your store’s WordPress dashboard – click on Plugins and the Add New button.

Now, search for ‘PeachPay’ in the search bar in the top-right corner of the dashboard page, and click the Install Now button to install the PeachPay plugin.

2. Activate The PeachPay Plugin
Once you install the plugin, click on the Activate button to activate PeachPay Checkout for WooCommerce.

3. Connect PeachPay To Your WooCommerce Store
As soon as you activate PeachPay, the next step is connecting your WooCommerce store to the plugin – which is as simple as clicking on the Approve button popped up on the page.
Clicking on this button and granting the connection permission – allows the plugin to complete fulfilling orders on your store. You don’t have to bother about the plugin crashing with other functionalities of your WooCommerce store.

4. Setup a Suitable Payment Processor

Once you’ve granted the permission, the screen will redirect you to the payment methods window – allowing you to choose from Stripe, PayPal, or try the plugin in test mode.
If you already own a Stripe account, log into that straightaway. Or, you can click on the Stripe button, enter your email address and complete the process to connect Stripe to PeachPay in no time.
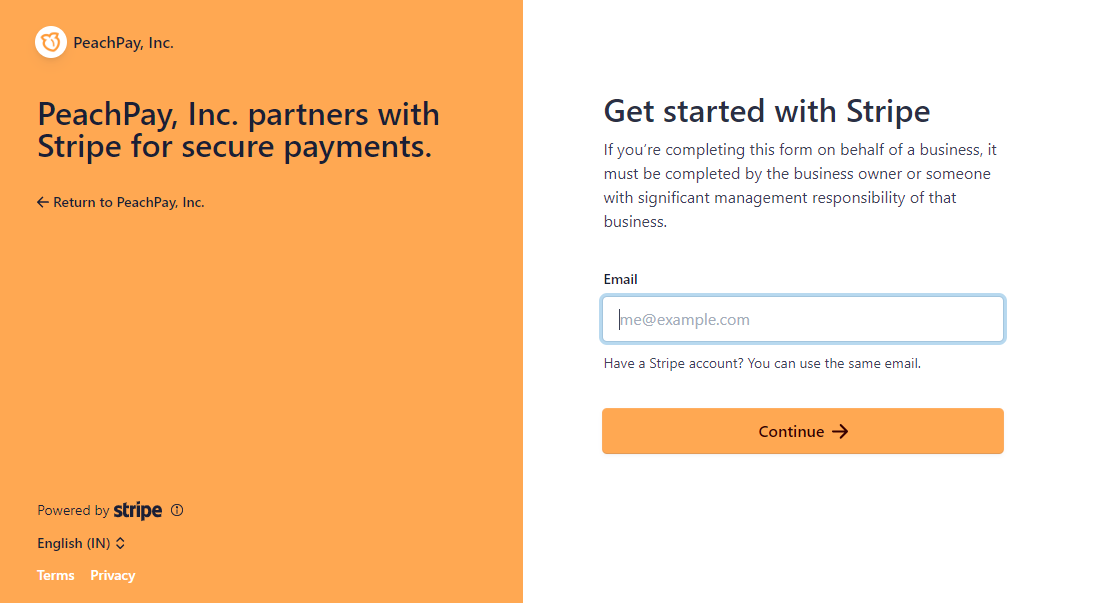
You’ll get a plugin activation key after connecting your Stripe account. It takes 2-3 working days to connect your account and complete the store verification process. Enter the activation key and click on the Save Settings button – and you’re good to accept orders on your store.
Alternatively, you can click on the PayPal button to log in to your PayPal account or create a new one.
Interestingly, you can use both Stripe and PayPal alongside each other with PeachPay, so customers get an option to choose their preferred payment solution. Customers can process payments via PayPal or enter their credit card information via Stripe.
Providing both these popular payment methods can help boost conversions through a quality customer experience. Once you successfully connect to your Stripe or PayPal account – you’ll get to the PeachPay plugin’s settings page.
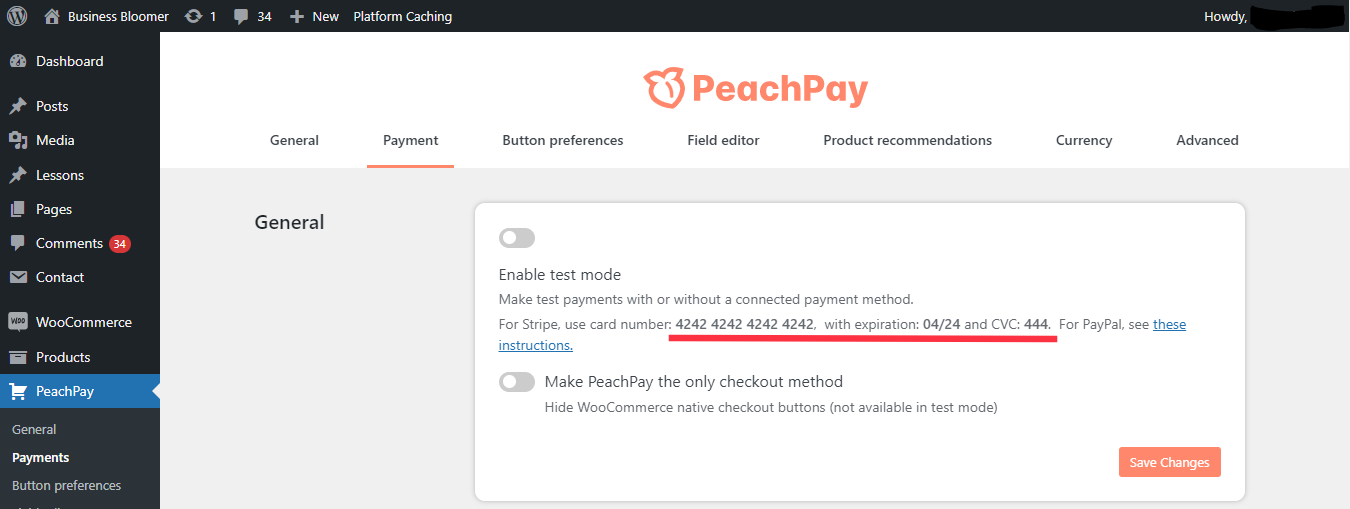
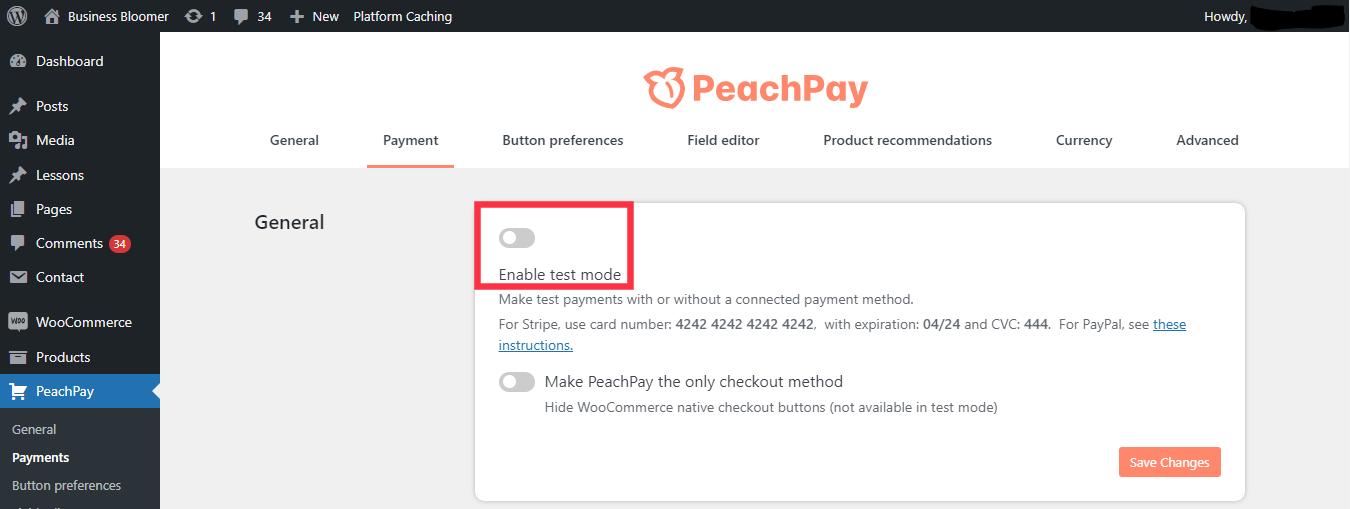
However, you can also try the third option – which is clicking on the Try PeachPay in test mode to test purchases on your store without spending a single penny. Enabling test mode allows only those logged in to your WordPress admin account dashboard to view the plugin without customers being able to view it on your website.

Clicking on the third button will take you to the plugin’s settings page on the dashboard to enable the test mode, configure settings, and test the plugin.
In the test mode – you can use Stripe to make test purchases through the test Stripe card number, 4242 4242 4242 4242, with CVV as 444 and the expiration date as 4/24.
Similarly, you can also use PayPal in the test mode. Choose Pay with credit or debit card once the PayPal window opens, fill out the details, and click on Continue as Guest. You can either use 4556 5196 6069 6666 as the test credit card with any CVV and expiration or choose a suitable credit card number from getcreditcardnumbers.com.
Thus, the test mode lets you get the PeachPay checkout experience, see how it works, and view orders in your WooCommerce order dashboard.
5. Settings and Configuration
Once you’re on the settings page – you can configure the General Settings (including language and support message in the checkout window for the customers), Order Summary, and Checkout Fields.


In the Payments tab, you can choose to enable test mode for PeachPay and make it the only checkout solution for your customers (not mandatory).
If you couldn’t connect to your Stripe or PayPal account previously – you can do it here on the Payment page.

In addition, PeachPay also lets you enable Apple Pay and Google Pay on your store – allowing customers to pay from any preferred device (mobile phone, tablet, or Apple Watch) with ease.

Besides these payment options, you can also enable Klarna and Afterpay/Clearpay payment methods and activate them on your Stripe dashboard to use with the PeachPay plugin.

In the Button preferences tab, you can customize your Express checkout button – like changing the button’s default text and text color, customizing the button’s position on shop, product, cart, and checkout pages, and choosing the pages you wish to display this button.

Here are other fields and settings you can configure with PeachPay:
- Field editor to add, remove, enable, and disable fields.

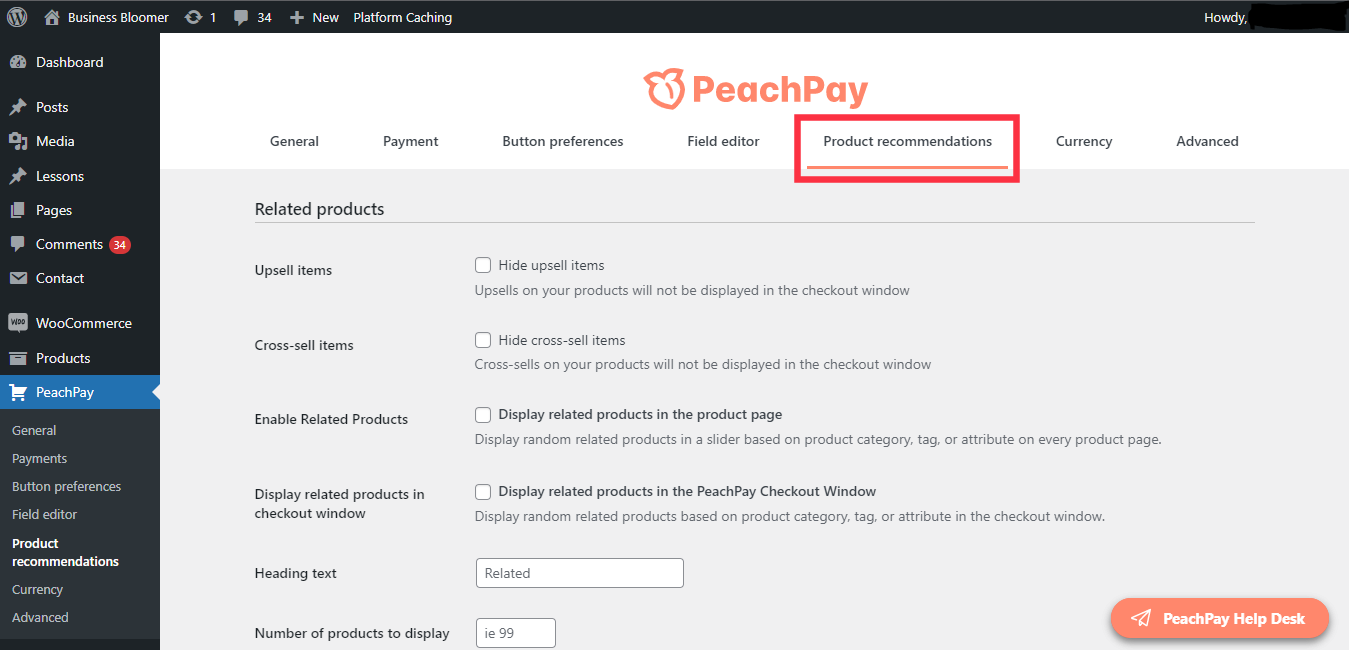
- Product recommendations customization, including hiding or displaying related product up-sell and cross-sell items, enabling and disabling the slider for the related products, and one-click up-sell customization settings.
- Built-in currency switcher to configure currency settings like auto-updating currency switch based on the set time duration and adding new currencies to your store’s products.

- Advanced customization for merchants and developers to add custom CSS, including button classes and button CSS.

Make sure you save every configuration and click the Save Changes button for each setting.
Once you save all the changes, you’re ready to use PeachPay on your WooCommerce store.
Boost Conversions Through PeachPay One-click Checkout
One-click checkout is a great way to convert casual browsers into customers, speed up customer checkout flow, and drive more sales toward your store. It values your customer’s time – offering them the ultimate convenience and an easy checkout experience.
PeachPay is a great checkout & payment plugin in general that helps you optimize your store for maximum conversions – allowing customers to checkout within a few seconds. Besides one click – it also makes first-time checkout faster and effortless than the default WooCommerce checkout process.
Moreover, you get advanced no-code and CSS customization options and the ability to add multiple payment methods and currencies per your preferences.
Thus, between the standard WooCommerce checkout and PeachPay checkout – the latter is more likely to win and give better results, especially when aiming for a rise in conversions, reducing cart abandonment, or encouraging impulse purchases.
So, ensure you install and activate PeachPay for WooCommerce in your store to deliver a superior and faster customer checkout experience and boost sales.


The main reason why the one-click-checkout had to disappear is Amazon and others leading to too many accidential purchases. This went so far, that it is officially = legally banned in Europe. So be aware that even if you might find that a “simpler” solution, you are heading straight to a gray zone, legally seen. And if you sell products of any kind in Europe, its not just gray, but instantly black = illegal.
cu, w0lf.
Interesting. Source please?
Yeah, that’s why Amazon has introduced a confirmation screen. PeachPay takes the same approach. Fast does not.
In EU all banks are swaping to 3d security passwords and even + sms codes additional to the 3d password.
The source is EBA – European Banking Authority.
“As regards the application of the rules on SCA in relation to “one-leg out” credit transfers, the payer’s PSP that is located within the Union has to apply SCA and does not need to rely on the payee’s PSP to apply SCA as credit transfers are initiated by the payer with its own PSP.
As regards the application of the rules on SCA in relation to “one-leg in” credit transfers, since the payer’s PSP is located outside the Union it is not subject to PSD2 and does not have to comply with the rules on SCA.
With regard to the so-called “two-leg transactions”, please see QA 2018_4030.”
Hope this info is useful for other EU victims 😀
Does Peachpay charge anything? Or is it part of Stripe?
Hello Arp, I believe you only get charged by Stripe, but I’ll contact the developer and ask him to reply to your question asap
PeachPay’s pricing is built into the standard transaction fee, meaning it is free!
This is nice! I would love to implement one-click checkout on my site. But I already have a working payment solution (which is not stripe). Is there a similar solution for other payment integrations?
Hello Judith! Which payment gateway do you use?
You can also consider using your existing payment solution and Stripe together. They can coexist quite seamlessly.