WooCommerce: Custom “Empty Cart” Button

A dedicated “Empty Cart” button can significantly streamline the customer journey on your WooCommerce website.

Yes, you can manually change the product quantities to 0 on the cart page, or click on the “remove item” icon for each product… but having a button that can do all that could be a time saver, especially for B2B WooCommerce customers.

This post will guide you through creating a custom empty cart button. We’ll cover a code-based solution that uses jQuery to listen to button clicks and Ajax to trigger the empty cart function.

Enjoy!

Continue reading WooCommerce: Custom “Empty Cart” Button

WooCommerce Visual Hook Guide: Cart Page (Block Version)

I’ve put together a visual hook guide for the WooCommerce Cart Block (you can find the legacy shortcode version here).

Please note – as of the date above, you can’t really customize the Cart Block via PHP (unless you use the workaround below).

If you need to personalize the Cart page, move elements around, hide default elements, add custom content, you can play on the Edit Page and do the usual manual work with blocks: you can move them (e.g. you can move the coupon form to the bottom), remove them (e.g. you can remove the cross-sells block), place blocks in between default blocks (e.g. you can add some text above and below the “Place Order” button), etc.

But if you wish to do that via code (custom plugin, snippet, child theme), then you must revert to the shortcode version – unless, once again, you get to understand my workaround as per the below visual hook guide.

So, at least for now and until WooCommerce decides to release actions and filters for us developers, let’s see how to find WooCommerce Cart Block hooks quickly and easily by seeing their actual location.

Once you’ve picked your hook, all you need to do in your custom code is “add_action(‘hook_name’,’custom_function’);” and you can place your personalized content in that exact position within the WooCommerce Cart Block.

Enjoy!

Continue reading WooCommerce Visual Hook Guide: Cart Page (Block Version)

WooCommerce: Remove Second Item When Item Removed From Cart

This approach might be relevant for specific promotional offers (e.g. BOGO) or custom coded product bundles. In this case, you may want to remove a second item from the cart – programmatically – once a product is removed.

Of course, a relationship is needed between the two cart items via custom cart item meta data (for example, the “bundled” item will need to specify the ID of the “base” product in the cart within some custom cart item meta, so that we can “listen” to its removal).

Alternatively, you can check if a pair of product IDs are in the cart, and if one of them is removed, we’ll automatically remove the other – this is the case study we’ll go through today as it’s much easier.

Enjoy!

Continue reading WooCommerce: Remove Second Item When Item Removed From Cart

WooCommerce: Simple Add To Cart Click Counter

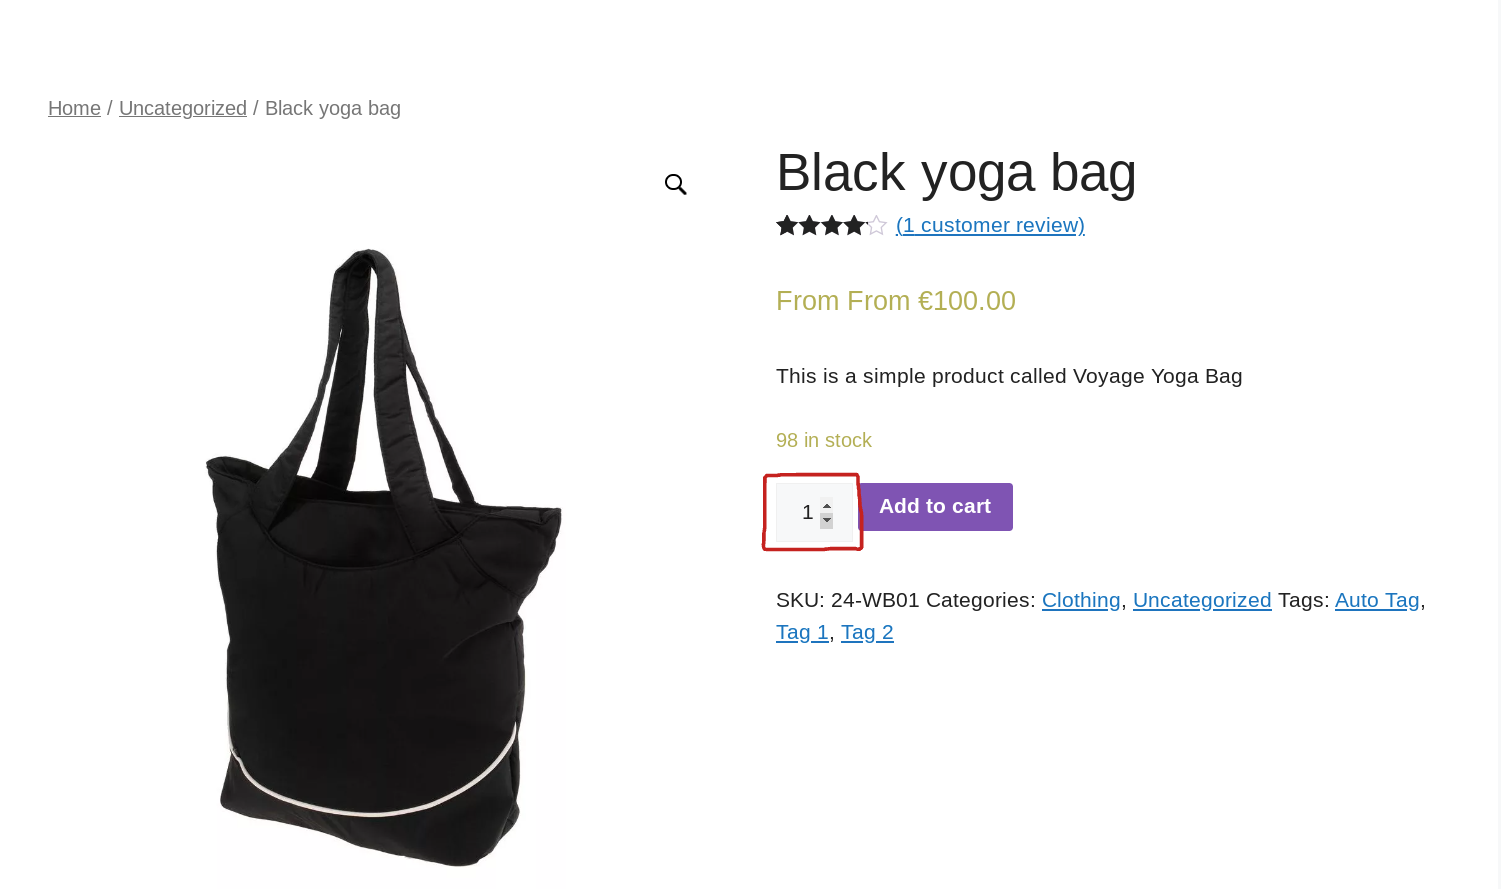
Ever wondered how many visitors actually click “Add to Cart” on your WooCommerce store?

This seemingly simple action holds valuable insights into your product appeal and conversion funnel. By implementing an Add to Cart click counter, you gain a crucial piece of the puzzle, allowing you to calculate your conversion rate more accurately. You already have the number of product sales available, so with this additional piece of data you can assess how effective your product pages are.

In this tutorial, we’ll implement a simple click tracking functionality for a WooCommerce button, guiding you through the setup process and exploring the valuable insights it unlocks. Enjoy!

Continue reading WooCommerce: Simple Add To Cart Click Counter

WooCommerce: Show Additional Button @ Mini Cart

Looking to enhance the functionality of your WooCommerce store’s mini cart widget?

Adding an additional button can provide a smoother user experience and increase conversion rates. Whether you want to offer quick access to the shop page, a deals page, or a shortcut to your contact form – customizing the mini cart with an extra button can be powerful.

In this tutorial, we’ll walk you through the steps to add an additional button to your WooCommerce mini cart. This easy-to-follow guide will help you boost user engagement and streamline your customers’ shopping journey.

Continue reading WooCommerce: Show Additional Button @ Mini Cart

WooCommerce: Remove “add-to-cart=123” URL Parameter After Add to Cart

The “add-to-cart” parameter in WooCommerce is used to create a custom URL that adds a specific product to the shopping cart. The “123” value is the product ID, and you can even specify a custom quantity. By clicking a link with this parameter in the URL, the user can add the specified product (ID# 123 in this example) to their cart without having to navigate to the product page itself.

The problem is that WooCommerce itself doesn’t automatically remove the “add-to-cart” parameter after a successful add to cart, and if you reload the page you will add to cart again! So, let’s see how we can remove this parameter in case you disabled the “redirect to cart” option.

Continue reading WooCommerce: Remove “add-to-cart=123” URL Parameter After Add to Cart

WooCommerce: Empty Cart Redirect

An empty WooCommerce Cart page can be frustrating for customers, especially if they’ve been browsing and adding items to their cart.

Redirecting them to a relevant page, like the Shop page, can help them continue shopping and potentially complete a purchase.

The redirect page can be used to showcase ongoing sales, promotions, or new products that customers might be interested in. This can help generate interest and encourage customers to make a purchase.

So, let’s see how we can redirect users from the empty Cart page to another page on the same website. Enjoy!

Continue reading WooCommerce: Empty Cart Redirect

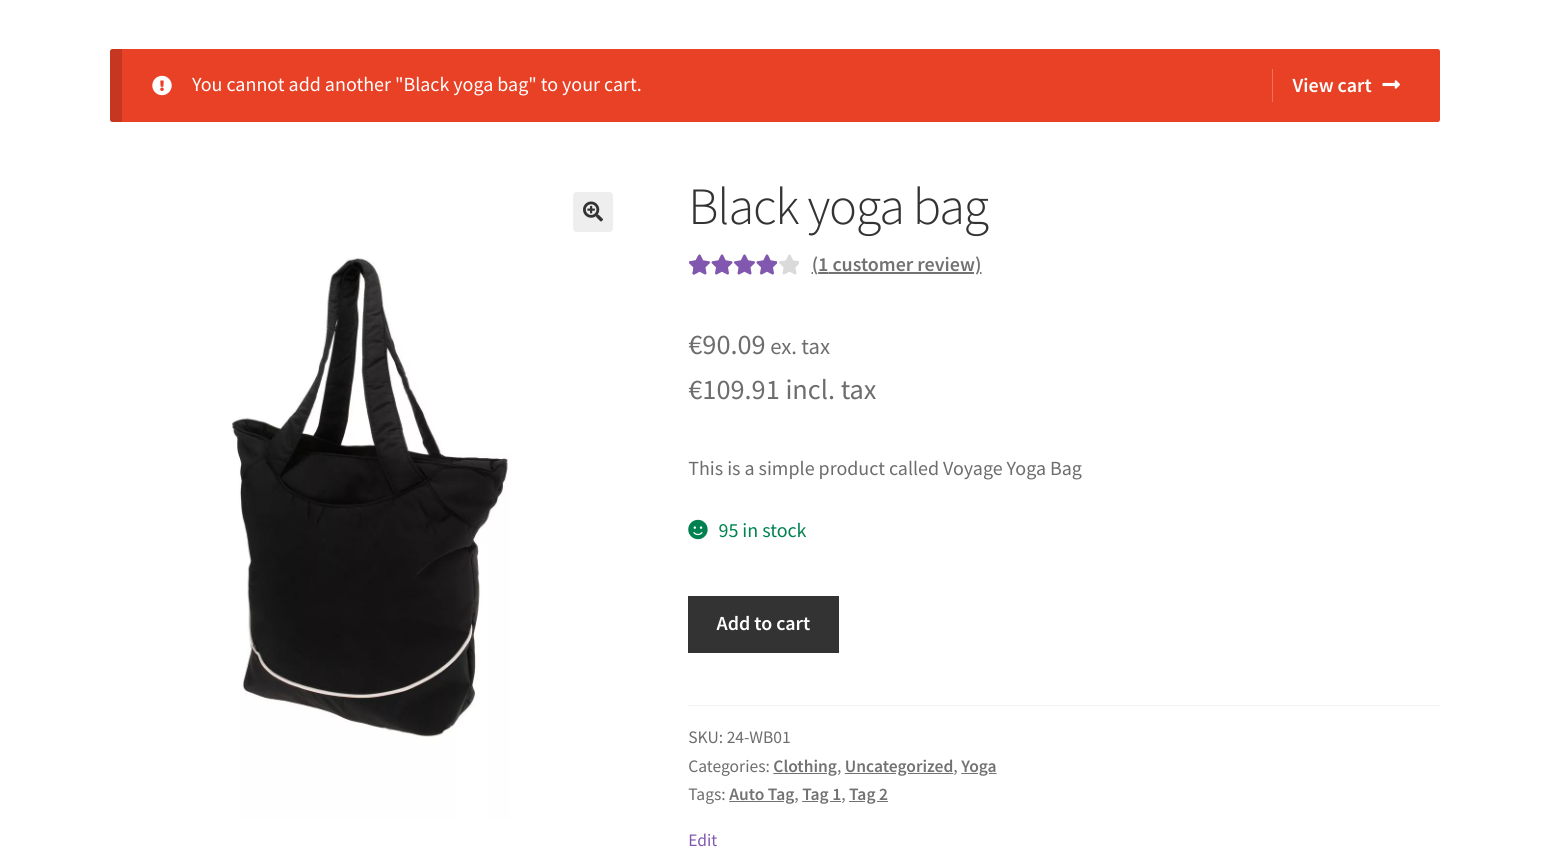
WooCommerce: Customize The “You cannot add another __ to your cart” Notification

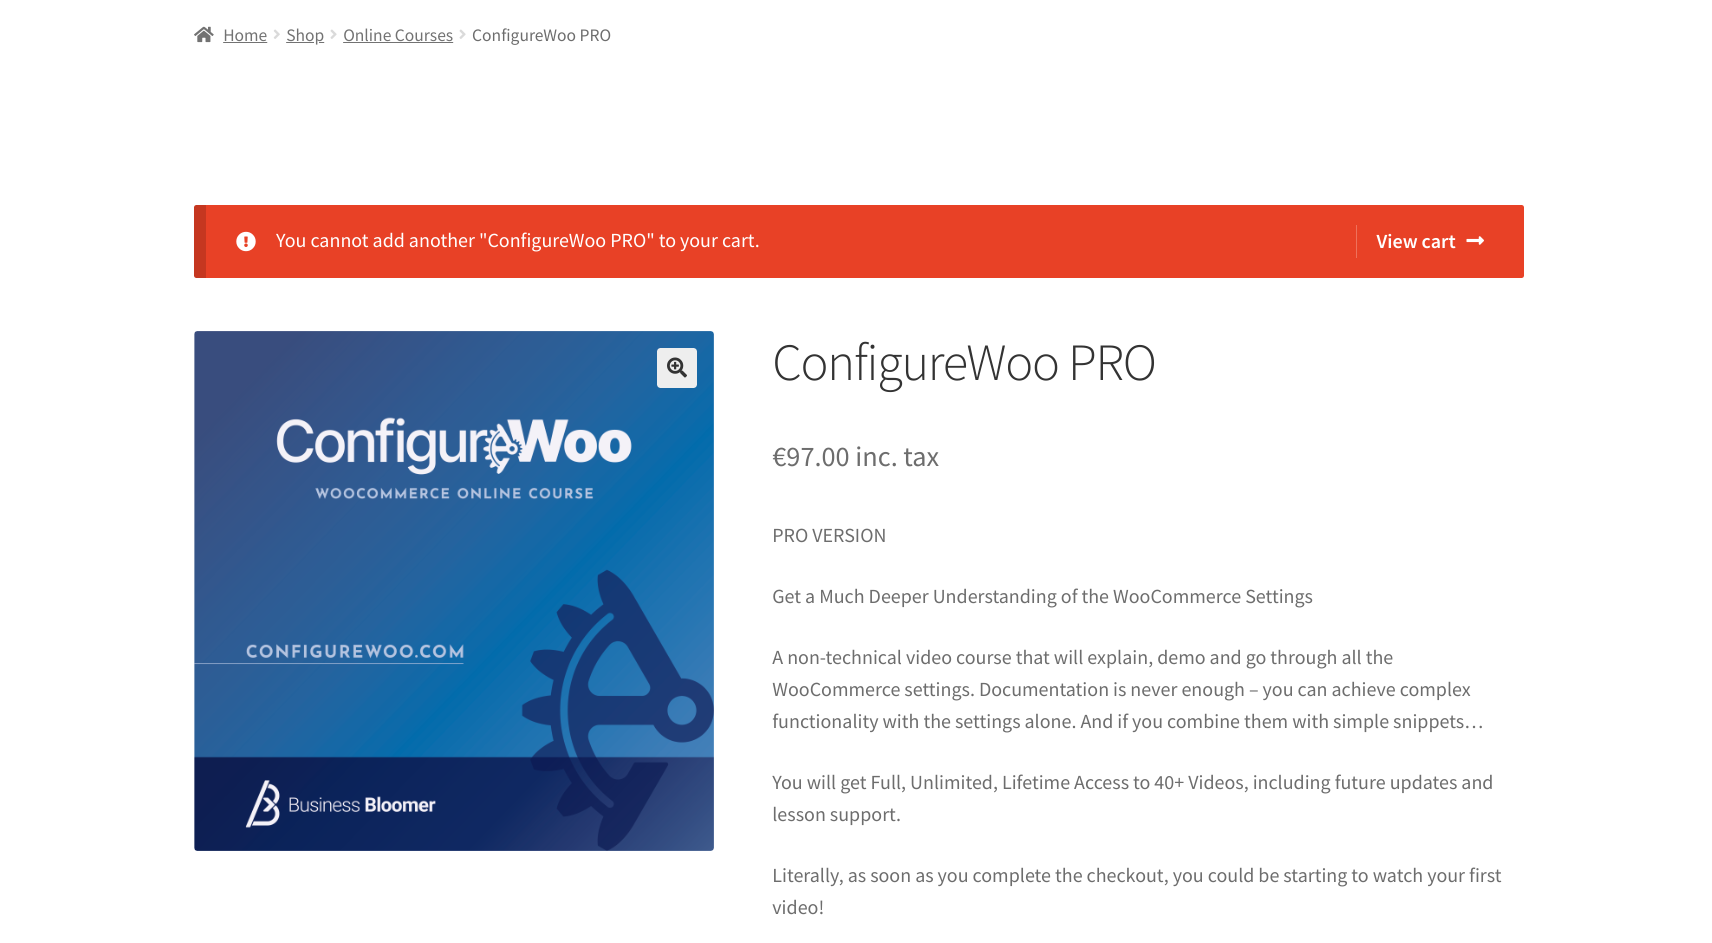
If a WooCommerce product is set to “sold individually” (i.e. the “Limit purchases to 1 item per order” checkbox is checked in the edit product page) and is already in the cart, the “You cannot add another product to your cart.” notification will appear if you try to add it to cart again, which is fair.

This message appears by default in WooCommerce. There is a workaround to disable it completely, but you can also customize the wording (which is what we’re covering next).

In fact, this notification comes with a PHP filter, which means we can override the content and adapt it to our user base and/or brand tone. Enjoy!

Continue reading WooCommerce: Customize The “You cannot add another __ to your cart” Notification

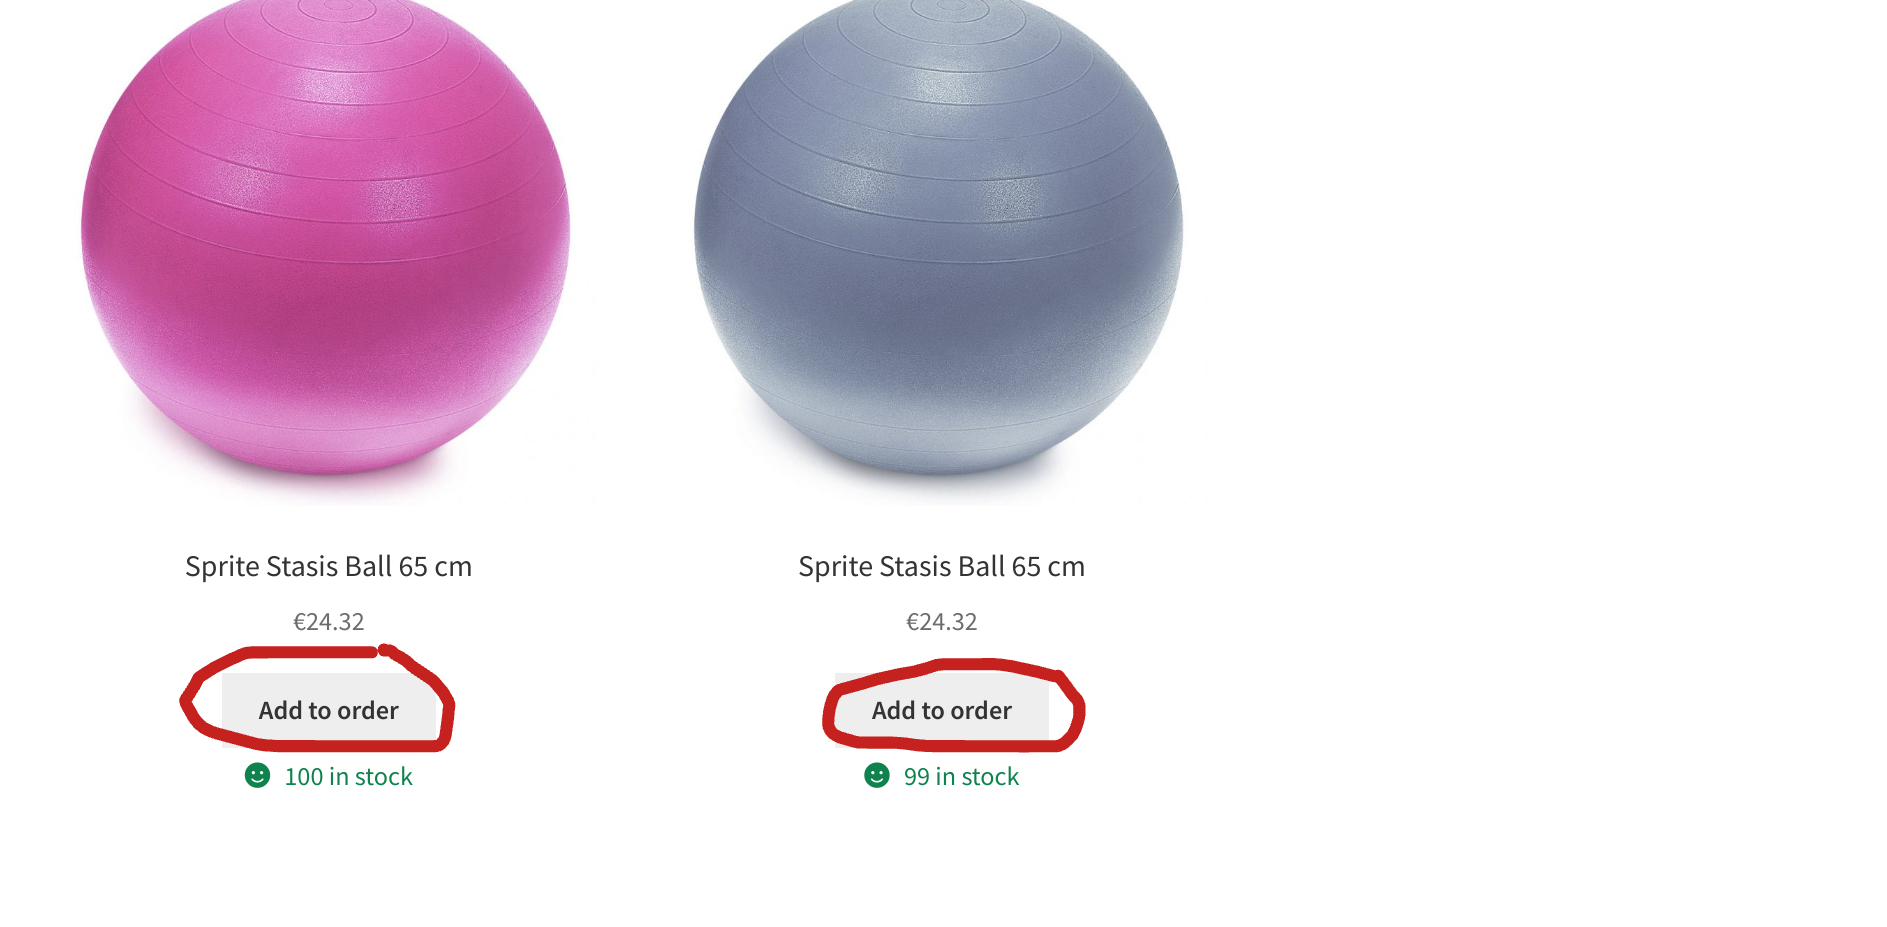
WooCommerce: Rename The “Add to cart” Button Label

The “Add to Cart” button label cannot be changed from the WooCommerce settings unfortunately. Thankfully, the simple code below will allow you to change it to whatever you wish e.g. “Add to Basket” or “Add to Order”.

We saw in the past how to rename the “Add to Cart” label conditionally or how to add an icon to it, but this time I’d like to change the whole wording.

By customizing the “Add to Cart” button label, you can influence user behavior and potentially increase sales in your WooCommerce store.

The new label should clearly communicate the action the user takes when clicking the button, and possibly use strong verbs and persuasive language to encourage users to add products to their cart. Besides, you have the chance to maintain consistency with your overall brand voice and tone.

So, let’s see how it’s done. Enjoy!

Continue reading WooCommerce: Rename The “Add to cart” Button Label

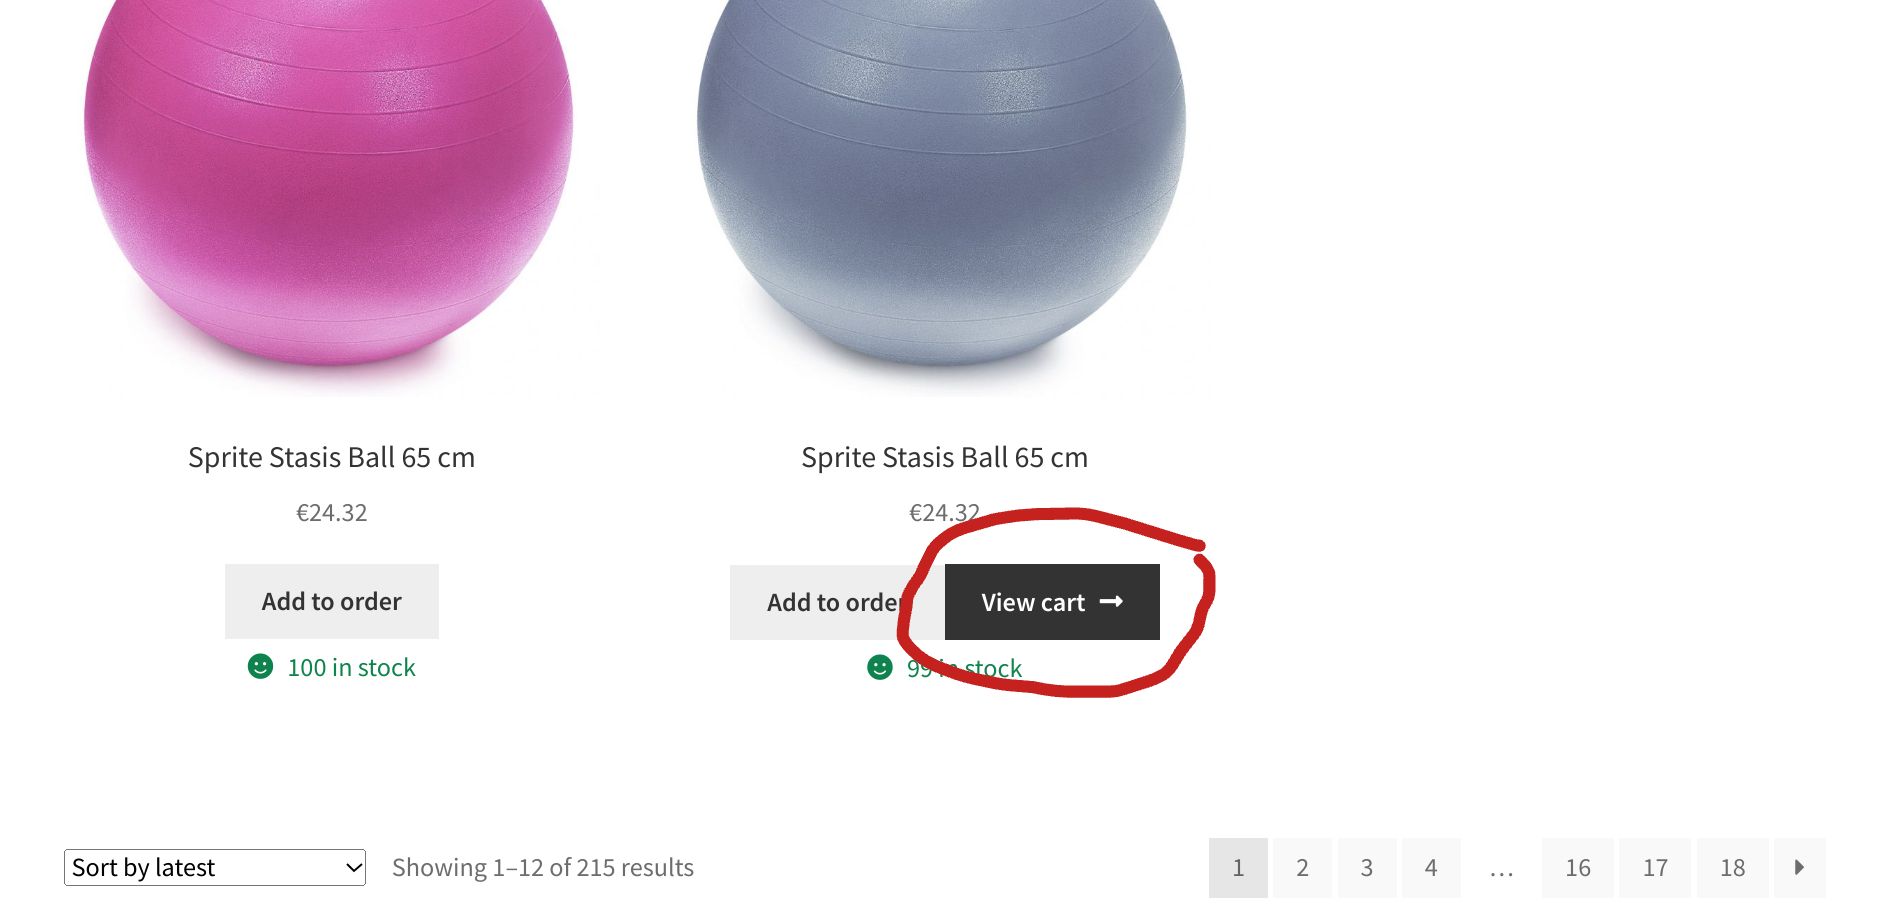
WooCommerce: Hide “View Cart” Button Upon Ajax Add to Cart

WooCommerce has a built-in AJAX functionality for adding products to the cart on archive pages (Shop page, product category pages, tag pages, etc.). Once you add a product, WooCommerce displays a “View Cart” button beside the “Add to Cart” one.

The “View Cart” button is a way to improve user experience, so that customers can quickly access their cart after adding a product. However, I’ve noticed on some client websites that this can mess up the product grid layout, confuse users and – sometimes – hurt the overall UX instead of improving it!

With the snippet below you’ll learn how to remove this button – surely you’re familiar with the CSS display:none method, so we will see a different approach here, so that the button doesn’t even load. Enjoy!

Continue reading WooCommerce: Hide “View Cart” Button Upon Ajax Add to Cart

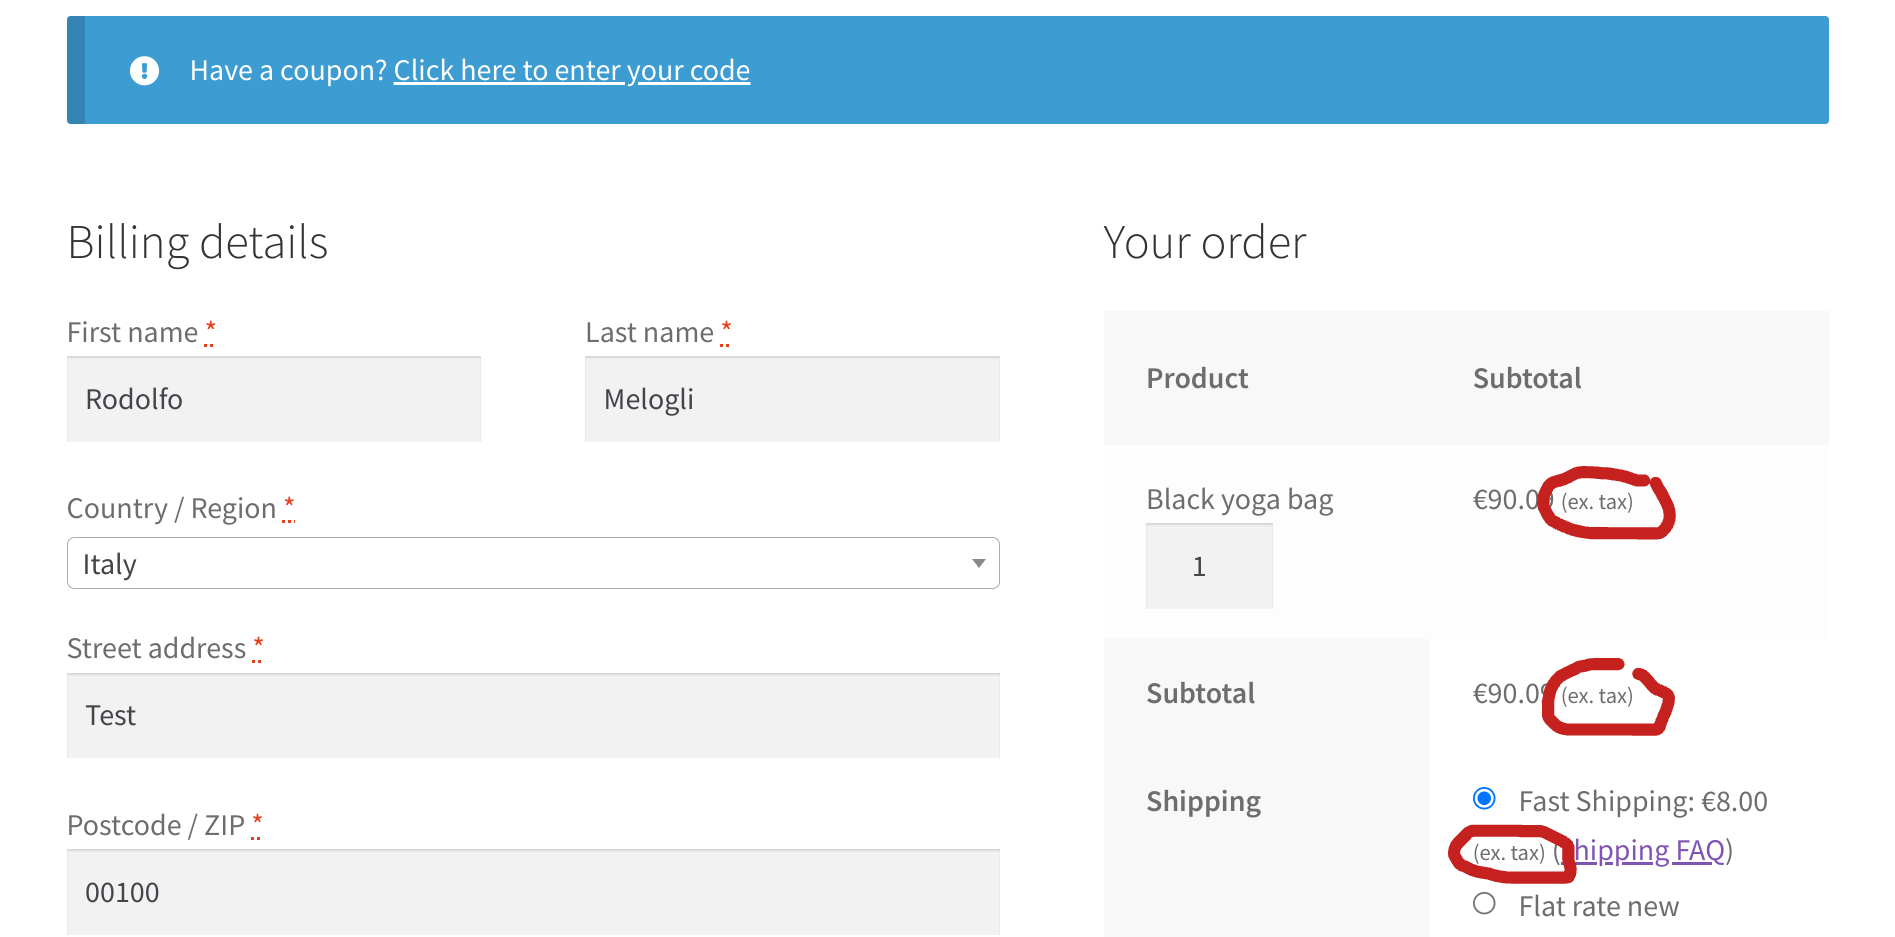
WooCommerce: Remove “incl. tax” “ex. tax” Labels From Cart / Checkout / Order Totals

Do you want to simplify your WooCommerce prices by removing confusing tax labels?

This code tutorial is your guide to removing the “incl. tax” and “ex. tax” labels from your cart, checkout, and order totals in WooCommerce when your “Prices entered with tax” tax option is set to “Yes, I will enter prices inclusive of tax“.

Whether you find them unnecessary or want to create a cleaner pricing display, this tutorial will walk you through two effective snippets to achieve this customization.

Enjoy!

Continue reading WooCommerce: Remove “incl. tax” “ex. tax” Labels From Cart / Checkout / Order Totals

WooCommerce: Add Shipping Rate Description @ Cart & Checkout Page

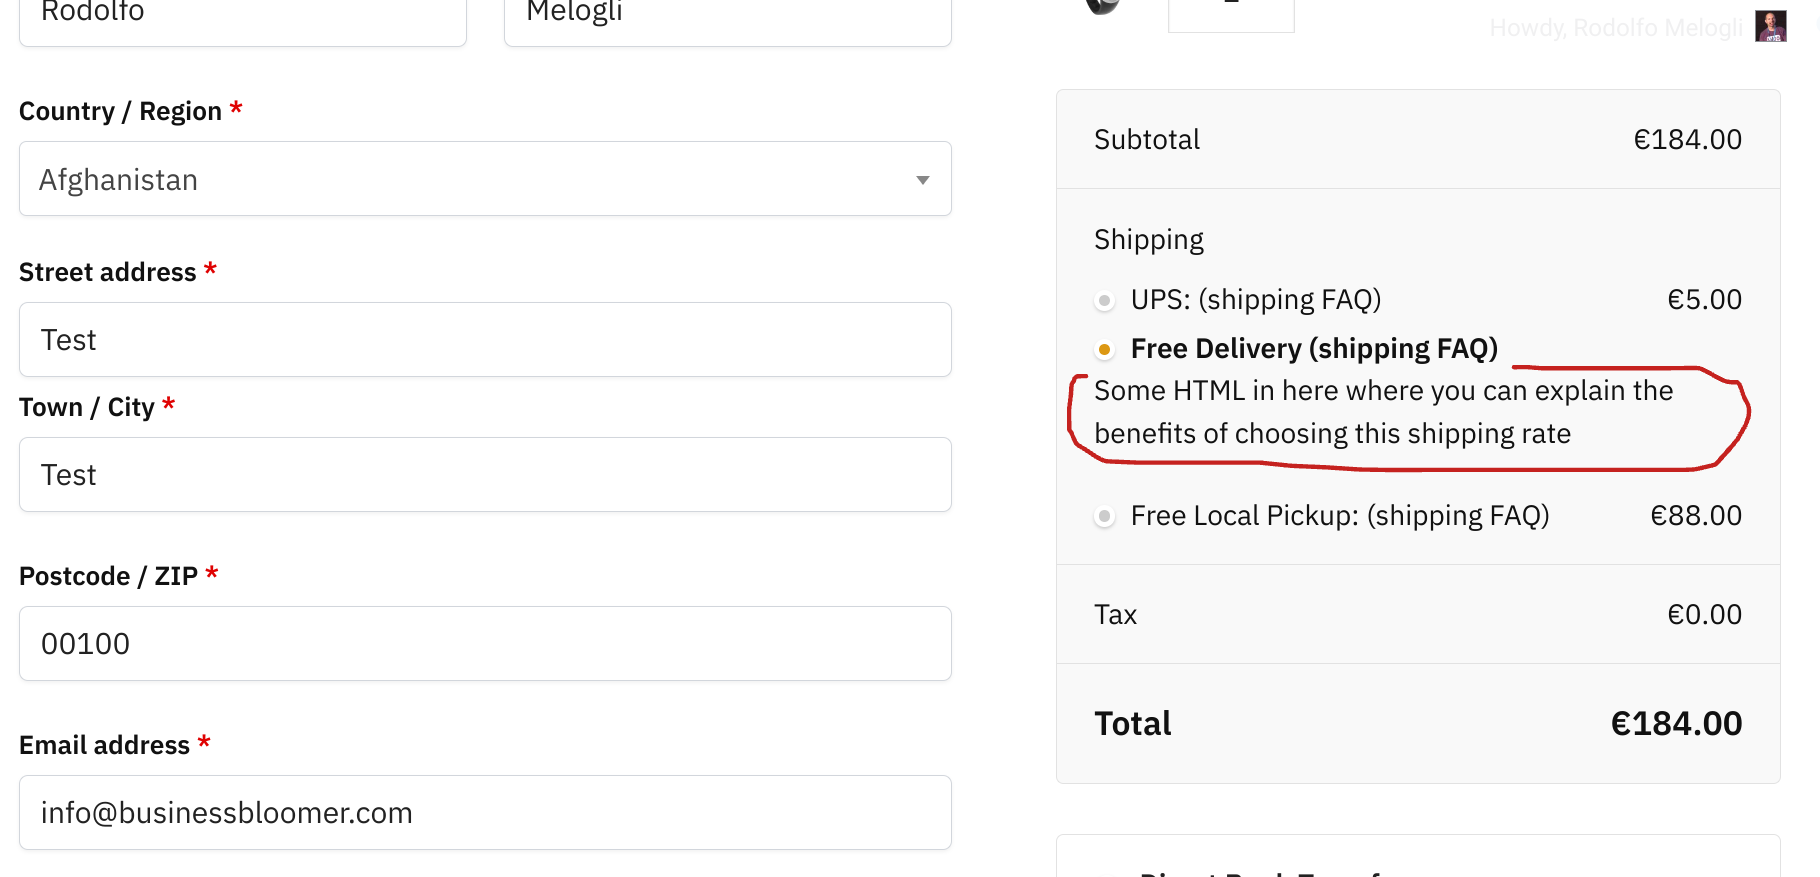
Each payment method on the WooCommerce Checkout page comes with a description right below the label. What if we could achieve something similar for the shipping rates, so that we can explain to the customer the difference between each method?

This question came up today in our private Slack channel for Woo developers, and we were able to write a quick snippet that does the trick. Here’s the complete code – enjoy!

Continue reading WooCommerce: Add Shipping Rate Description @ Cart & Checkout Page

WooCommerce: Split Cart Into Packages

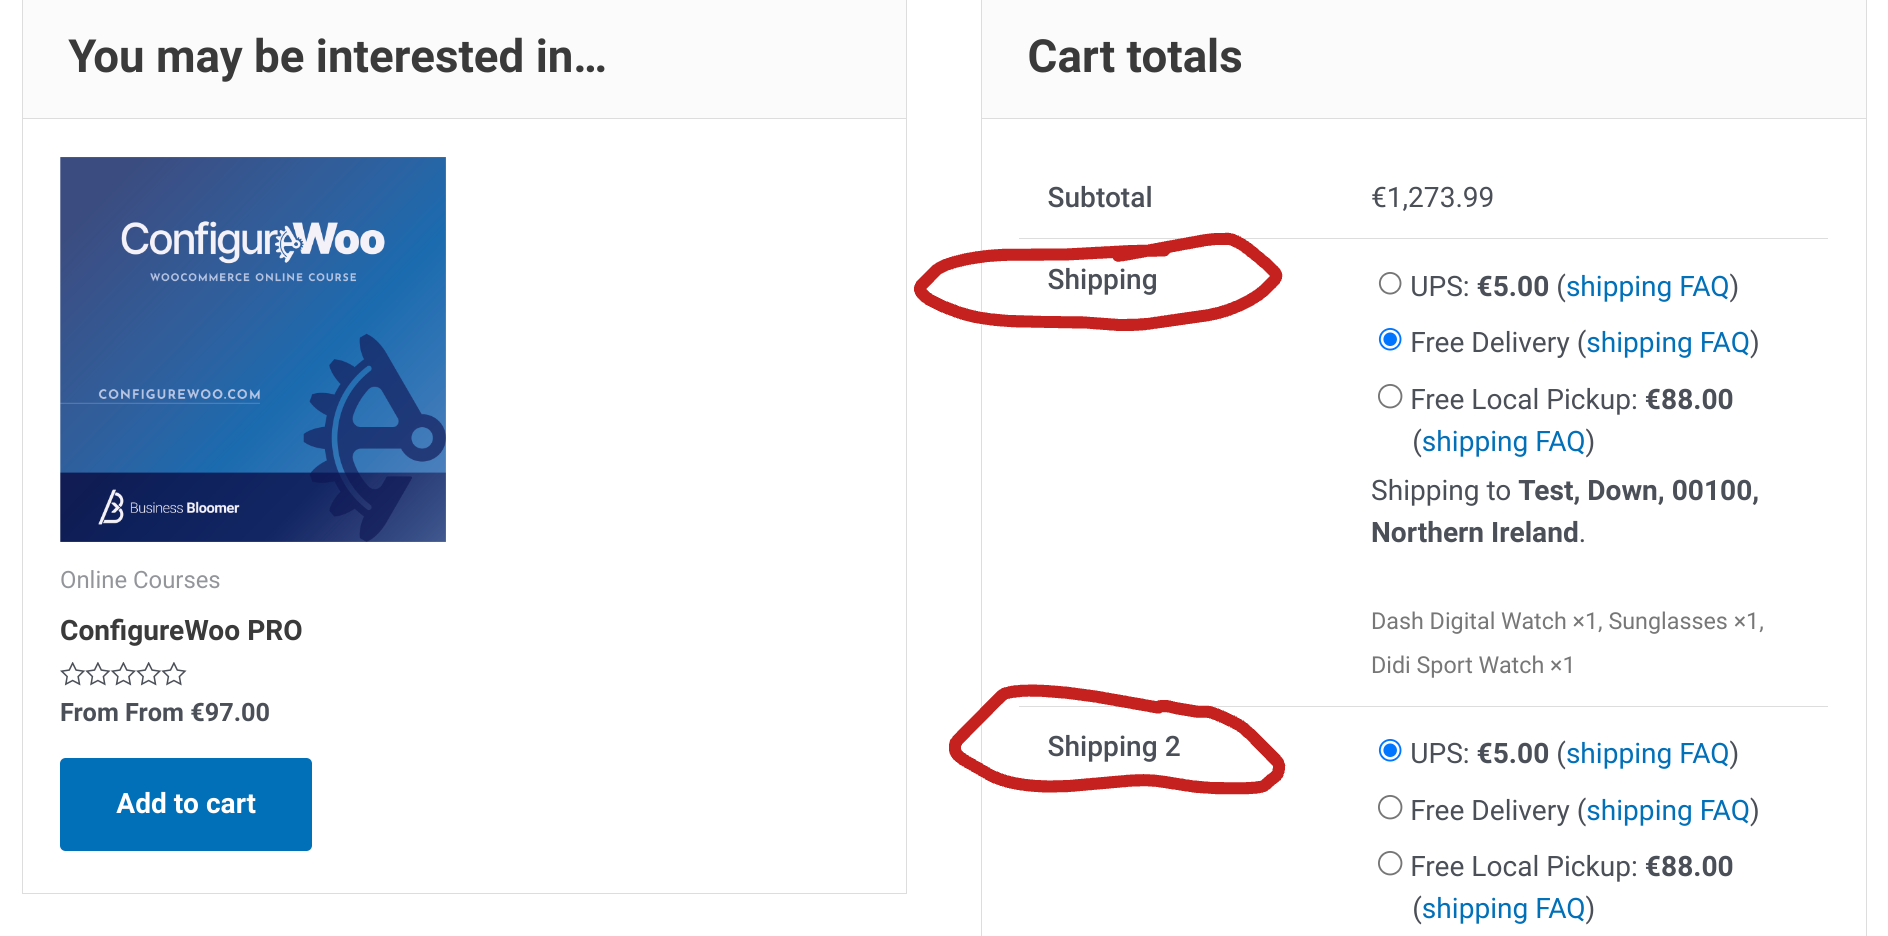
There are a million plugins out there that allow you to make the most of WooCommerce “cart packages” – this is a short way to say that you have the chance to assign cart items to multiple “packages“, so that the customer can pick different shipping methods for each package.

For example, imagine you sell products that are only available for “pick up in store“, and others that are shippable. By splitting the cart into 2 packages, the customer can place both product types in the same cart, but will be able to choose “Local pickup” for package 1 only, while for package 2 they’ll select one of the available delivery rates.

Splitting the cart into multiple packages is as easy as looping through the cart items, and assigning them to its own package array based on shipping class. Enjoy!

Continue reading WooCommerce: Split Cart Into Packages

Cart item data from an external API?

I would like to save metadata in each item in the cart (collecting item data from an external API) and I would like this data to be maintained in the order.

I’m not interested in viewing it because it’s a metadata that serves me in the backend to process the order in the internal ERP.

Are there already any example snippets that can help me?

WooCommerce: Disable “You cannot add another __ to your cart” Message

When a WooCommerce product is set to “Sold Individually”, you can only add 1 item to the cart. If you try a second time, you will get the “You cannot add another “%s” to your cart” error message, so that the customer is aware that there is already that product in the cart.

However, you may want to either edit the message wording or completely remove it, especially if you automatically redirect to cart or checkout upon add to cart.

So, let’s study how to do the latter, which is much more complex than using the ‘woocommerce_cart_product_cannot_add_another_message‘ filter for editing the message content. Enjoy!

Continue reading WooCommerce: Disable “You cannot add another __ to your cart” Message

Cart slide-in?

How can I show a slide-in the appears after the user clicks the “Add to Cart” button, offers two options – Show Cart and Finish Order, and disappears after a specified time interval, let’s say 5 seconds? Somethinf like this: https://share.getcloudapp.com/YEuzmkDp

WooCommerce: Add Hyperlink to Shipping Method Label @ Cart & Checkout

Let’s say you want to help customers understand your shipping rates and benefits right on the WooCommerce Cart and Checkout pages, by adding a link to each shipping option (e.g. “View shipping FAQ“).

As you can see from the first and second screenshot below, if you enter any HTML within the WooCommerce shipping zone -> shipping method settings, this will be stripped out, and HTML tags such as hyperlinks won’t work.

So, how can we add a clickable text link to each shipping method, given that we can’t use the WooCommerce settings? Well, as usual, a quick PHP snippet can help us with that. Enjoy!

Continue reading WooCommerce: Add Hyperlink to Shipping Method Label @ Cart & Checkout