Let’s say your WooCommerce product has the following permalink: example.com/shop/t-shirts-tops-and-blouses/t-shirt-casual-v-neck-longsleeve-green-medium-cotton-stretch
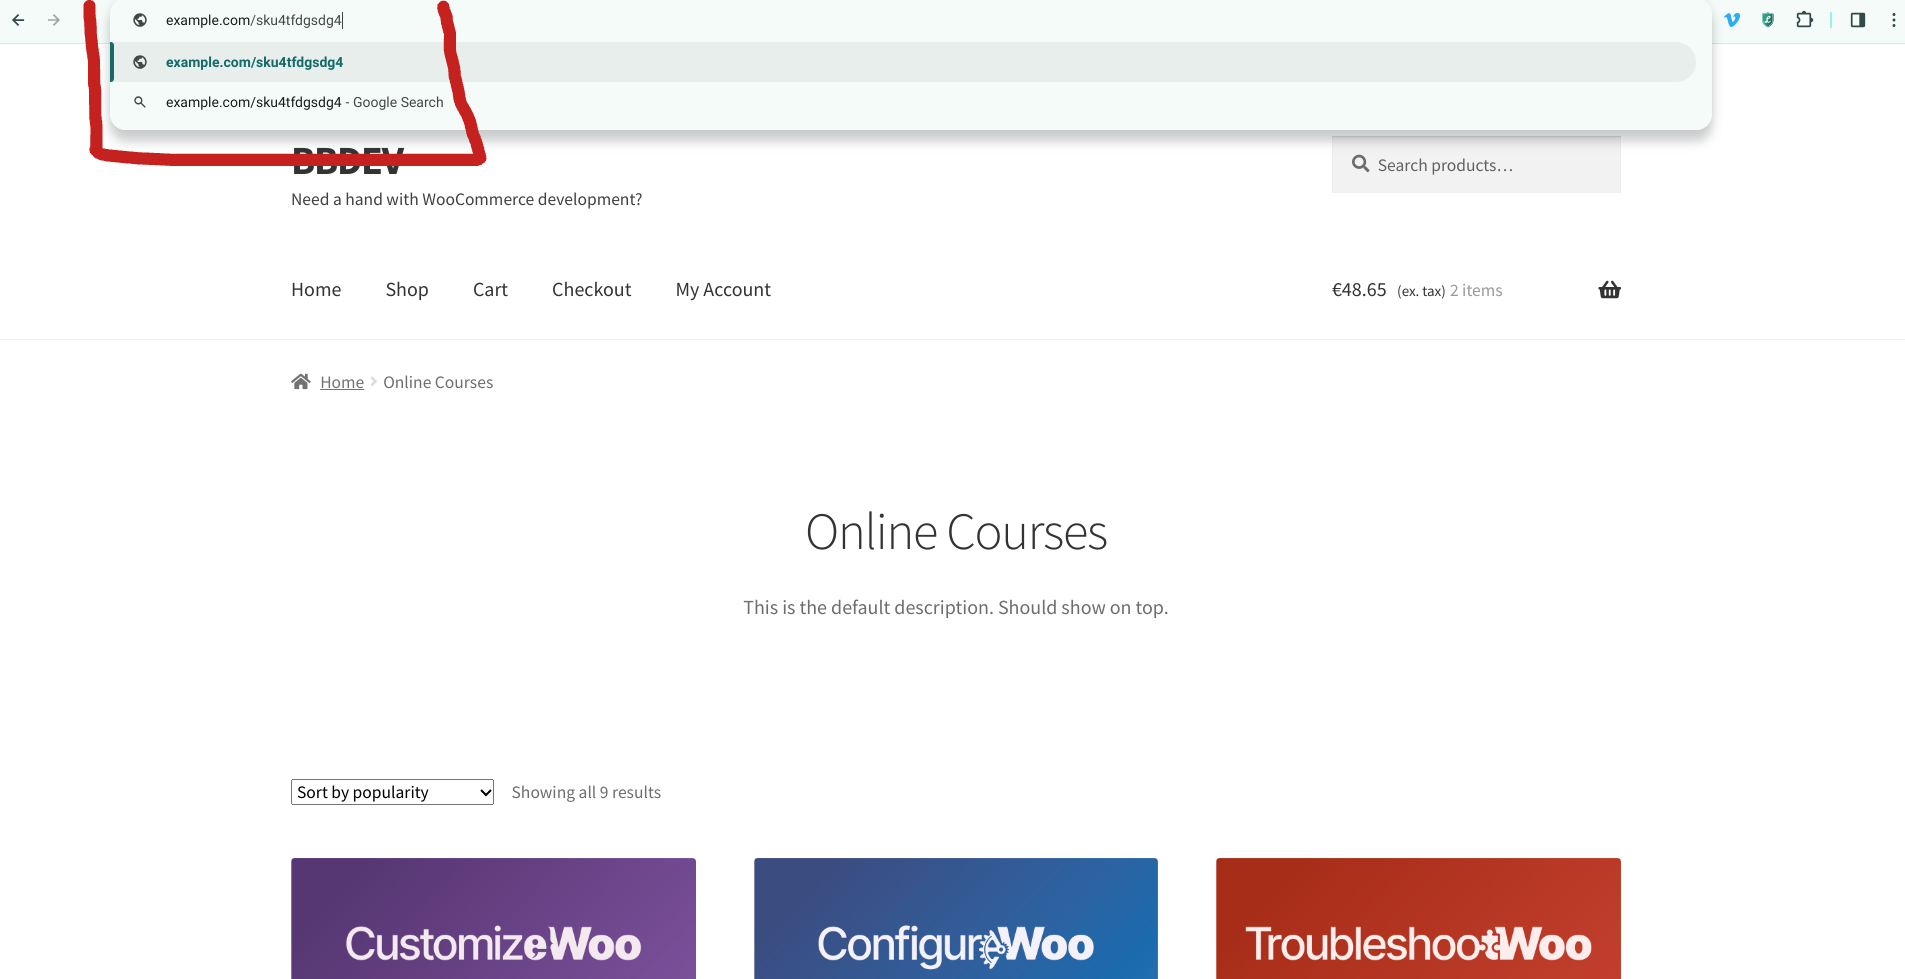
Wouldn’t it be shorter, more fun and neater if you could also reach the same exact single product page by using example.com/sku00001 in the browser bar, where “sku00001” is the product SKU?
Well, in today’s snippet we will create a simple redirect from a custom URL that contains the product SKU to the product page, so that you can use the URL “shortener“ in your email marketing, display advertising, blog posts and anywhere you want to show a “pretty link” instead of a full, long, boring product page URL.
Enjoy!
Continue reading WooCommerce: Redirect URL With SKU To Single Product Page