
As we leave 2024 behind and step into 2025, Bitcoin and the broader crypto ecosystem started the year on a positive note. With the sector gaining momentum, many newcomers are eager to learn how to accept Bitcoin and other cryptocurrency payments.
Despite the rise of new technologies, WooCommerce remains the dominant choice for e-commerce platforms worldwide. In this article, we’ll introduce CryptoPay, a cutting-edge crypto payment gateway tailored specifically for WooCommerce.
CryptoPay stands out as a peer-to-peer, commission-free, and KYC-free solution, making it an ideal choice for WordPress and WooCommerce users looking to embrace cryptocurrency payments with ease and security.
An Overview of Cryptocurrency and Blockchain Technology
Cryptocurrencies are digital or virtual currencies that use cryptography to secure transactions. Unlike traditional currencies, they operate without the need for a central authority, offering users greater freedom and control. Since Bitcoin’s introduction in 2009, it has become the cornerstone of the cryptocurrency ecosystem, paving the way for thousands of other digital currencies.
At the core of cryptocurrencies lies blockchain technology. A blockchain is a decentralized digital ledger that records all transactions in a network in the form of a chain of blocks. Each block contains information about transactions and is linked to the previous one, ensuring the system’s integrity and security. Blockchain’s transparent, immutable, and secure nature eliminates the need for intermediaries, making it a groundbreaking innovation.
Beyond financial transactions, blockchain technology has found applications in various industries, including data storage, smart contracts, and supply chain management. Its potential to revolutionize business processes has also fueled interest in accepting cryptocurrency payments.
Let’s Create a Cryptocurrency Wallet via MetaMask
If you don’t have a wallet, you can use the MetaMask browser extension for example. Go to the browser marketplace using the following link and download the extension: https://chromewebstore.google.com/detail/metamask/nkbihfbeogaeaoehlefnkodbefgpgknn
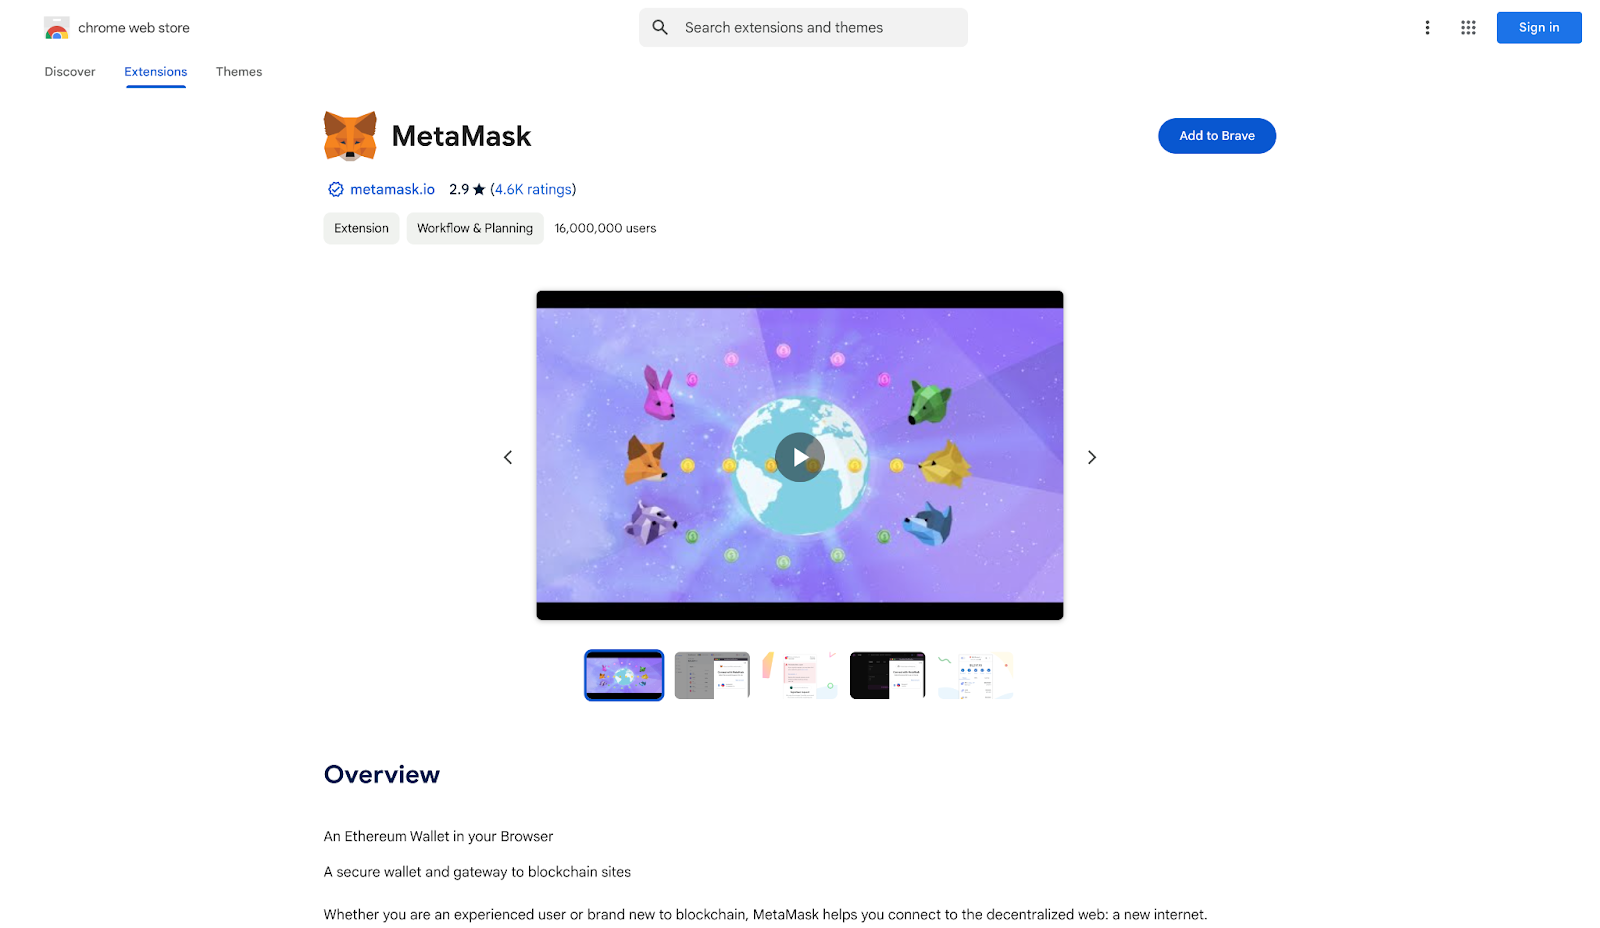
After downloading the extension, it will automatically redirect you to the installation phase. Accept the terms of use as you can see in the image below and click on the create new wallet button.

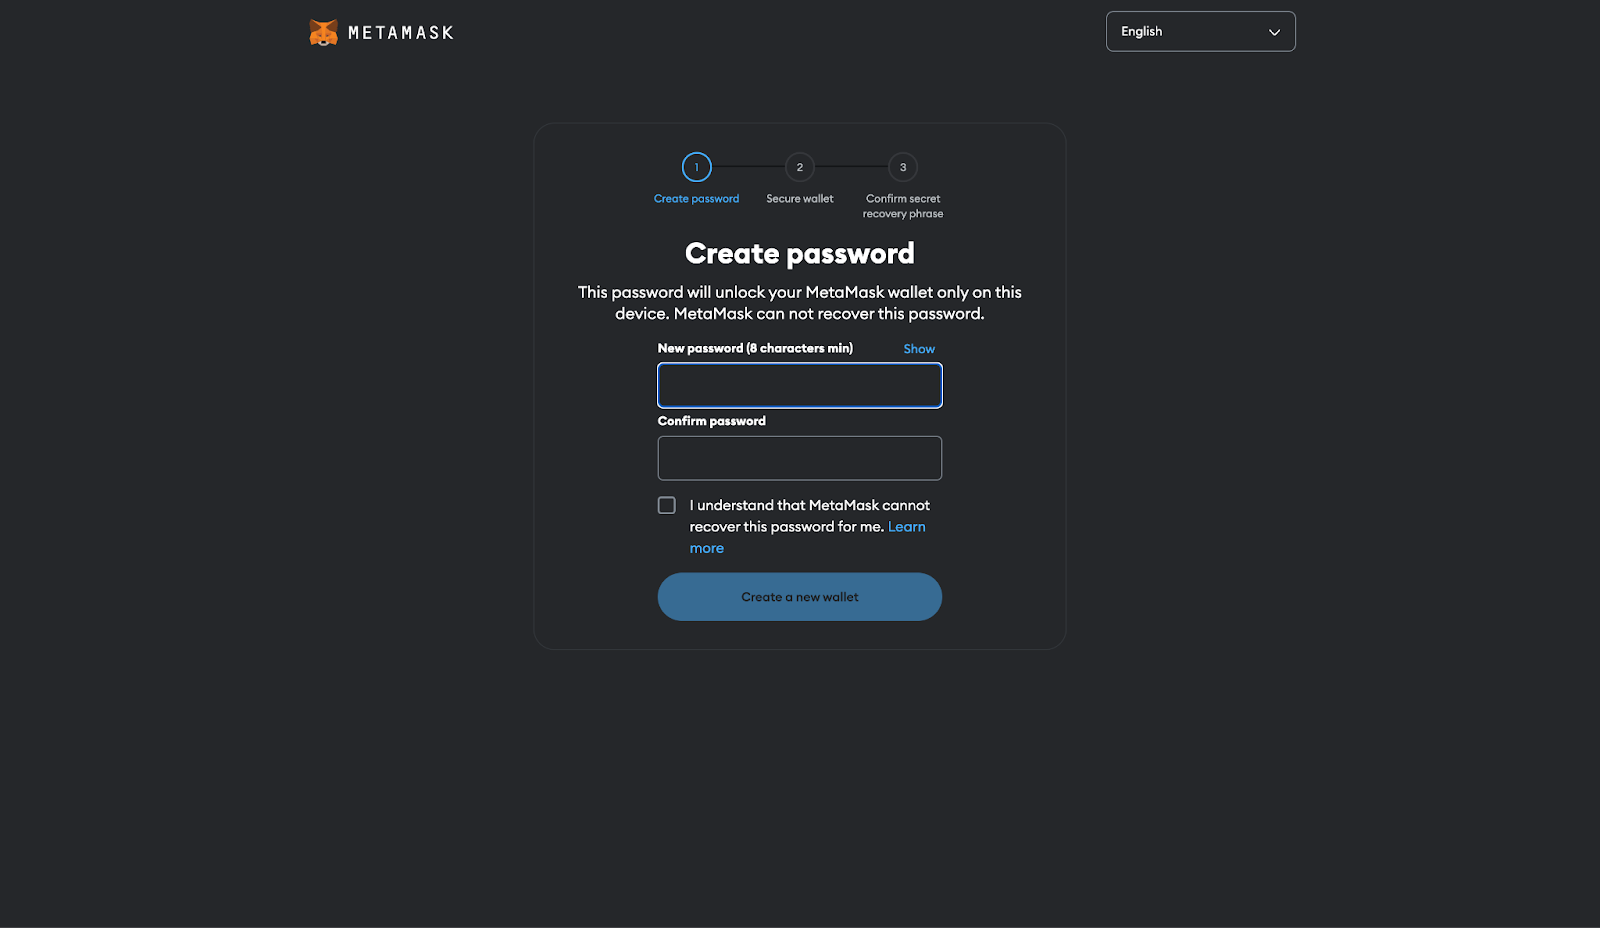
You then need to set a password to ensure security when accessing your wallet. Please set a password that you will not forget and write it down.
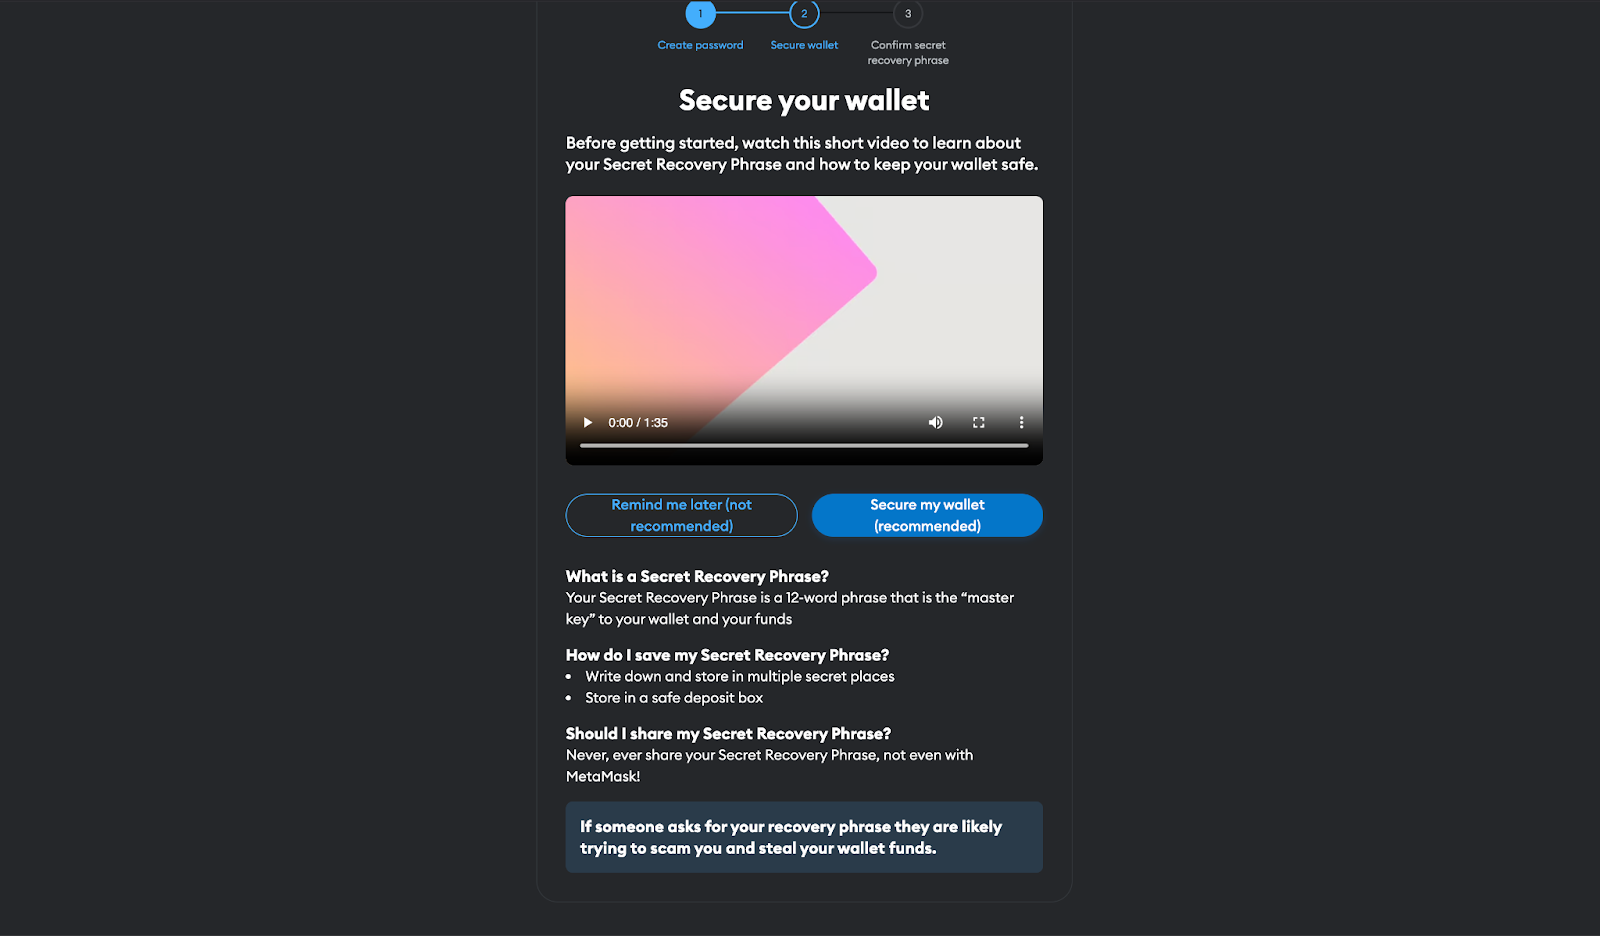
Yes, now we have come to the most important point in the crypto sector. Crypto wallets have two addresses, one of them is ‘private key’ and the other is ‘public key’, as the name suggests, the public key is your wallet address that everyone knows so that you can receive payments from other users.
The private key is the management key of this wallet. In other words, it is a key that is used for all transactions such as transferring crypto coins in this wallet, etc. and only you need to know.
However, crypto wallets usually do not give you this key directly, but encrypted in complex words as you can see in the picture. This is so that you can write it down more easily and if something happens to the computer where you set up the wallet in the future, you can access your funds again on another computer.
If you remember, in the first picture, there was an import option under the create wallet option. Make sure you write down these words properly to be used exactly there.
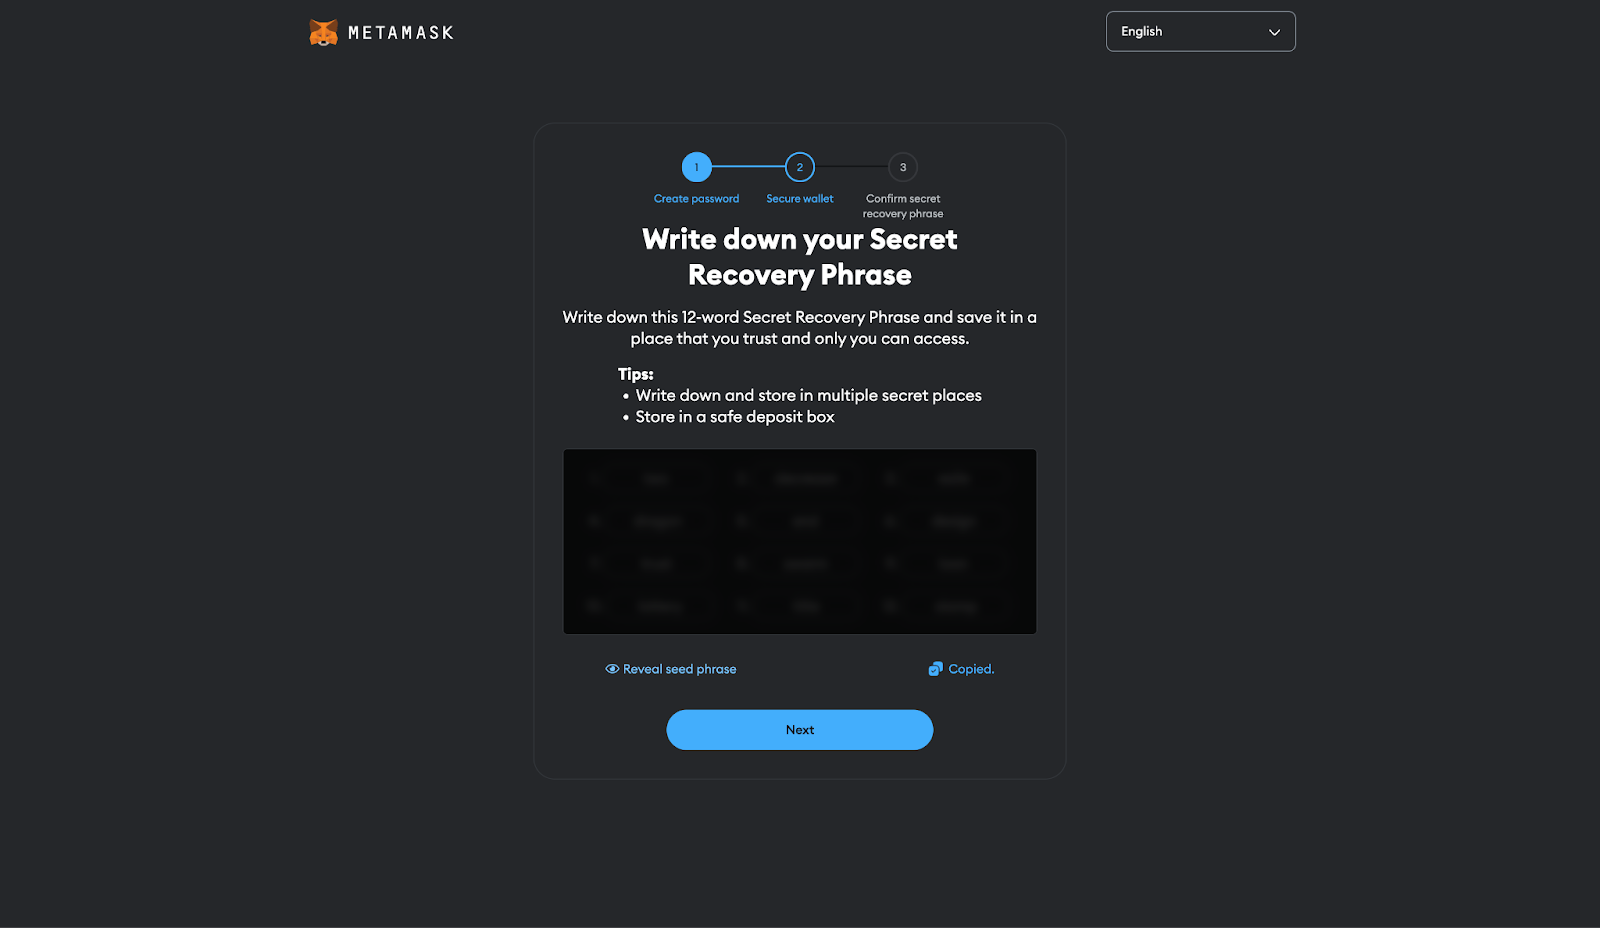
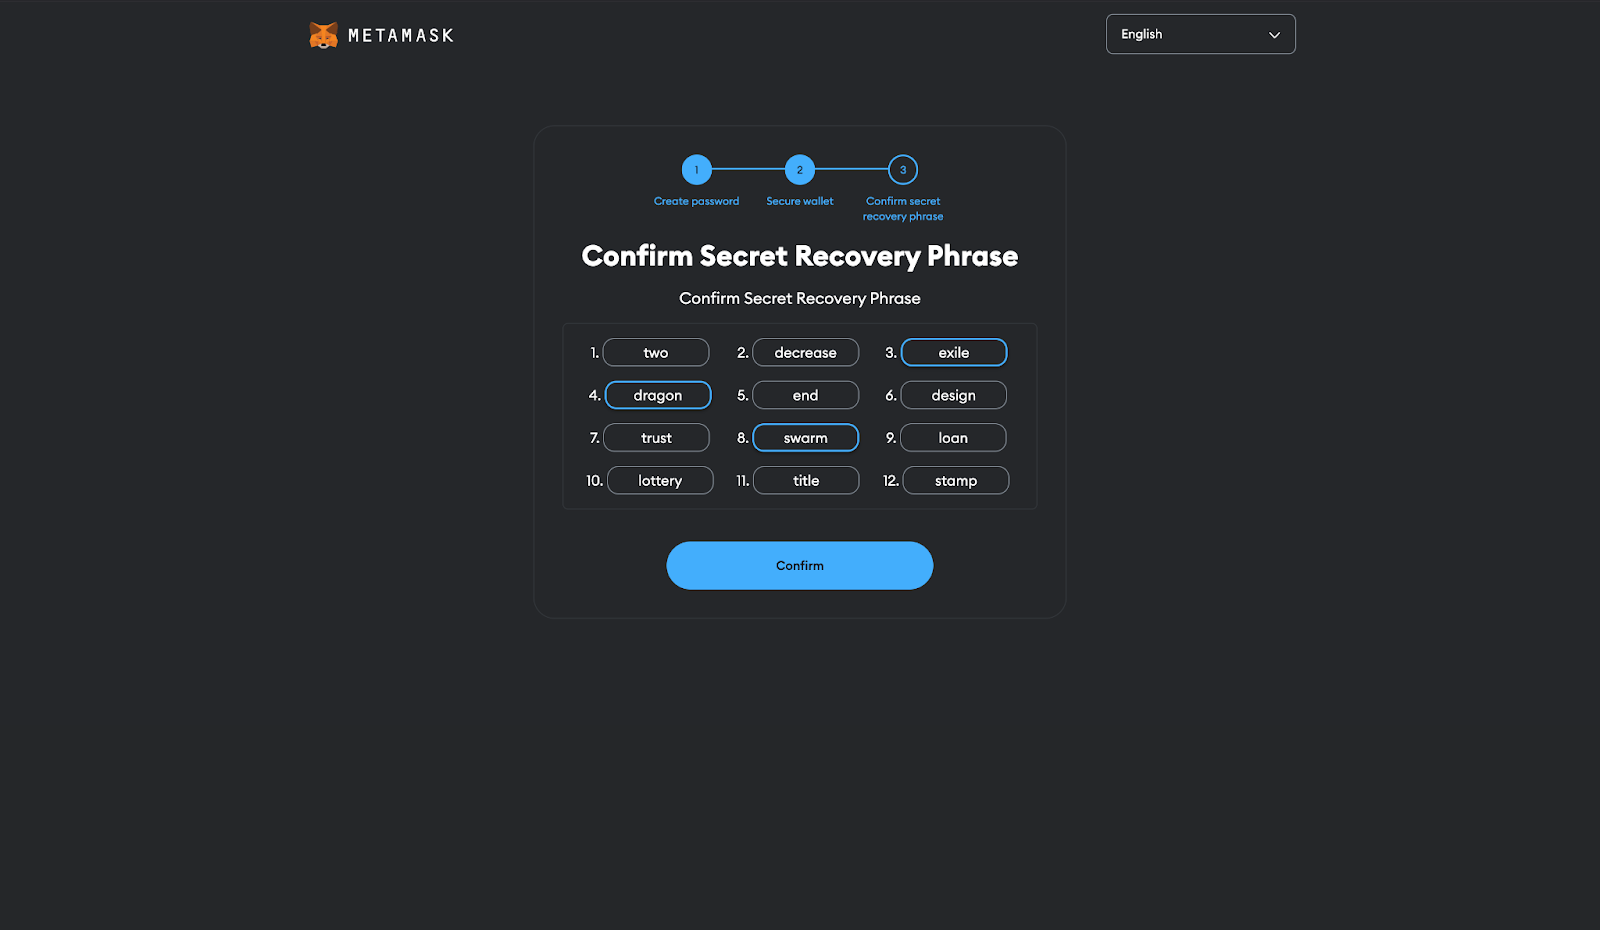
You will go through a simple verification step to see if you have noted the words properly.
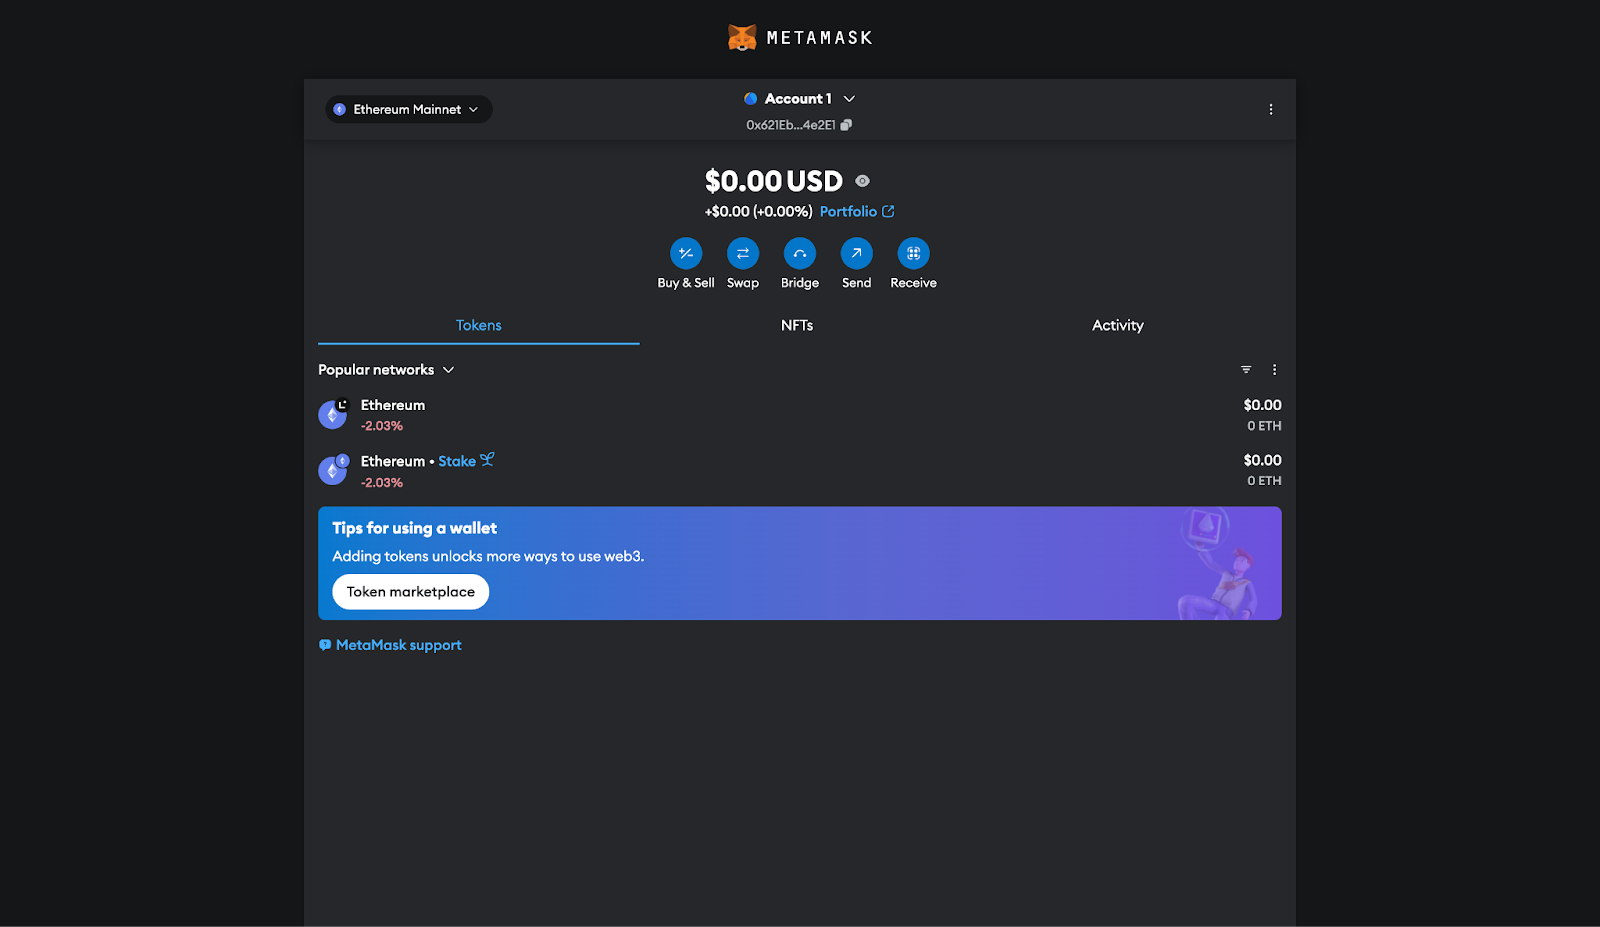
That’s it, you now have a cryptocurrency wallet, where you can either buy your first cryptocurrencies with a credit card or open an account on a centralized exchange and transfer your cryptocurrencies to this wallet.
What is CryptoPay – Crypto Payment Gateway?
CryptoPay, whose first version was released on CodeCanyon in 2021, has attracted a lot of attention since its release and has been continuously improved with the feedback of clients. In June 2023, version 2.0 was released, which was written completely modular from scratch and supports various networks such as Bitcoin, Solana, and Tron, especially the Ethereum and all EVM networks.
Since then, it is still under active development and continues to be the leading crypto payment gateway for WooCommerce. We would also like to point out that CryptoPay supports WooCommerce by default, as well as free integration with 16 WordPress plugins.
No KYC
- You don’t need to provide any documents to start receiving payments.
No commission
- We don’t charge any commission (%0 fees). Because we only charge per license.
No withdrawal limit
- All payments are made directly to your wallet, so you don’t have to wait to get your money.
No 3rd party service
- You can start getting paid as soon as you install the plugin without having any 3rd party services to start with.
How to Accept Crypto Payments on WooCommerce
CryptoPay Lite Installation
Let’s start by installing CryptoPay Lite, the free version. For this, you can go directly to the repository using the link below and download and install it manually. Or you can install it directly by going to the add plugin page and searching for ‘CryptoPay’ as in the picture.
Or download it manually from WordPress.org by clicking here.

After installation, to start receiving crypto payments, all you need to do is go to the settings as you can see in the picture and add your EVM wallet address. When we say your EVM Wallet address, we are talking about wallets like MetaMask or Trust Wallet. Copy your address here and paste it into the relevant field.


CryptoPay Lite only supports payments from 5 blockchain networks and a limited number of cryptocurrencies.
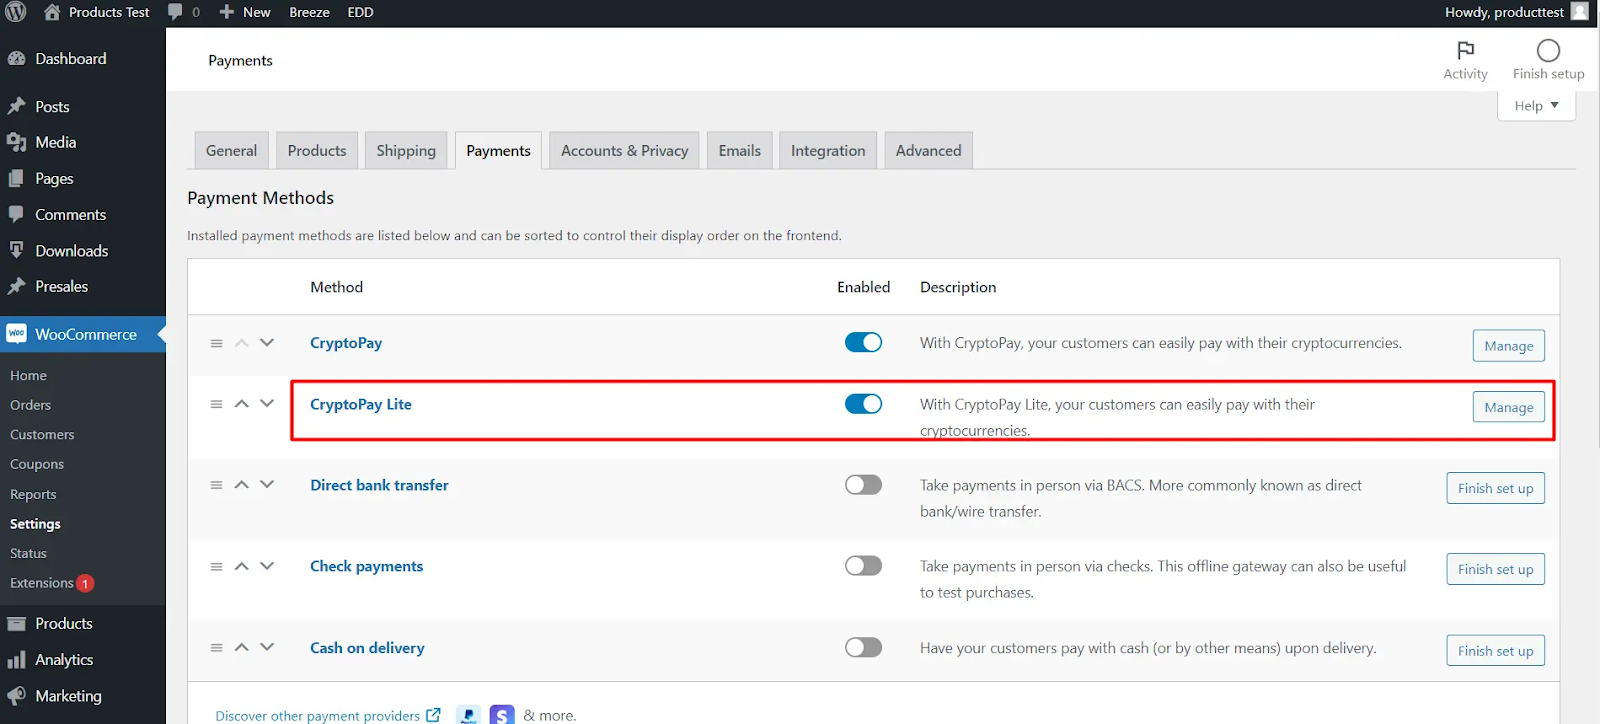
Activate WooCommerce CryptoPay Gateway
Then go to WooCommerce/Payments settings and enable the CryptoPay option as shown in the picture. You are now ready to receive crypto payments.
How Does the CryptoPay Process Work?
While designing CryptoPay, we tried to make it easy and easy to understand even for the end user who is new to the sector and we are constantly updating the UX.
We will now show you step by step how the process works. We think that the payment steps are quite easy and easy to understand even for users who are new to this ecosystem.
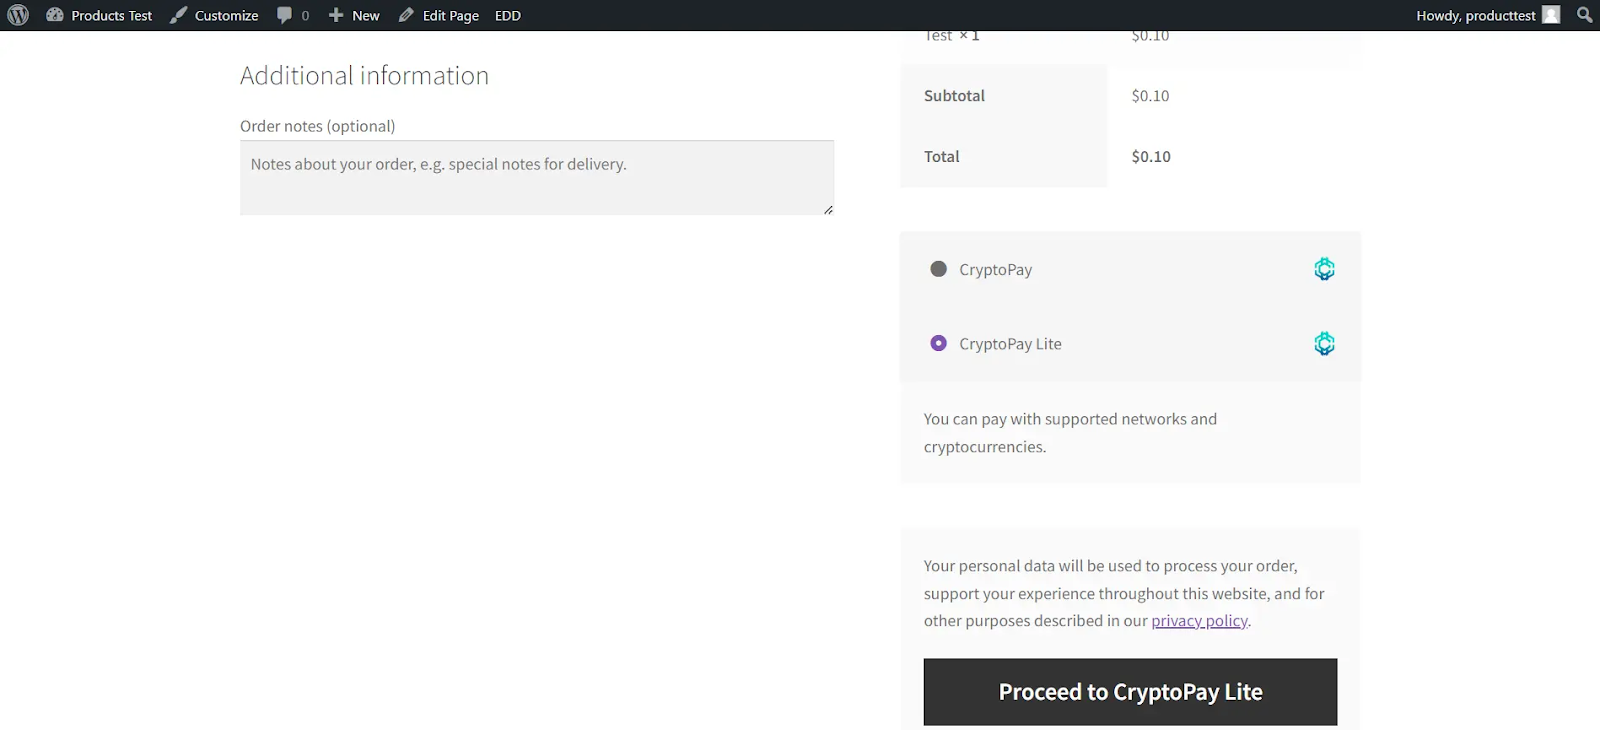
Choose CryptoPay Lite at Checkout
When you get to Checkout, the first thing you need to do is of course select CryptoPay Lite so that we can direct the customer to the page where the payment process will take place. We also want you to know that payment can be received directly at checkout. You can optionally control this in the settings.
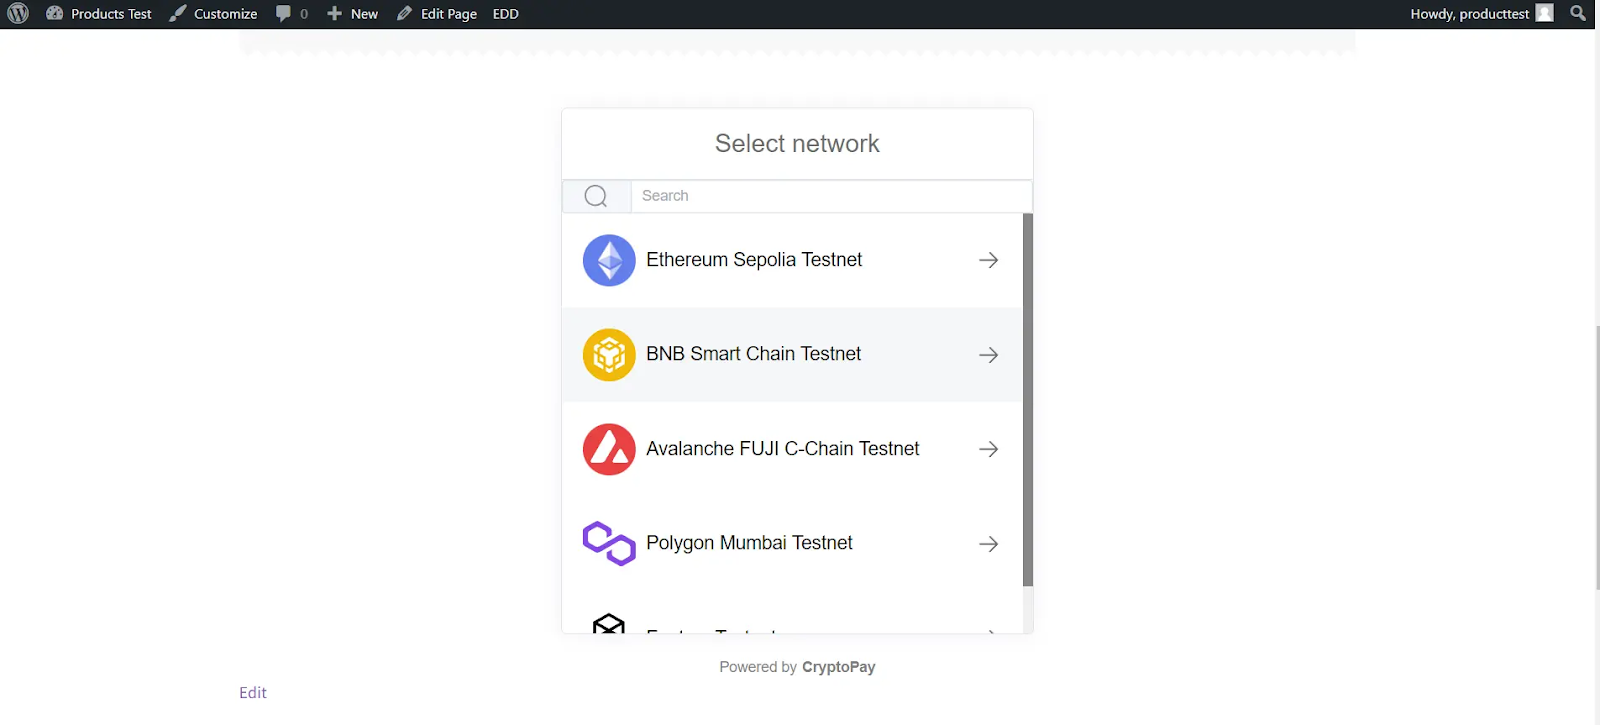
Choose Blockchain for Payment
The first step of the payment process starts with deciding which blockchain network you want to pay on. This might seem a bit complicated, but as we said, you can optionally list currencies directly and next to the currency it will say which blockchain network it belongs to. Let’s select BNB Smart Chain.
Choose Cryptocurrency for Payment
After selecting the blockchain network, you will see the cryptocurrencies under that network, and then you can choose which cryptocurrency you want to pay in.

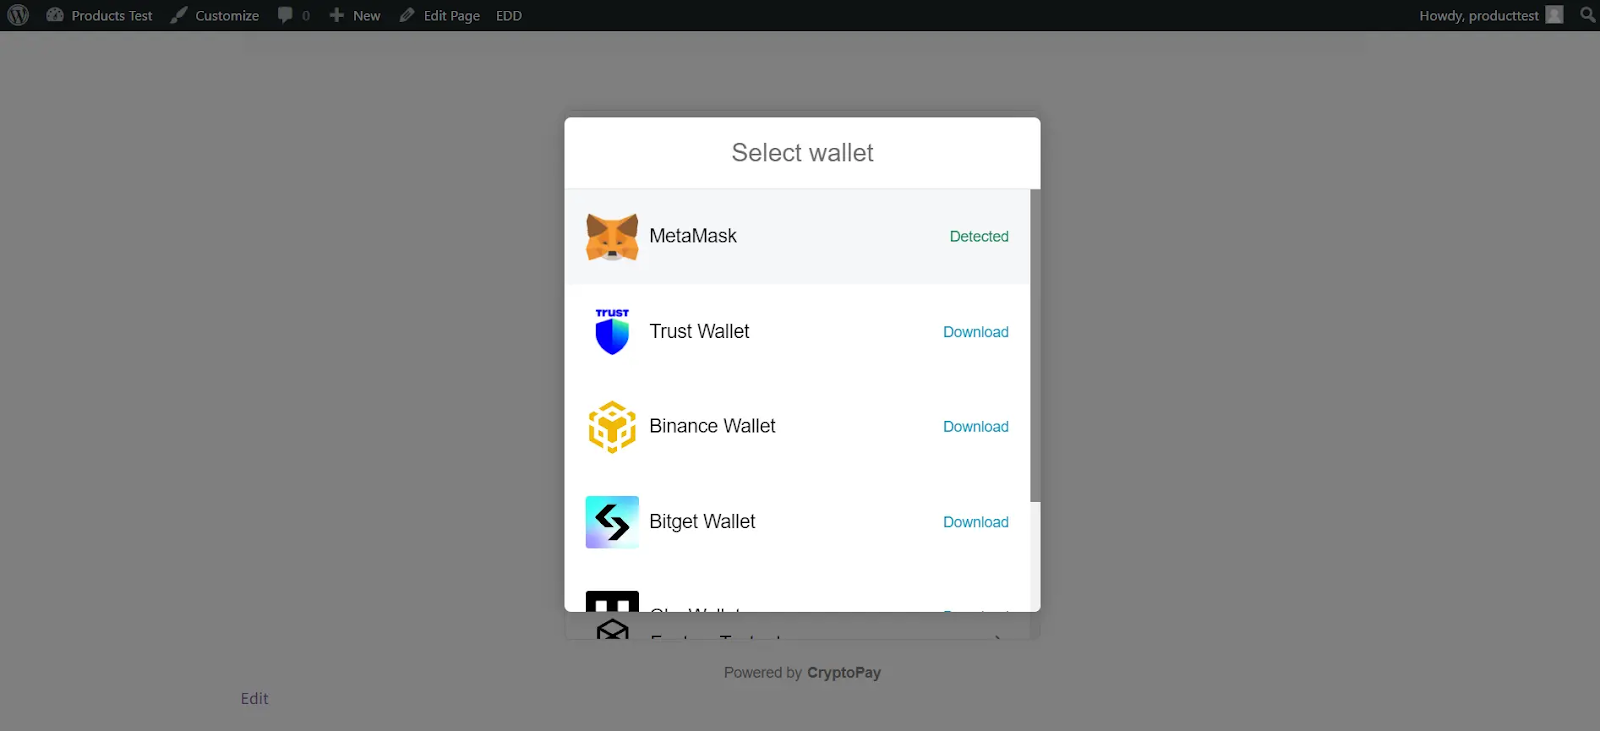
Choose Wallet Option for Payment
The last step is to choose which cryptocurrency wallet you want to pay with. Here, if the user does not have a wallet in their desktop browser, they can connect to the wallet on their mobile device via WalletConnect.
You can also accept cryptocurrency payments with direct transfers to the address without the need for this in premium.
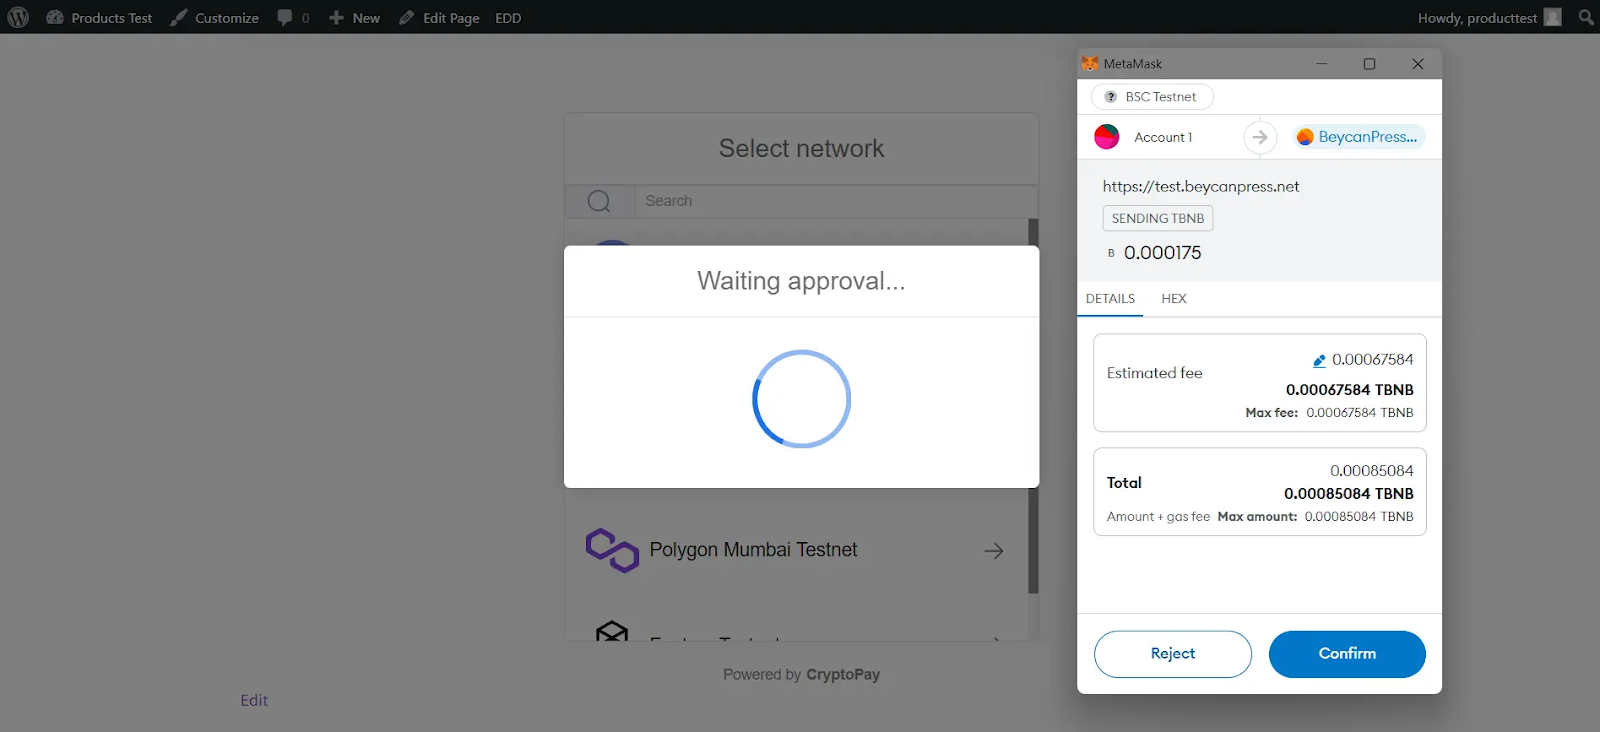
Accept Payment Request in Wallet
Select MetaMask and proceed and accept the transaction request. This is actually the payment transaction itself, and once you accept it, the payment transaction is done and you move on to the process of waiting for the payment to be confirmed.
That’s it, enjoy completely commission-free and peer-to-peer payments with CryptoPay and answer to no one. You can also purchase the premium for more blockchain and cryptocurrency support by clicking here.


