WooCommerce: Simple Add To Cart Click Counter

Ever wondered how many visitors actually click “Add to Cart” on your WooCommerce store?

This seemingly simple action holds valuable insights into your product appeal and conversion funnel. By implementing an Add to Cart click counter, you gain a crucial piece of the puzzle, allowing you to calculate your conversion rate more accurately. You already have the number of product sales available, so with this additional piece of data you can assess how effective your product pages are.

In this tutorial, we’ll implement a simple click tracking functionality for a WooCommerce button, guiding you through the setup process and exploring the valuable insights it unlocks. Enjoy!

Continue reading WooCommerce: Simple Add To Cart Click Counter

WooCommerce: Remove “add-to-cart=123” URL Parameter After Add to Cart

The “add-to-cart” parameter in WooCommerce is used to create a custom URL that adds a specific product to the shopping cart. The “123” value is the product ID, and you can even specify a custom quantity. By clicking a link with this parameter in the URL, the user can add the specified product (ID# 123 in this example) to their cart without having to navigate to the product page itself.

The problem is that WooCommerce itself doesn’t automatically remove the “add-to-cart” parameter after a successful add to cart, and if you reload the page you will add to cart again! So, let’s see how we can remove this parameter in case you disabled the “redirect to cart” option.

Continue reading WooCommerce: Remove “add-to-cart=123” URL Parameter After Add to Cart
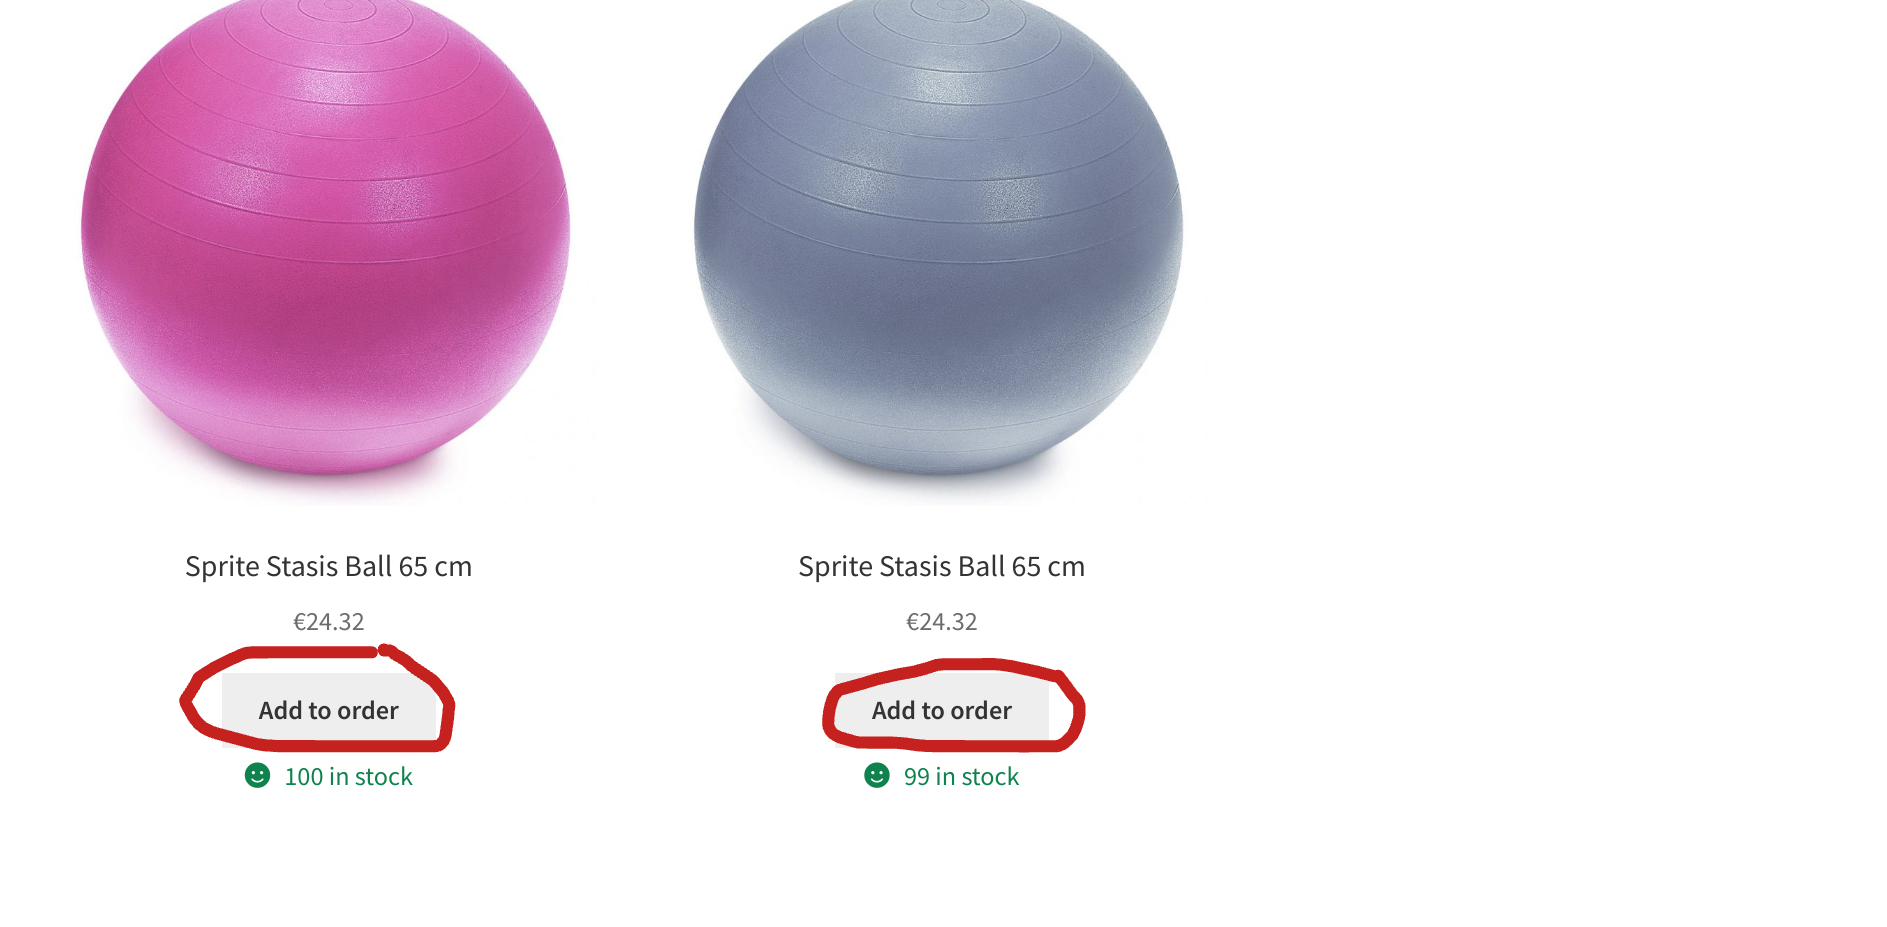
WooCommerce: Rename The “Add to cart” Button Label

The “Add to Cart” button label cannot be changed from the WooCommerce settings unfortunately. Thankfully, the simple code below will allow you to change it to whatever you wish e.g. “Add to Basket” or “Add to Order”.

We saw in the past how to rename the “Add to Cart” label conditionally or how to add an icon to it, but this time I’d like to change the whole wording.

By customizing the “Add to Cart” button label, you can influence user behavior and potentially increase sales in your WooCommerce store.

The new label should clearly communicate the action the user takes when clicking the button, and possibly use strong verbs and persuasive language to encourage users to add products to their cart. Besides, you have the chance to maintain consistency with your overall brand voice and tone.

So, let’s see how it’s done. Enjoy!

Continue reading WooCommerce: Rename The “Add to cart” Button Label

WooCommerce: Hide “View Cart” Button Upon Ajax Add to Cart

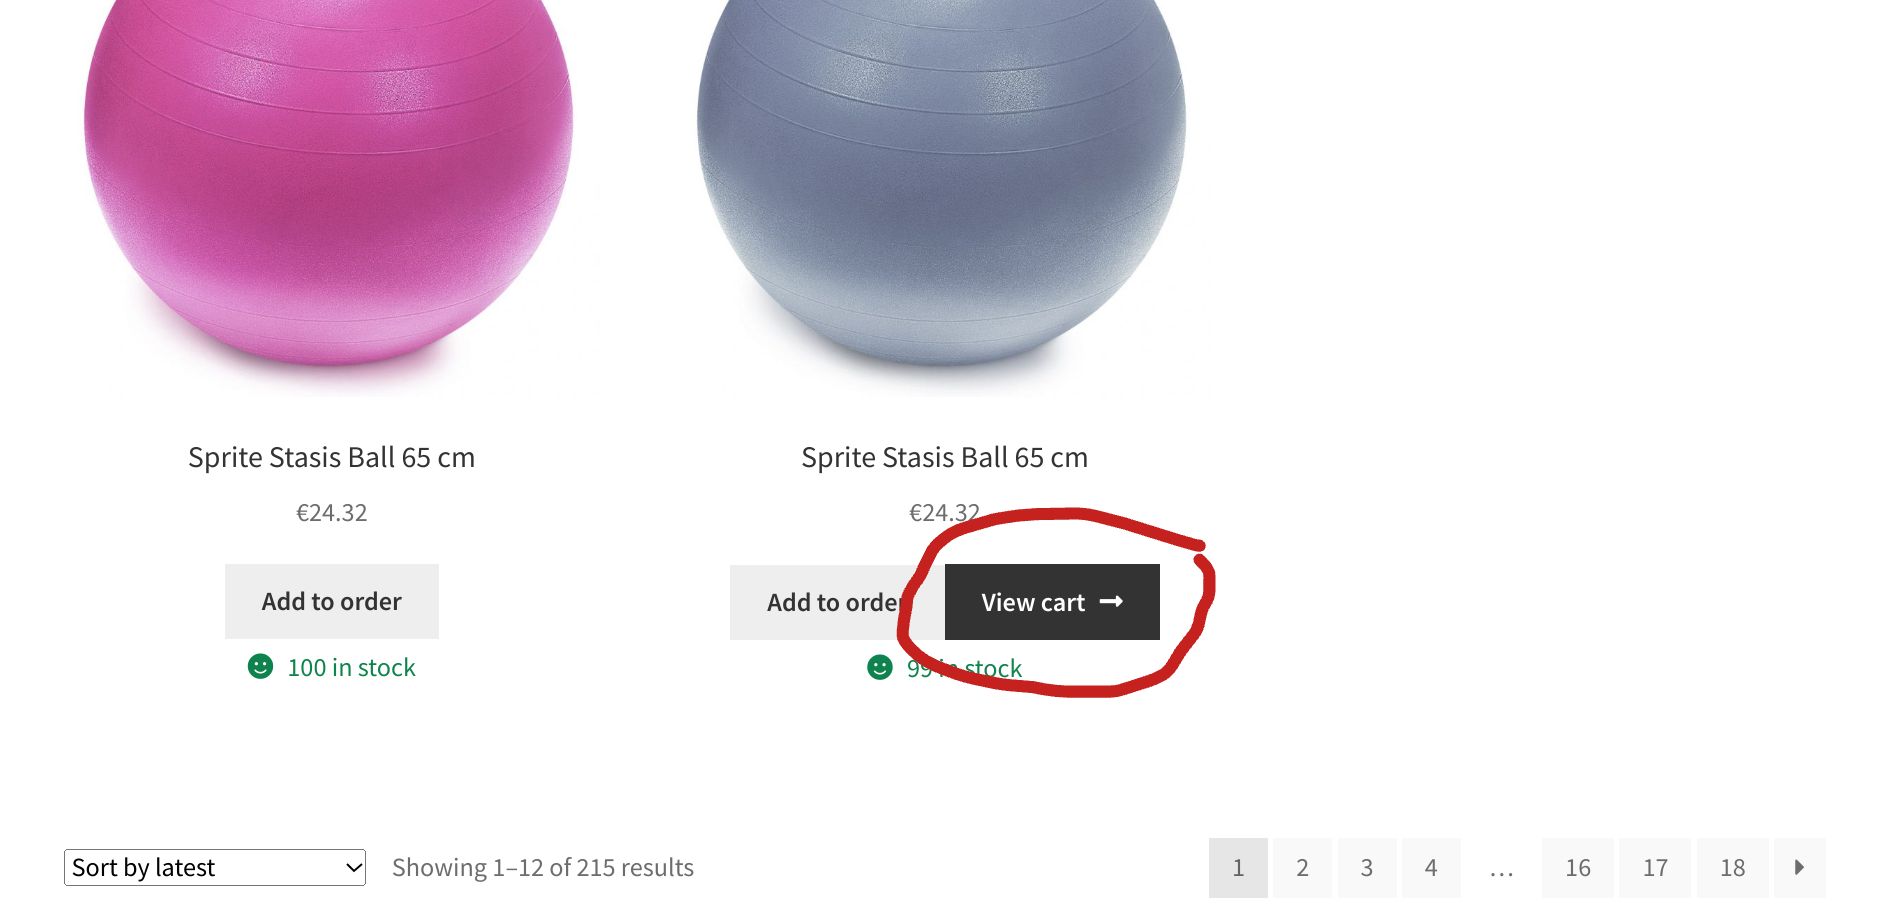
WooCommerce has a built-in AJAX functionality for adding products to the cart on archive pages (Shop page, product category pages, tag pages, etc.). Once you add a product, WooCommerce displays a “View Cart” button beside the “Add to Cart” one.

The “View Cart” button is a way to improve user experience, so that customers can quickly access their cart after adding a product. However, I’ve noticed on some client websites that this can mess up the product grid layout, confuse users and – sometimes – hurt the overall UX instead of improving it!

With the snippet below you’ll learn how to remove this button – surely you’re familiar with the CSS display:none method, so we will see a different approach here, so that the button doesn’t even load. Enjoy!

Continue reading WooCommerce: Hide “View Cart” Button Upon Ajax Add to Cart

WooCommerce: Disable “You cannot add another __ to your cart” Message

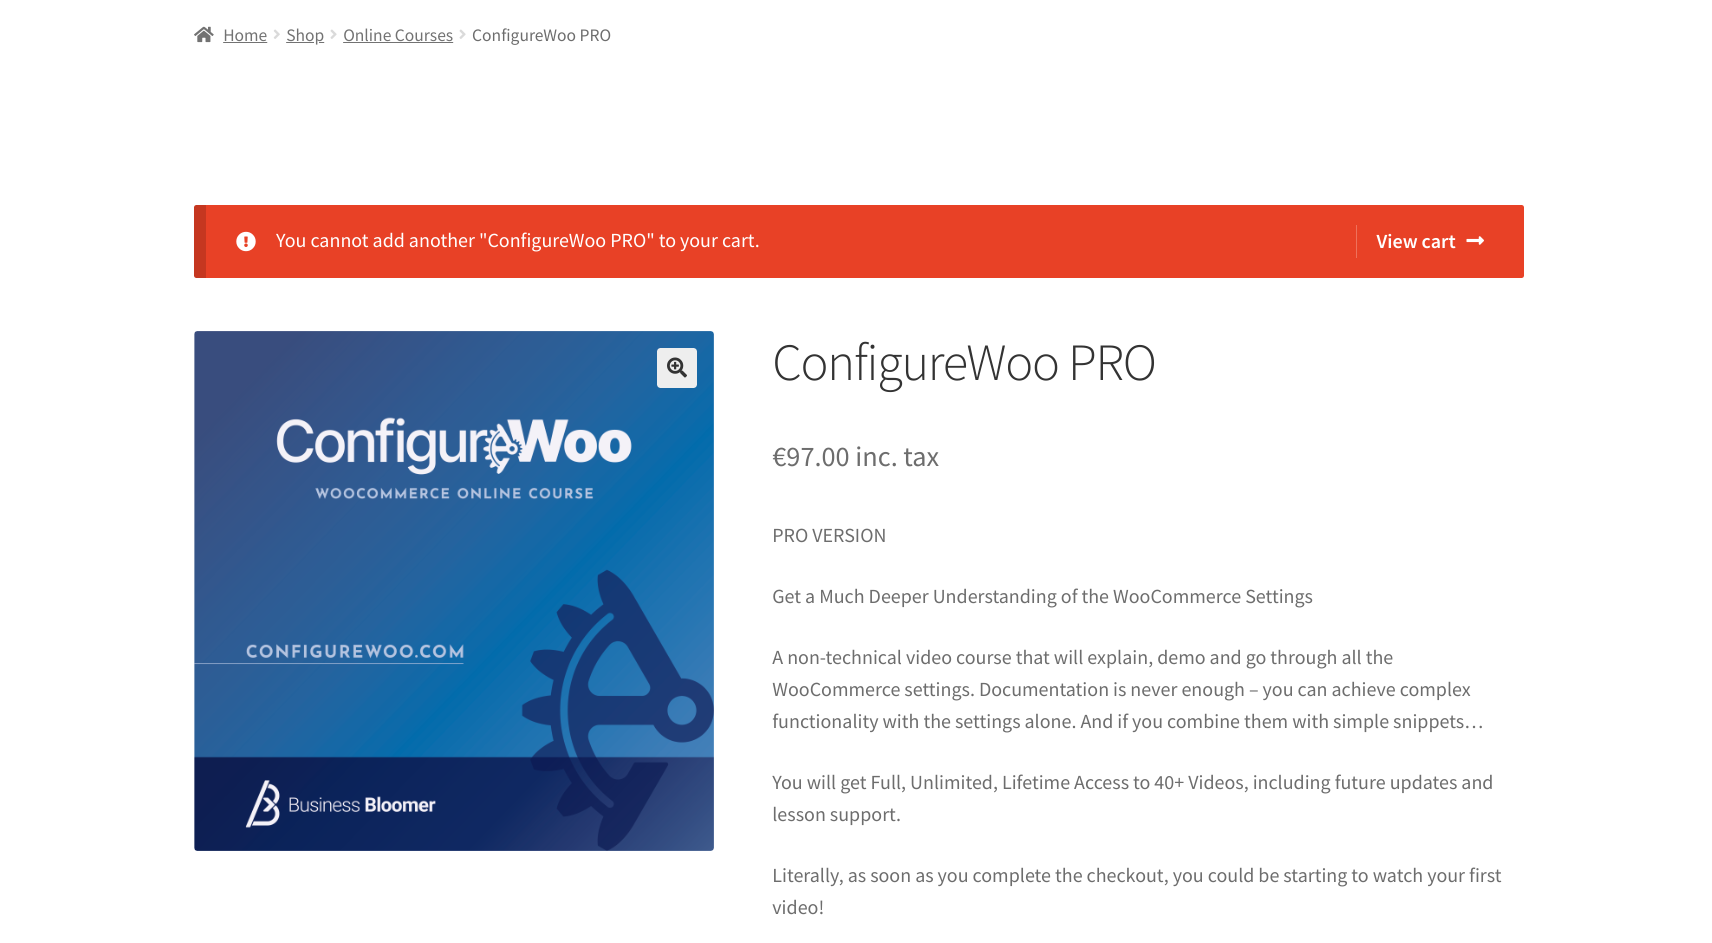
When a WooCommerce product is set to “Sold Individually”, you can only add 1 item to the cart. If you try a second time, you will get the “You cannot add another “%s” to your cart” error message, so that the customer is aware that there is already that product in the cart.

However, you may want to either edit the message wording or completely remove it, especially if you automatically redirect to cart or checkout upon add to cart.

So, let’s study how to do the latter, which is much more complex than using the ‘woocommerce_cart_product_cannot_add_another_message‘ filter for editing the message content. Enjoy!

Continue reading WooCommerce: Disable “You cannot add another __ to your cart” Message

WooCommerce: Add to Cart Form @ Shop Page

We’ve already covered a similar customization on Business Bloomer: how to display Ajax quantity selectors on the WooCommerce Shop page. The problem there was that that only works for simple products, and only when Ajax add to cart is activated via the WooCommerce settings.

Today I’d like to experiment a little, and see what happens when we include the “add to cart template” (i.e. the one you see on the WooCommerce Single Product page) under each product on the WooCommerce Shop page.

This *should* work with all product types – especially variable products – because you will see the attribute dropdown selectors in such a case, as if you were on the single product page.

I haven’t tested this with grouped, bundle, and special product types, so feel free to share your findings in the comments below. Enjoy!

Continue reading WooCommerce: Add to Cart Form @ Shop Page

WooCommerce: Pre-defined Add to Cart Quantity Selectors

I seriously spent more than usual trying to write a decent title. Still, I’m not 100% sure I’ve explained it well – so here’s some more context.

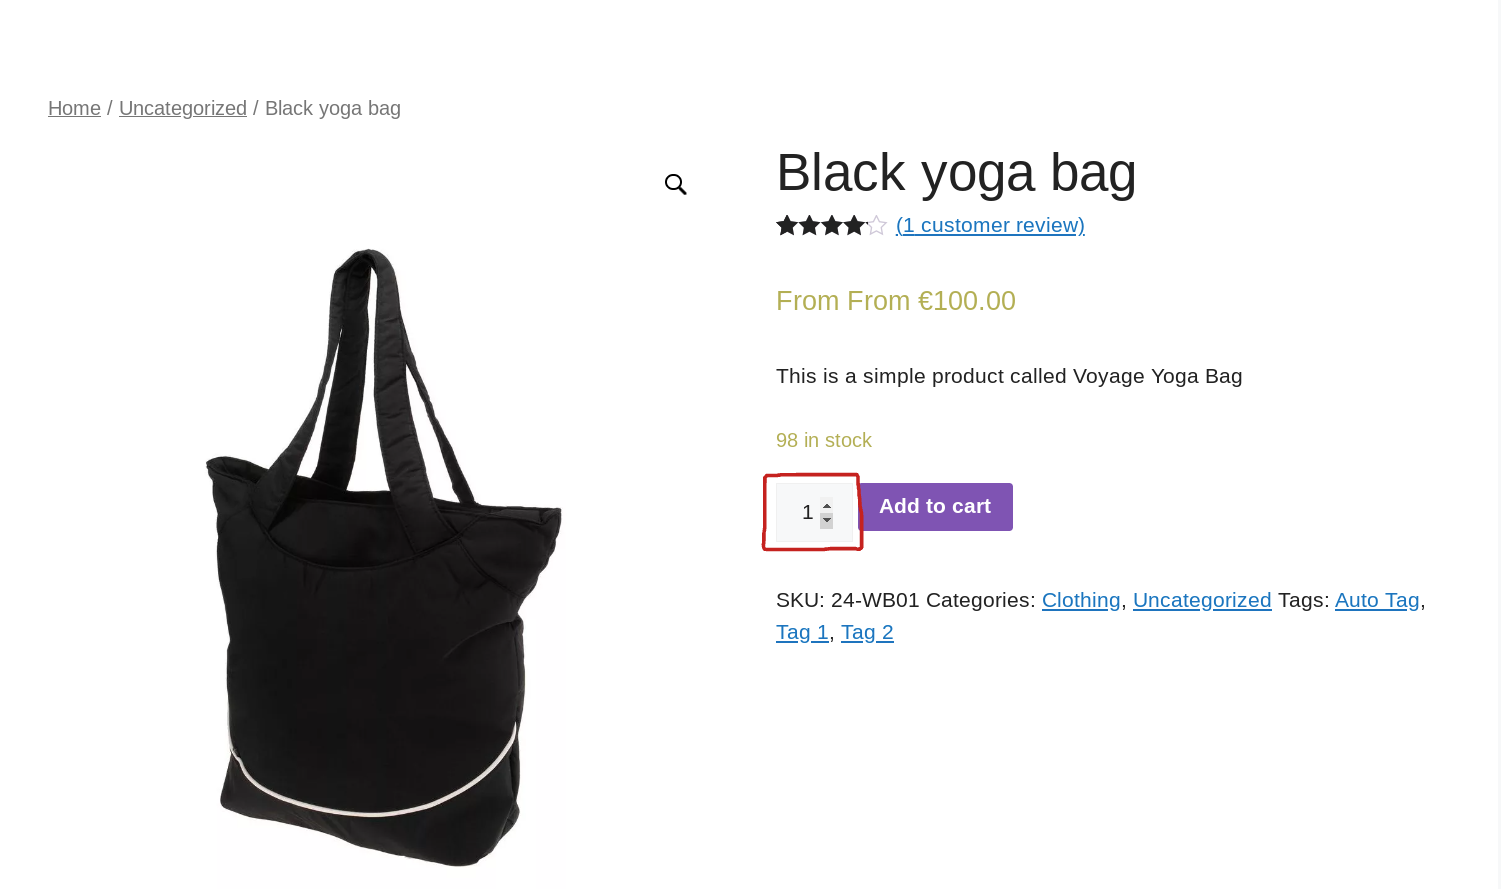
The WooCommerce Single Product Page add to cart form features a quantity input and an add to cart button. Super simple. Customers can define a quantity and add the current product to the cart.

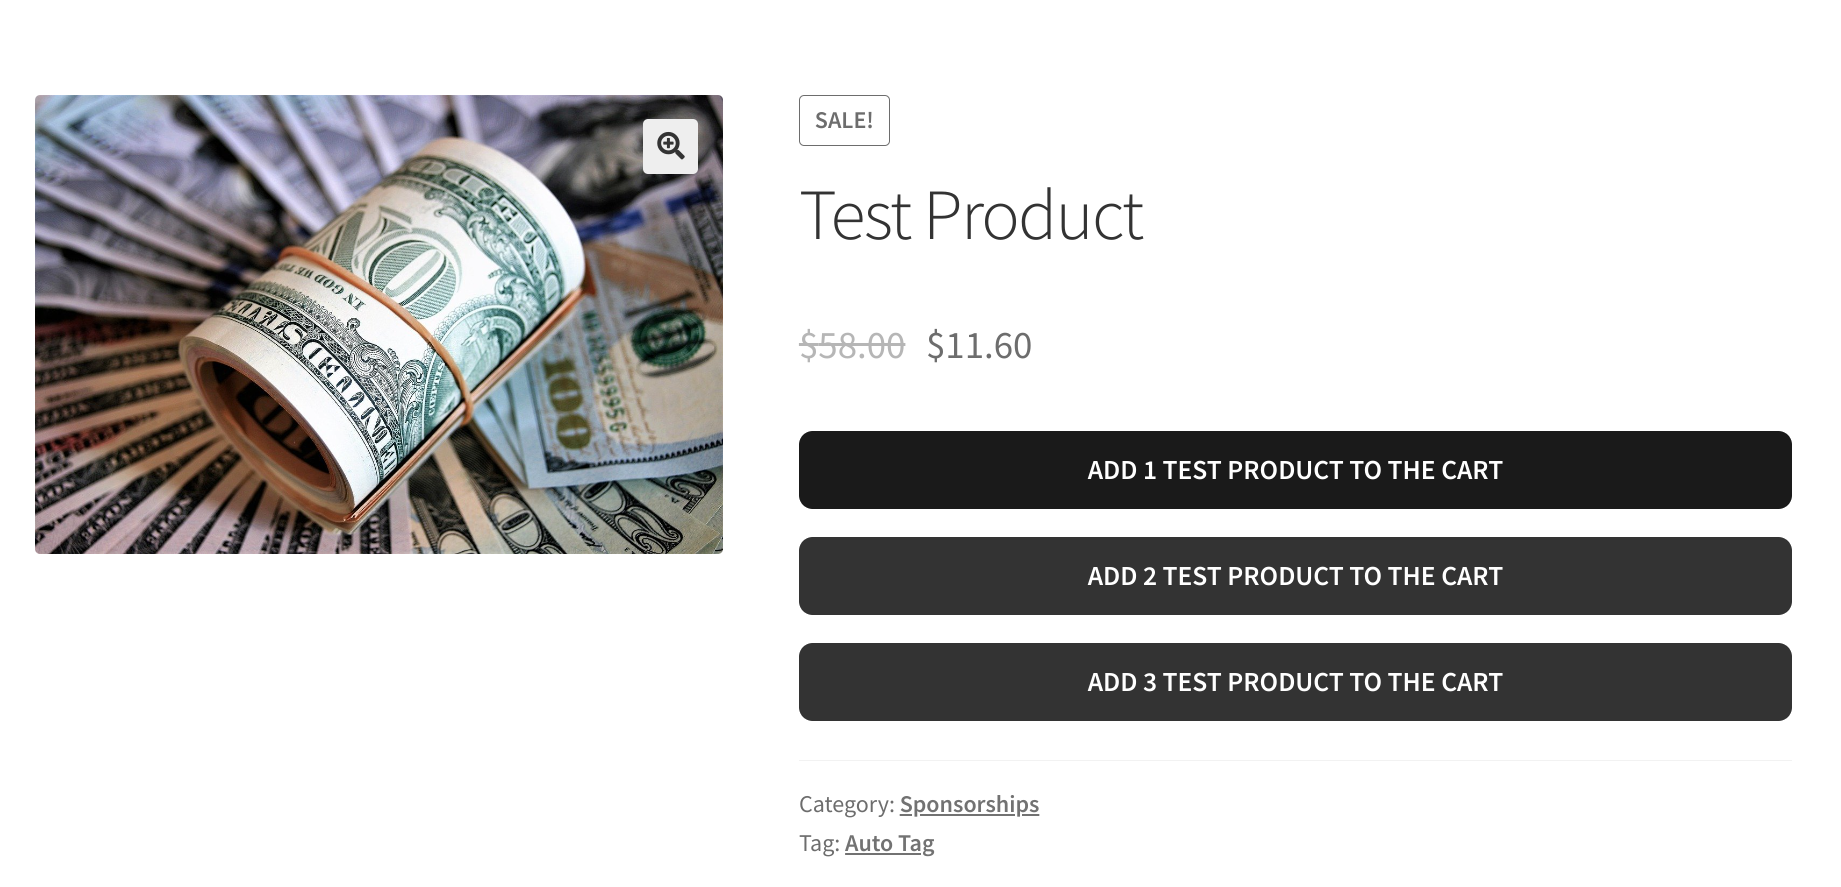
Now, let’s imagine you want to change this experience based on your business requirements, and instead of the quantity input and add to cart button you want to show 3 buttons: “Add 1x to the cart“, “Add 2x to the cart“, “Add 3x to the cart.

And if you can match this with a bulk quantity discount functionality, you can even change the messaging to e.g. “Add 1x to the cart“, “Add 2x to the cart and save $X“, “Add 3x to the cart and save $Y“…

So, let’s see how to hide the default add to cart form, and instead show buttons that allow the customer to add to cart a pre-defined product quantity (for simple products). As per this screenshot:

Continue reading WooCommerce: Pre-defined Add to Cart Quantity Selectors

WooCommerce: Change “Buy Product” Label for External Products

By default, WooCommerce displays a “Buy Product” button label for external products. This button redirects to the external URL that is entered via the single product settings.

As usual, this “Buy Product” label may not suit all businesses, and therefore WooCommerce gives you the option to rename such buttons via the single product edit page settings. This is great, but at the same time you don’t want to manually edit hundreds of products when you can use a few lines of PHP, right?

So, here’s a super quick fix to override the “Buy Product” external add to cart button label to whatever you wish, without ever touching the manual settings. Enjoy!

Continue reading WooCommerce: Change “Buy Product” Label for External Products

WooCommerce: Duplicate Add to Cart Button @ Single Product Page

In case you have very long single product pages, it may be helpful to show the Add to Cart form at the bottom of the page or even inside the description tab.

Thankfully this is pretty easy and only requires one line of code. The only thing that you may want to change is the hook name, which defines the position of the button, and the priority, which defines the relative position of the element in case there are other ones “hooked” onto the same hook.

In this example, we will place the button at the very bottom of the page, below tabs, upsells and related products. Enjoy!

Continue reading WooCommerce: Duplicate Add to Cart Button @ Single Product Page

WooCommerce: Count External Product Clicks

Yeah Google Analytics is cool, but have you ever coded your own tracking functions within your WooCommerce website?

An example may be counting the number of times customers click on the “Buy product” button that displays on the Single External Product Page, and show the counter in the Products Table in the backend.

For example, I use this to calculate the Click Through Rate (% clicks / views) and see how popular an external product is. Of course, you could also decide to extend the counter to all products (simple, variable, etc.) and count the number of times customers click on the Add to Cart, but for today let’s stick to the external products count. Enjoy!

Continue reading WooCommerce: Count External Product Clicks

WooCommerce: Add to Cart Quantity Suffix

On a default WooCommerce install, we add X products to cart by defining the add to cart quantity on the single product page.

But what if your shop sells spices? It’s likely that those quantities are actually pounds / kilograms / or whatever weight unit you require. And what if your WooCommerce business is entirely focused around Italian extra virgin olive oil (asking for a friend!), that you’d sell per liter?

In such custom cases, it’s nice to specify the unit beside the add to cart quantity, so that customers know how much and what they are buying. So, let’s see how to add an add to cart quantity suffix beside the quantity input field on the single product page. Enjoy!

Continue reading WooCommerce: Add to Cart Quantity Suffix

WooCommerce: Ajax Add to Cart Quantity @ Shop

As you know, you can tick the “Enable AJAX add to cart buttons on archives” checkbox in the WooCommerce settings in order to add products to cart from the Shop / Category / Tag / loop pages without refreshing the page.

This is great for certain businesses, especially those who sell in bulk and where customers know exactly what they need to buy without the need of checking the single product page.

The bad news is that the Ajax Add to Cart button only allows you to add 1 item to the cart i.e. there is no quantity input field. The other bad news is that the Ajax Add to Cart button only works for simple products, while for variable ones it will turn into a “Select options” link without the possibility of adding a variation to cart from there.

In this tutorial, we will see how to turn the WooCommerce shop into an… Ajax cart with quantity inputs. Enjoy!

Continue reading WooCommerce: Ajax Add to Cart Quantity @ Shop

WooCommerce: Populate Checkout Fields From URL

On top of adding products to cart via URL and redirect to checkout, there is a way to also fill out the Checkout page input fields within the same link.

This could be super handy when you know the billing/shipping details of a registered or guest customer and want to speed up the order process.

It’s important to note that the URL will need to contain personal data e.g. email address, billing address, phone number, and so on; you need to make sure the URL is only shared with the specific customer (in an email, for example, as content is tailored to the subscriber; or only when the WooCommerce customer is logged in if you’re using the URL behind a website button).

Once that’s clear, let’s go ahead, and let’s see how my WooCommerce snippet works. Enjoy!

Continue reading WooCommerce: Populate Checkout Fields From URL

WooCommerce: User Can Only Purchase A Product Once

In the era of online courses, subscriptions, custom-made products and product personalization, it may happen that you need to limit a specific WooCommerce product sales. For example – users may only purchase a trial product once in their lifetime.

In this short tutorial, we will see how this is done. Clearly, the user must be logged in in order for the code to trigger, so this applies to stores that require checkout login before proceeding with the order.

Enjoy!

Continue reading WooCommerce: User Can Only Purchase A Product Once

WooCommerce: Top Quick View Plugins

Imagine if your customers didn’t have to visit a separate product page every time they wanted to check out a product. They could see product details right from the page they’re on and avoid going back and forth between the store and product pages

Sounds convenient, right?

This is exactly what a quick view feature on your WooCommerce store can do. 

It allows shoppers to view product images, features, and prices from the shop page through a popup window. This way, they can see if they like the product and add it to their cart or simply close the popup and continue browsing items. 

That’s not it. By making product surfing and shopping fast and hassle-free, the quick view feature can also help you improve customer experience and increase your store sales and revenue. 

Although a pretty useful feature, WooCommerce doesn’t have any default settings to enable a quick view button in your store. 

The good news is that there are some great quick view plugins you can use to add this functionality to your shop and optimize it for sales. 

We’ve done the legwork and compiled a list of seven of the best WooCommerce quick view plugins you can use for your online store. Let’s dive in!

Continue reading WooCommerce: Top Quick View Plugins

WooCommerce: Winning With a Cross-Sell Strategy

If you’ve experienced the difficulty and high cost of acquiring new customers, you’re not alone. The estimated probability of selling to a new prospect is only five to 20 percent. Compare that to the probability of selling to an existing customer: 60 to 70 percent.

That’s not all. Depending on your business and your industry, it can be five to 25 times more expensive to acquire a new customer than it is to retain one you already have. That’s despite all your pre-sales preparation.

As you can see, retaining your existing customers – or those who show an intent to buy – is paramount. How to increase revenue from them, however, continues to elude many businesses.

Fortunately, it doesn’t need to be hard. With the help of WooCommerce, you can easily create personalized recommendations to attract more sales from customers who are already interested in your offerings.

Using customized recommendations works to your advantage as internet users have grown fond of personalization. In fact, ninety percent of customers find personalization of their shopping journey appealing, and 71 percent feel at least some frustration when the experience is totally impersonal.

In this post, we’ll take a closer look at cross-selling and its benefits. We’ll also show you how you can create an effective strategy for your online store, using the WooCommerce Added to Cart trigger in MailOptin. Let’s get started!

Continue reading WooCommerce: Winning With a Cross-Sell Strategy

WooCommerce: Why Enable Sliding Cart?

Cart abandonments are a WooCommerce store owner’s worst nemesis – research suggests a whopping 69.8% of customers abandon shopping carts, causing a massive dip in sales and revenue. The same study also revealed that high and unexpected shipping charges, complicated checkout processes, and inability to see the order total are some major reasons behind cart abandonment. 

But what if there were ways you could overcome these problems and increase conversions? 

Well, we already covered a possible solution here, so we’ll add to that today by looking at floating cart plugins. 

These tools can help your customers view their shopping cart on any page of your WooCommerce store, saving them the back and forth between the page they’re currently on and the WooCommerce cart page. 

Customers can see the items they’ve added to the cart, the order total, shipping costs, and even check out – all without going to another page. This can help smoothen their experience at your store and fasten the buying process, translating into more sales and profits for you.

This article will explore some popular WooCommerce floating cart plugins you can use to leverage this feature on your store. But first, let’s understand how floating carts work and help your online store generate more sales. 

Continue reading WooCommerce: Why Enable Sliding Cart?

WooCommerce Blocks: Hide Images Etc. From Product Grid Block

Business Bloomer enters the world of Gutenberg today, and we do it with a simple customization tutorial related to the “Product Grid” WooCommerce Gutenberg Blocks: currently these are “Best Selling Products“, “Newest Products“, “On Sale Products“, “Top Rated Products“, “Products by Category” and use the same base code…

However, all of them use custom code and not the default WooCommerce templates (and therefore we can’t take advantage of the WooCommerce hooks for the shop / product archive / product loop unfortunately), so we need to find a workaround if we wish to remove some of the default elements that come up with the product grid items: product permalink, product image, product title*, sale badge, product price*, rating*, add to cart button* in this exact order.

* As you can see from the screenshot below, actually, you can already remove the information with an asterisk from the Block settings. So, in this article, we will see how to remove the rest in case you don’t want it: permalink, image, sale badge. Enjoy!

Continue reading WooCommerce Blocks: Hide Images Etc. From Product Grid Block